
Import Content From CSV
You’re not limited to databases when using Content Syncing. There are times when your content is in a spreadsheet. In this case, you can export a CSV (Comma Separated Value) file and use it as the data source for your Content Sync.
These are the steps to follow when syncing a CSV file with Terminalfour.
Since Terminalfour v.8.2.1, a CSV driver is included in the product so there is no need to install an additional one.
Contact support if you need advice on this.
1. Copy the CSV File to the Server that Hosts the Terminalfour Application
Copy the CSV File to the server that hosts your Terminalfour application. For example at
/web/terminalfour/csv/
Have a look at a Sample CSV File. Prior to Terminalfour 8.2.17, the CSV file needed to use a comma (,) as the delimiter. From 8.2.17 it is possible to specify a custom separator.
2. Configure the Data Source
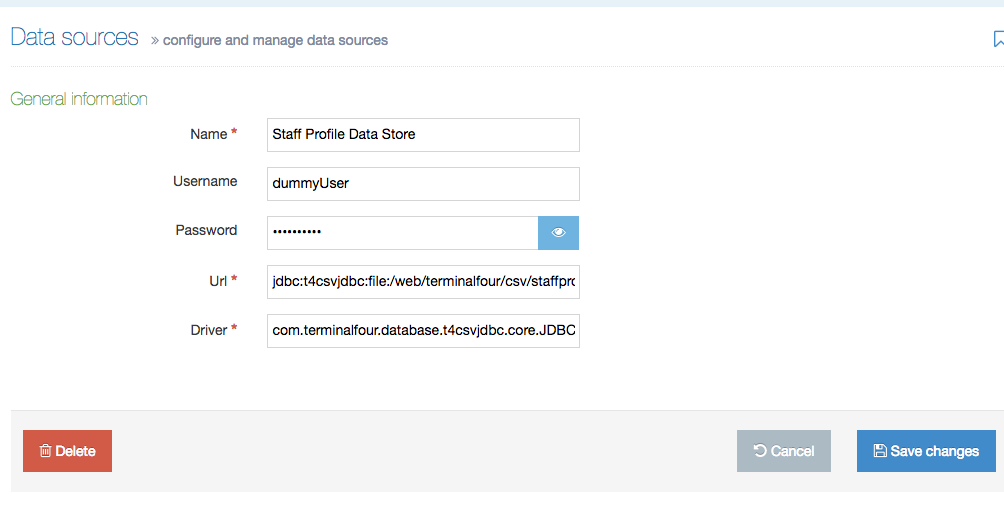
To set-up the Data Source, you’ll name it and provide the file and driver locations.
Go to System Administration > Configure Integration Tools > Data Sources and populate the fields.
| Item | Description | Example |
|---|---|---|
|
Name |
A meaningful name for the Data Source. This is required. |
Staff Profile Data Store |
| Username | You can provide a username here if required. | dummyUser |
| Password | You can provide a password here if required. | fE62kYDEer |
| URL | The url encoded URI at which the CSV file or directory of files is located. This must be a location accessible by the Terminalfour application. This can either point to the directory containing the CSV file, to the file itself or to an external address at which the file can be found. The correct prefix corresponding to the CSV driver must be used in front of the URI. This is Required. |
If pointing to a directory on a Linux server: If pointing to a directory on a Windows server: If pointing to a single file 'staff profiles.csv' on a Linux server: If pointing to a single file 'staff profiles.csv' on a Windows server: If pointing to an external CSV file: |
| Separator Parameter | From Terminalfour 8.2.17 you can use a custom separator by appending a parameter to the end of the URL. The separator character must be URL encoded when added to the URL, e.g. appending ?t4-csv-separator=%7C will use a pipe (|) separator rather than the default comma (,) separator.
This URL Encoding Tool will help you encode characters. |
|
| Driver | The name of the driver used for CSV files. This is required. | This is always:
|
3. Create a Content Type (if required)
If you haven't one created already you'll need to create a Content Type for the External Content Syncer to store the information that is currently in the CSV File. For example, we could create a "People" content type with the following elements:
| Element Name | Element Type |
|---|---|
| First Name | Plain Text |
| Last Name | Plain Text |
| Email Address | Plain Text |
| Phone Number | Plain Text |
4. Setting up the Content Sync
Once the CSV has been successfully set up as a Data Source, the content is extracted with SQL (Structured Query Language). To add the SQL go to System Administration > Configure Integration Tools > External Content Syncer.
For details on External Content Syncer General Settings, refer to the page in the documentation.
Click to Create New Data Store and use the following settings:
- Configure other options as appropriate (see documentation on the External Content Syncer for further information)
- Select SQL Query
| Item | Description |
|---|---|
| Name | Give the Data Store a meaningful name (e.g., People Import from CSV) |
| Description | Provide a description of the import |
| Data Source: | From the dropdown select the name of the CSV Data Source you configured |
| Root Section | Select the Section where content will be imported to |
| Channel | Select a Channel that will publish the content |
|
Configure other options as appropriate (see documentation on the External Content Syncer for further information) |
|

You can also add one or all columns using a SELECT statement. The filename of the CSV is used in the FROM clause, i.e., SELECT * FROM [filename].
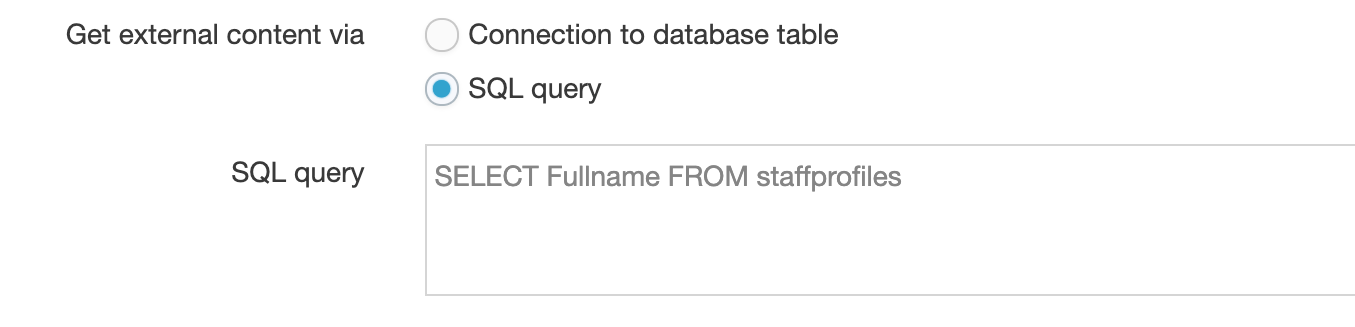
E.g.:
SELECT * FROM staffprofilesSELECT Fullname FROM staffprofiles
All non-alpha-numeric characters are removed from column names. Keep this in mind for mapping.In the example above, the columns would be mapped as follows:
| Name of Column | Name in Mapping |
| FullName | FullName |
| First Name | FirstName |
| Last Name | LastName |
| Title | Title |
| Category | Category |
| Staff_Category | StaffCategory |
| Location | Location |
| Number | Number |
If any of the values in the CSV file contain a comma, it will be interpreted as a new column.
To avoid this you can escape the comma by enclosing the value in double quotes>
e.g., Sara, Connor, "Web Developer – HTML, CSS, JavaScript, PHP", sconnor@t2.com, etc...
If your CSV contains a date value that you want to use in a date formatted T4 Tag, you should import it as a string in the format yyyy-MM-dd HH:mm:ss (e.g. 2018-03-31 23:59:59). Both the date and time are required.
If you're not sure, this article on date and time formats provides examples.