
Installing Terminalfour on Linux using Apache Tomcat
- Last Modified:
- 16 Dec 2021
- User Level:
- Administrator
Installing Apache Tomcat on a Linux System
This guide is divided into two parts:
- Part one outlines the installation of Apache Tomcat on a Linux-based CentOS7 system.
- Part two explains how to set up Terminalfour in Apache Tomcat 9. You can skip to this part if your application server has already been installed and configured.
Installing Apache Tomcat 9
Only Oracle Java 11 is supported by Terminalfour 8.3+
If you have not already done so, download the Apache Tomcat 9 files to your server. This guide assumes that you will use the .tar.gz package.
Your system's package manager may be used to install Tomcat 9 automatically; however, this guide assumes you are doing so manually. This guide also assumes your file is apache-tomcat-9.0.45. Modify your file names as appropriate.
- Untar the files you have downloaded into the
/usr/sharedirectory.
tar -zxvf apache-tomcat-9.0.45.tar.gz -C /usr/share/
- Create a Symlink for Tomcat 9 By creating a symlink to the "real" tomcat directory, we can update the Tomcat instance without having to change every script that references it. We simply install the new Tomcat in a new directory and delete and recreate the Tomcat 9 symlink to point at this new directory. We can now reference Tomcat 9 from this "new" location:
/usr/share/tomcat9.
ln -s /usr/share/apache-tomcat-9.0.45 /usr/share/tomcat9
- Create Tomcat user and group. The
tomcat9service will "run as" and be owned by thetomcatuser and group. This is a better security situation than running it as root. The init script drops privilege to this user before running thetomcat9daemon.
groupadd tomcat
useradd -g tomcat -s /bin/bash -c "Tomcat user" -d /usr/share/tomcat9 tomcat
- Change ownership of Tomcat 9 files. The install directories need to be owned by the tomcat user and group.
chown -R tomcat:tomcat /usr/share/tomcat9
chown -R tomcat:tomcat /usr/share/apache-tomcat-9.0.45
- Set up Tomcat user environment. In order to start the tomcat server, the
tomcatuser needs to have some variables set. Login as the tomcat user. Your current user password may be requested if you are not logged in as root.
su - tomcat
- Edit tomcat's
~/.profilefile and add these lines at the end.
export JAVA_HOME=/usr/local/java
export CATALINA_HOME=/usr/share/tomcat9
If your Java installation is in a different location please change the value of the JAVA_HOME variable accordingly.
Install Tomcat as a Service
- Create the script for Tomcat. Save this file as
/etc/systemd/system/tomcat9.service. - Edit this script with your minimum and maximum memory for the Tomcat 9 application. This is updating the heap size values in CATALINA_OPTS.
Have a look at the recommended memory allocation settings in this article. - Make the script executable by root. This script needs to be owned by root and executable in order to run as a service. Only the root user needs to run it. The script drops privilege to the tomcat user in order to start and stop the
tomcat9service.
chown root:root /etc/systemd/system/tomcat9.service
chmod 700 /etc/systemd/system/tomcat9.service
- Run the following command to reload the changed service configurations.
systemctl daemon-reload
- Set the
tomcat9service to start on boot. This command tells thechkconfigservice control command to start thetomcat9service when the system enters runlevels 3 and 5.
chkconfig --levels 35 tomcat9 on
- Start the
tomcat9service manually. You need to start the service manually the first time.
service tomcat9 start
Verify your Tomcat installation
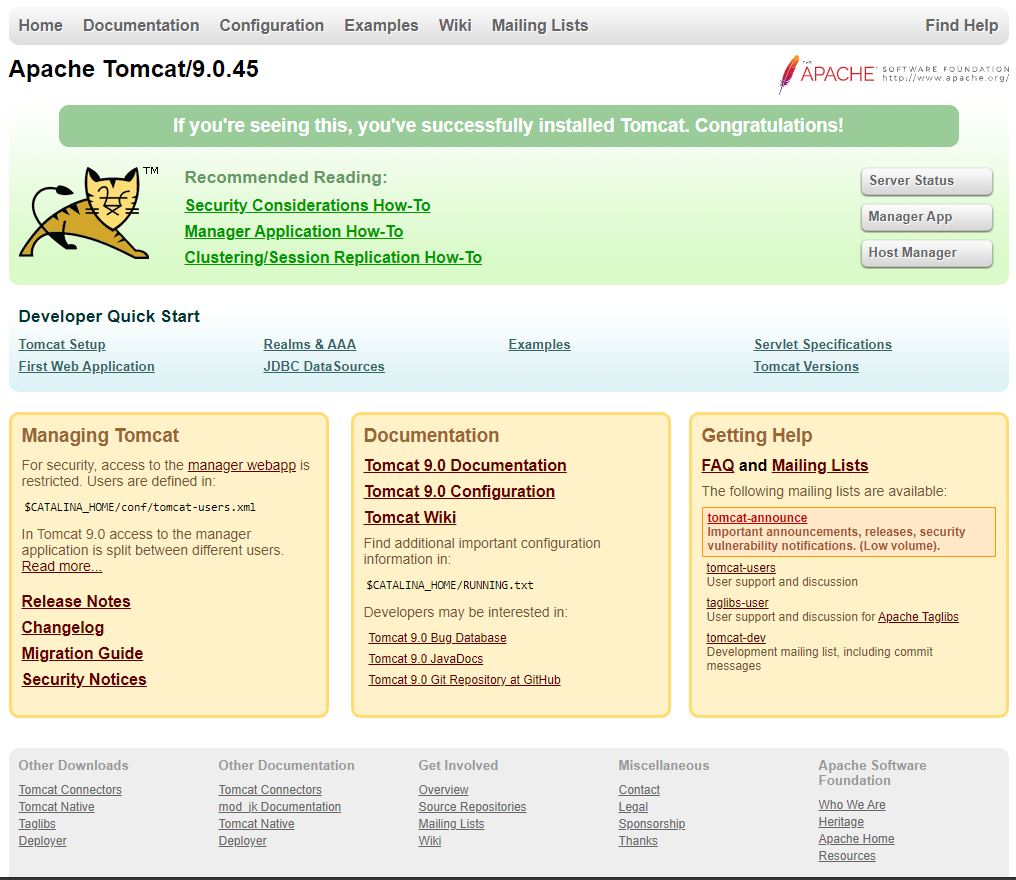
To quickly check that Tomcat has installed without error and is running, navigate to http://localhost:8080/ where you should see the default home page for Tomcat:
Setting Up Terminalfour in Apache Tomcat 9
In order to set up Terminalfour you need to do the following:
- Create a folder structure for Terminalfour
- Add the JDBC driver for your database into Tomcat
- Configure Tomcat's server.xml file for Terminalfour
Create a folder structure for Terminalfour
It is recommended the following folders be created as outlined below.
The main Terminalfour folder can be placed anywhere on your file system, this guide assumes it is located in /web/terminalfour/.
| Item | Description |
| filestore | Stores all media files that are added to Terminalfour |
| servlets | Stores the main Terminalfour WAR file. This will be created as a symlink |
| temp | Can be set as the temporary file directory for Terminalfour |
| changesets | Should be used to hold the changeset directories for Transfer Manager |
| preview | Directory used for setting up a preview filter |
| publish-transfer-logs | Can be used to store archived publish/transfer logs |
mkdir /web
mkdir /web/terminalfour
mkdir /web/terminalfour/htdocs
mkdir /web/terminalfour/htdocs/preview
mkdir /web/terminalfour/filestore
mkdir /web/terminalfour/temp
mkdir /web/terminalfour/changesets
mkdir /web/terminalfour/publish-transfer-logs
ln -s /usr/share/tomcat9/webapps/servlets /web/terminalfour/servlets
chown -R tomcat:tomcat terminalfour/
After creating the folder structure, please move your Terminalfour WAR file into the servlet's directory. It is important that the WAR file is owned by the tomcat user and group and that it has appropriate permissions for Tomcat to read the file on load.
Replace the Terminalfour build number with the current one you are using.
drwxr-xr-x 2 tomcat tomcat 4096 2017-10-15 12:09 ./
drwxr-xr-x 7 tomcat tomcat 4096 2017-10-15 16:41 ../
-rw-r--r-- 1 tomcat tomcat 28810296 2017-10-15 12:05 terminalfour-8.3.9-FINAL.war
Add the JDBC driver for your database into Tomcat
The JDBC driver for your database should be placed into the lib folder of your Tomcat installation. This is a JAR file that will be specific to your database type and version. For Oracle systems, we recommend the use of the Oracle Thin JDBC Driver, however, the OCI driver will work.
You can see the list of supported databases here.
Ensure the correct permissions are set on this file:
-rw-r--r-- 1 tomcat tomcat 1007502 Aug 7 07:59 mysql-connector-java-5.1.47.jar
Configure Tomcat's server.xml file for Terminalfour
We need to tell Tomcat where to find the Terminalfour files and how to run them. This is done by editing the server.xml file located in the conf folder for your Tomcat installation. Open this file for editing and add in the following code towards the bottom of the file just before the </host> tag.
There are three resources available below so use the one appropriate for your system and remember to edit any information in bold to match your particular setup.
The path indicated in bold should be changed to match the path to your WAR file.
For Terminalfour Version 8.3+ we advise that there are 200 connections available to the database.
MySQL:
<Context path="/terminalfour"
docBase="/usr/share/tomcat9/webapps/servlets/terminalfour-8.3.9-FINAL.war"
reloadable="false"
antiJARLocking="true">
<Resource driverClassName="com.mysql.jdbc.Driver"
maxActive="200"
maxIdle="20"
name="jdbc/SiteManagerDB"
username="DATABASE_USER"
password="DATABASE_PASSWORD"
type="javax.sql.DataSource"
url="jdbc:mysql://DATABASE_HOST/DATABASE_NAME?zeroDateTimeBehavior=convertToNull&characterEncoding=UTF-8&useSSL=false"
validationQuery="SELECT 1"
maxWait="-1"
removeAbandoned="true"
removeAbandonedTimeout="600"
minEvictableIdleTimeMillis="600000"
factory="org.apache.tomcat.jdbc.pool.DataSourceFactory"
jdbcInterceptors="ResetAbandonedTimer"
logAbandoned="true"
testOnBorrow="true"
testOnReturn="true"
testWhileIdle="true"
timeBetweenEvictionRunsMillis="1200000" />
</Context>
Microsoft SQL Server:
<Context path="/terminalfour"
docBase="/usr/share/tomcat9/webapps/servlets/terminalfour-8.3.9-FINAL.war"
reloadable="false"
antiJARLocking="true">
<Resource driverClassName="com.microsoft.sqlserver.jdbc.SQLServerDriver"
maxActive="200"
maxIdle="20"
name="jdbc/SiteManagerDB"
username="DATABASE_USER"
password="DATABASE_PASSWORD"
type="javax.sql.DataSource"
url="jdbc:sqlserver://DATABASE_HOST;DatabaseName=DATABASE_NAME"
validationQuery="SELECT 1"
maxWait="-1"
removeAbandoned="true"
removeAbandonedTimeout="600"
minEvictableIdleTimeMillis="600000"
factory="org.apache.tomcat.jdbc.pool.DataSourceFactory"
jdbcInterceptors="ResetAbandonedTimer"
logAbandoned="true"
testOnBorrow="true"
testOnReturn="true"
testWhileIdle="true"
timeBetweenEvictionRunsMillis="1200000" />
</Context>
Oracle (assuming Oracle Thin JDBC client):
<Context path="/terminalfour"
docBase="/usr/share/tomcat9/webapps/servlets/terminalfour-8.3.9-FINAL.war"
reloadable="false"
antiJARLocking="true">
<Resource driverClassName="oracle.jdbc.driver.OracleDriver"
maxActive="200"
maxIdle="20"
name="jdbc/SiteManagerDB"
username="DATABASE_USER"
password="DATABASE_PASSWORD"
type="javax.sql.DataSource"
url="jdbc:oracle:thin:@dbhost_name:port_number/schema_name"
validationQuery="SELECT 1 FROM DUAL"
maxWait="-1"
removeAbandoned="true"
removeAbandonedTimeout="600"
minEvictableIdleTimeMillis="600000"
factory="org.apache.tomcat.jdbc.pool.DataSourceFactory"
jdbcInterceptors="ResetAbandonedTimer"
logAbandoned="true"
testOnBorrow="true"
testOnReturn="true"
testWhileIdle="true"
timeBetweenEvictionRunsMillis="1200000" />
</Context>
Save your server.xml file and restart the Tomcat service:
service tomcat9 start
You should now be able to access Terminalfour by navigating to http://localhost:8080/terminalfour/SiteManager in your web browser.
Go to Step 3 – Terminalfour Installation
Back to top