
Getting started with Terminalfour
Whether you are evaluating Terminalfouror have purchased a license, chances are you'll want to find your way around and get a page set up. If that sound like you then this is this article for you. In this article, we'll add an existing HTML page into Terminalfour, add some content as well as preview and publish our site.
We’ve provided a zipped folder with a basic homepage and accompanying files. You'll need these to follow along.
Using the Media Library
The first thing we are going to do is add the image, stylesheet and JavaScript files to Terminalfour. The Media Library is where you store the files used across your site.
Rather than individual files to the Media Library we can bulk upload them using the Packages feature. First up, we'll zip the "images" folder.
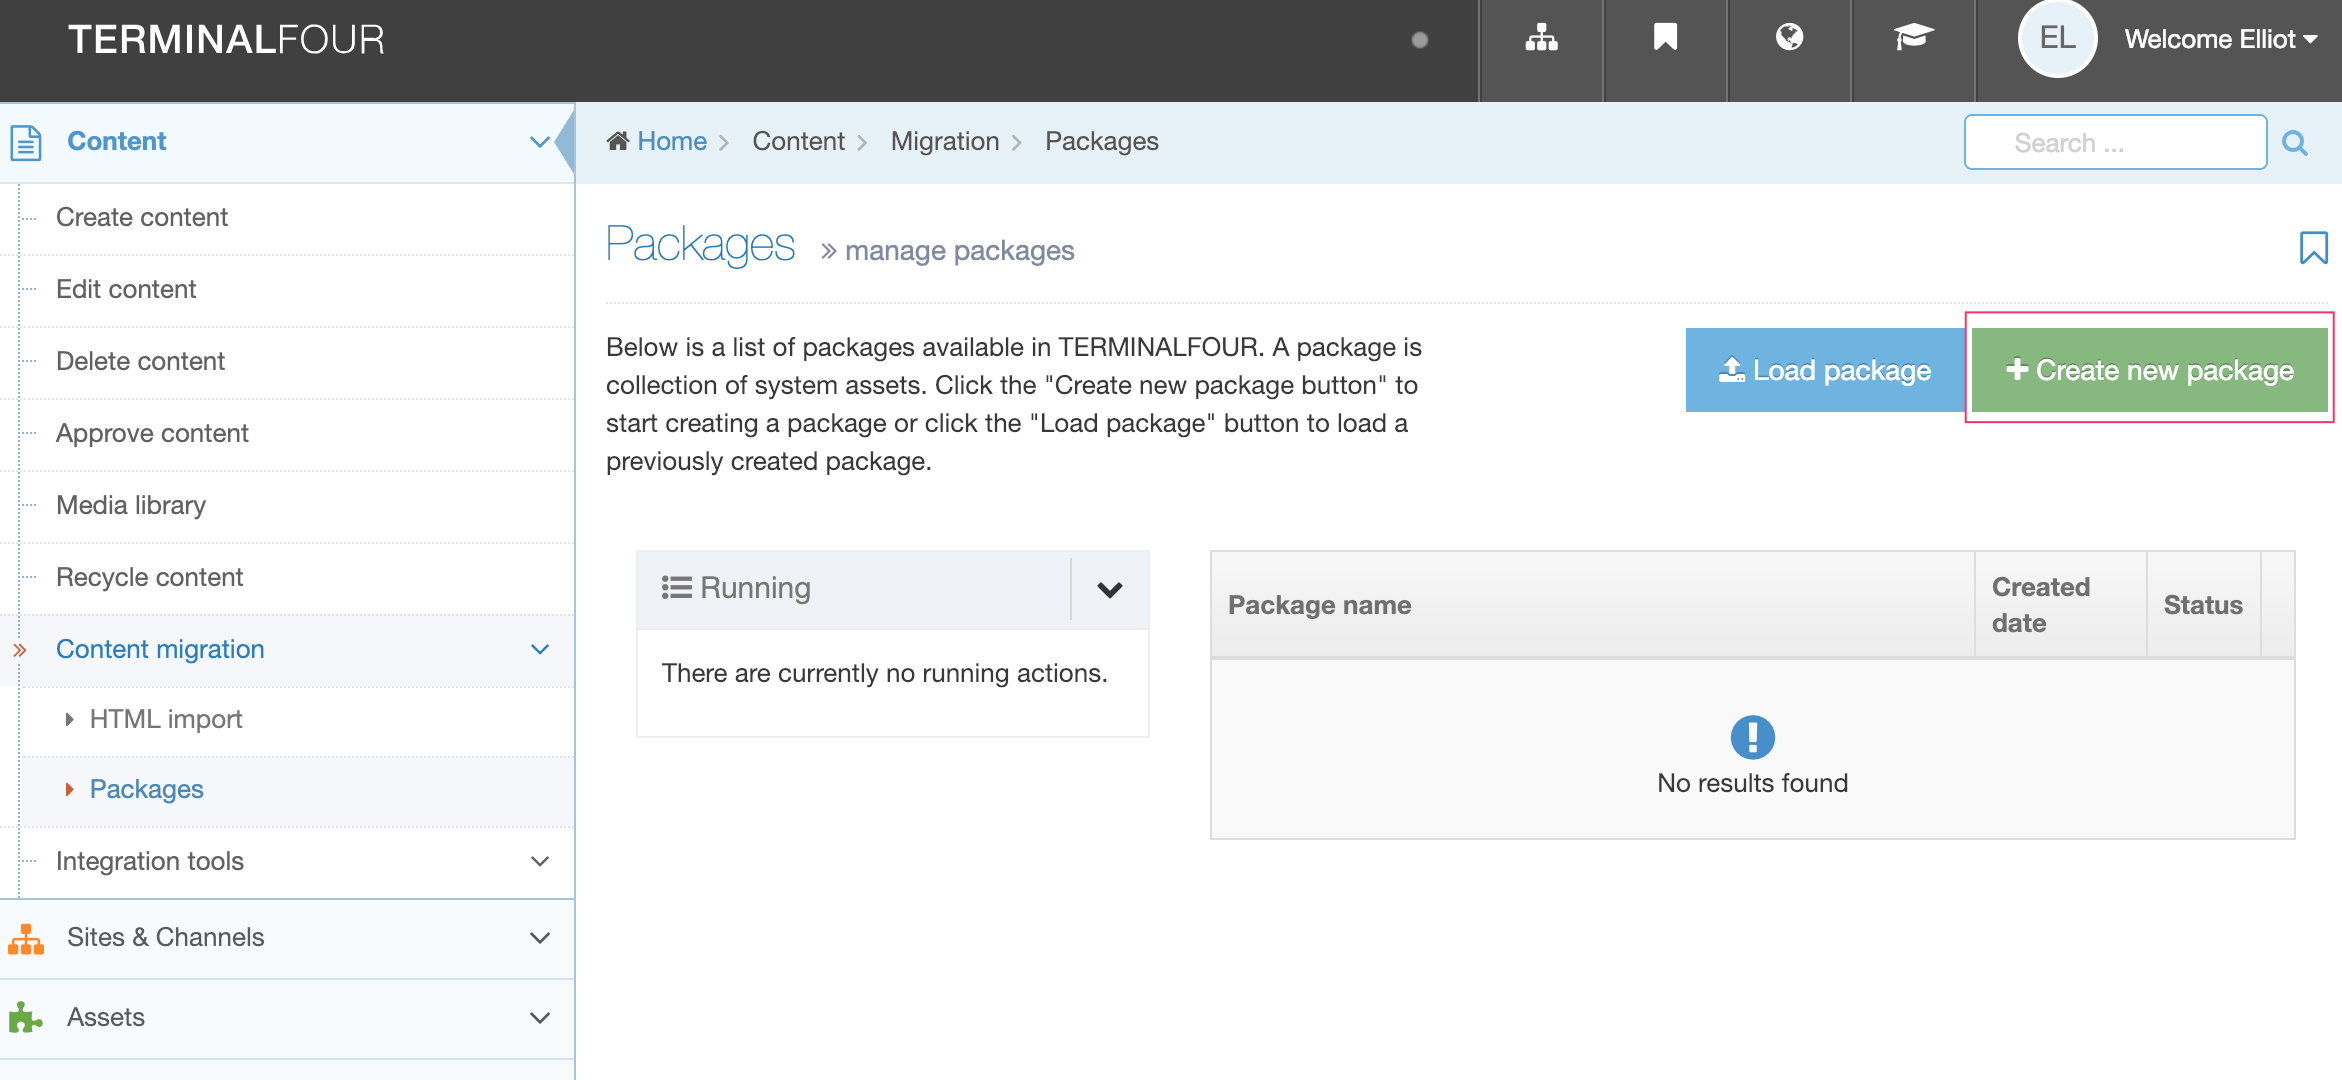
Next, go to Asset > Content Migration > Packages and Create New Package:
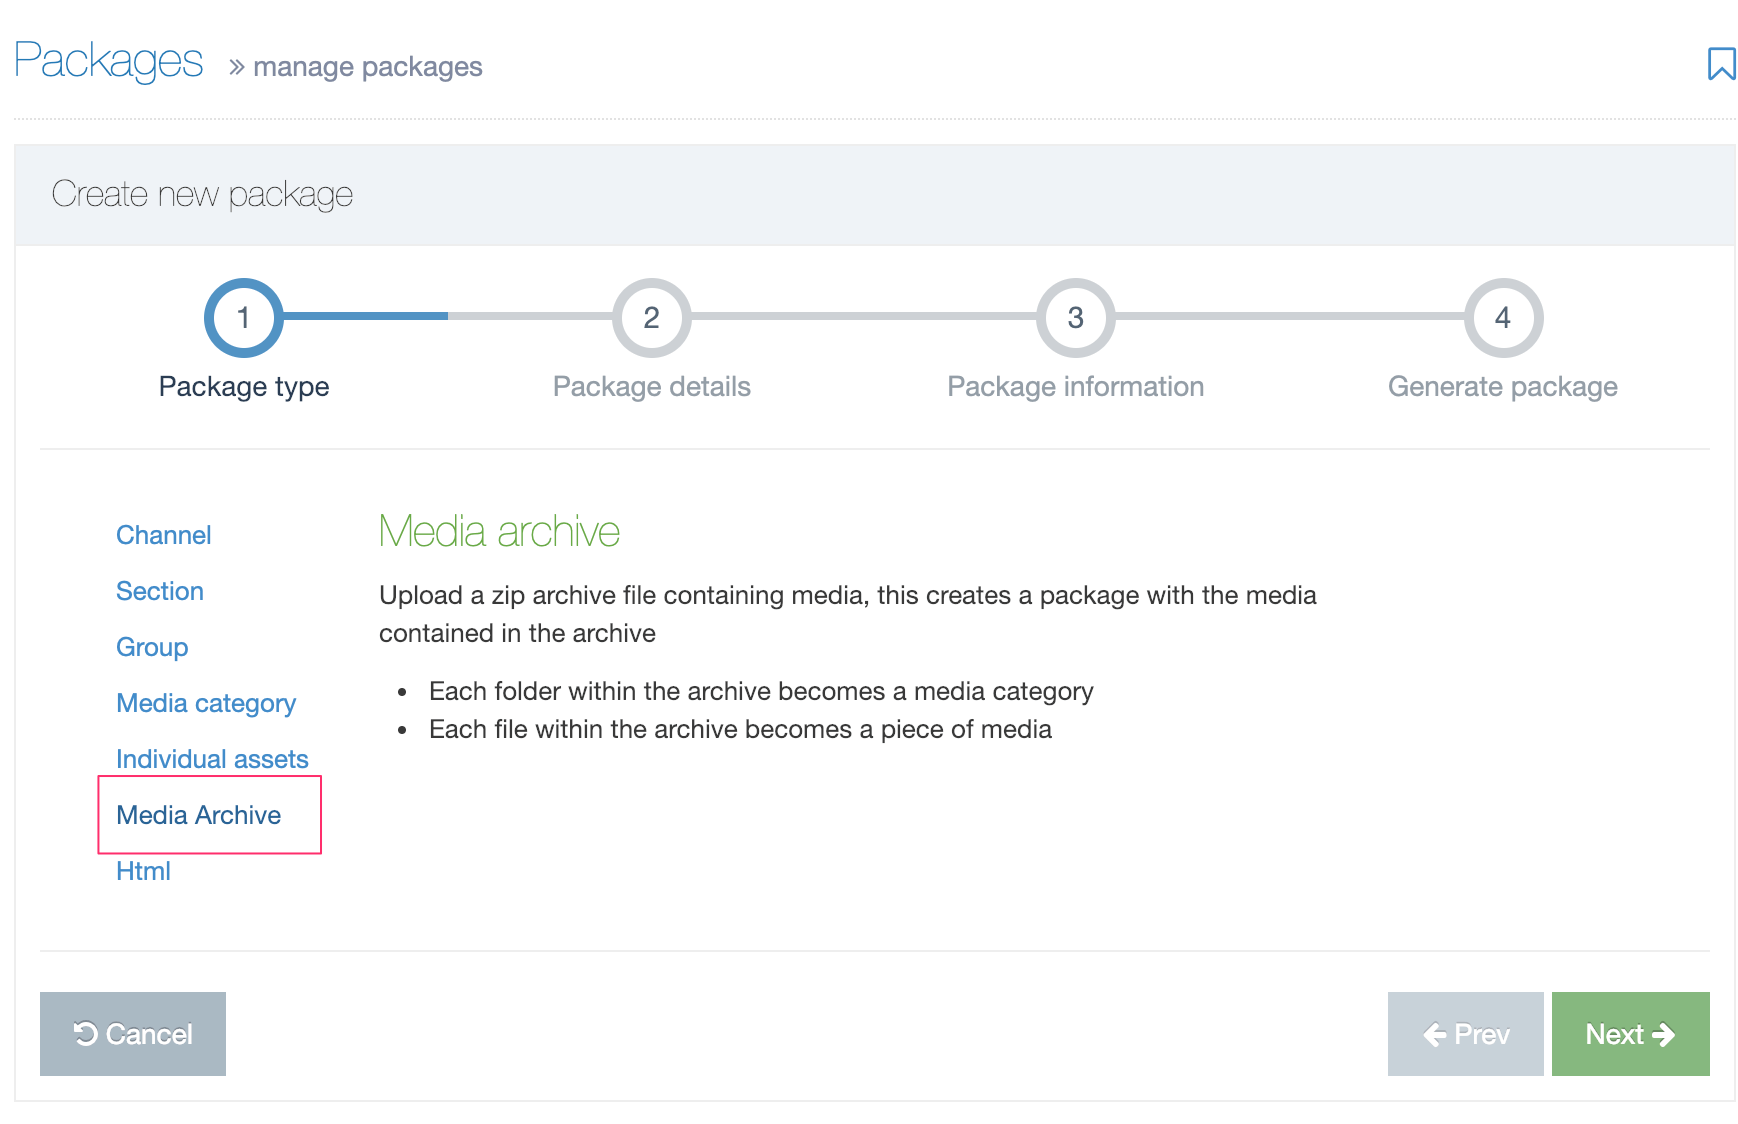
The type of Package we want is the Media Archive Package, select it and hit Next:
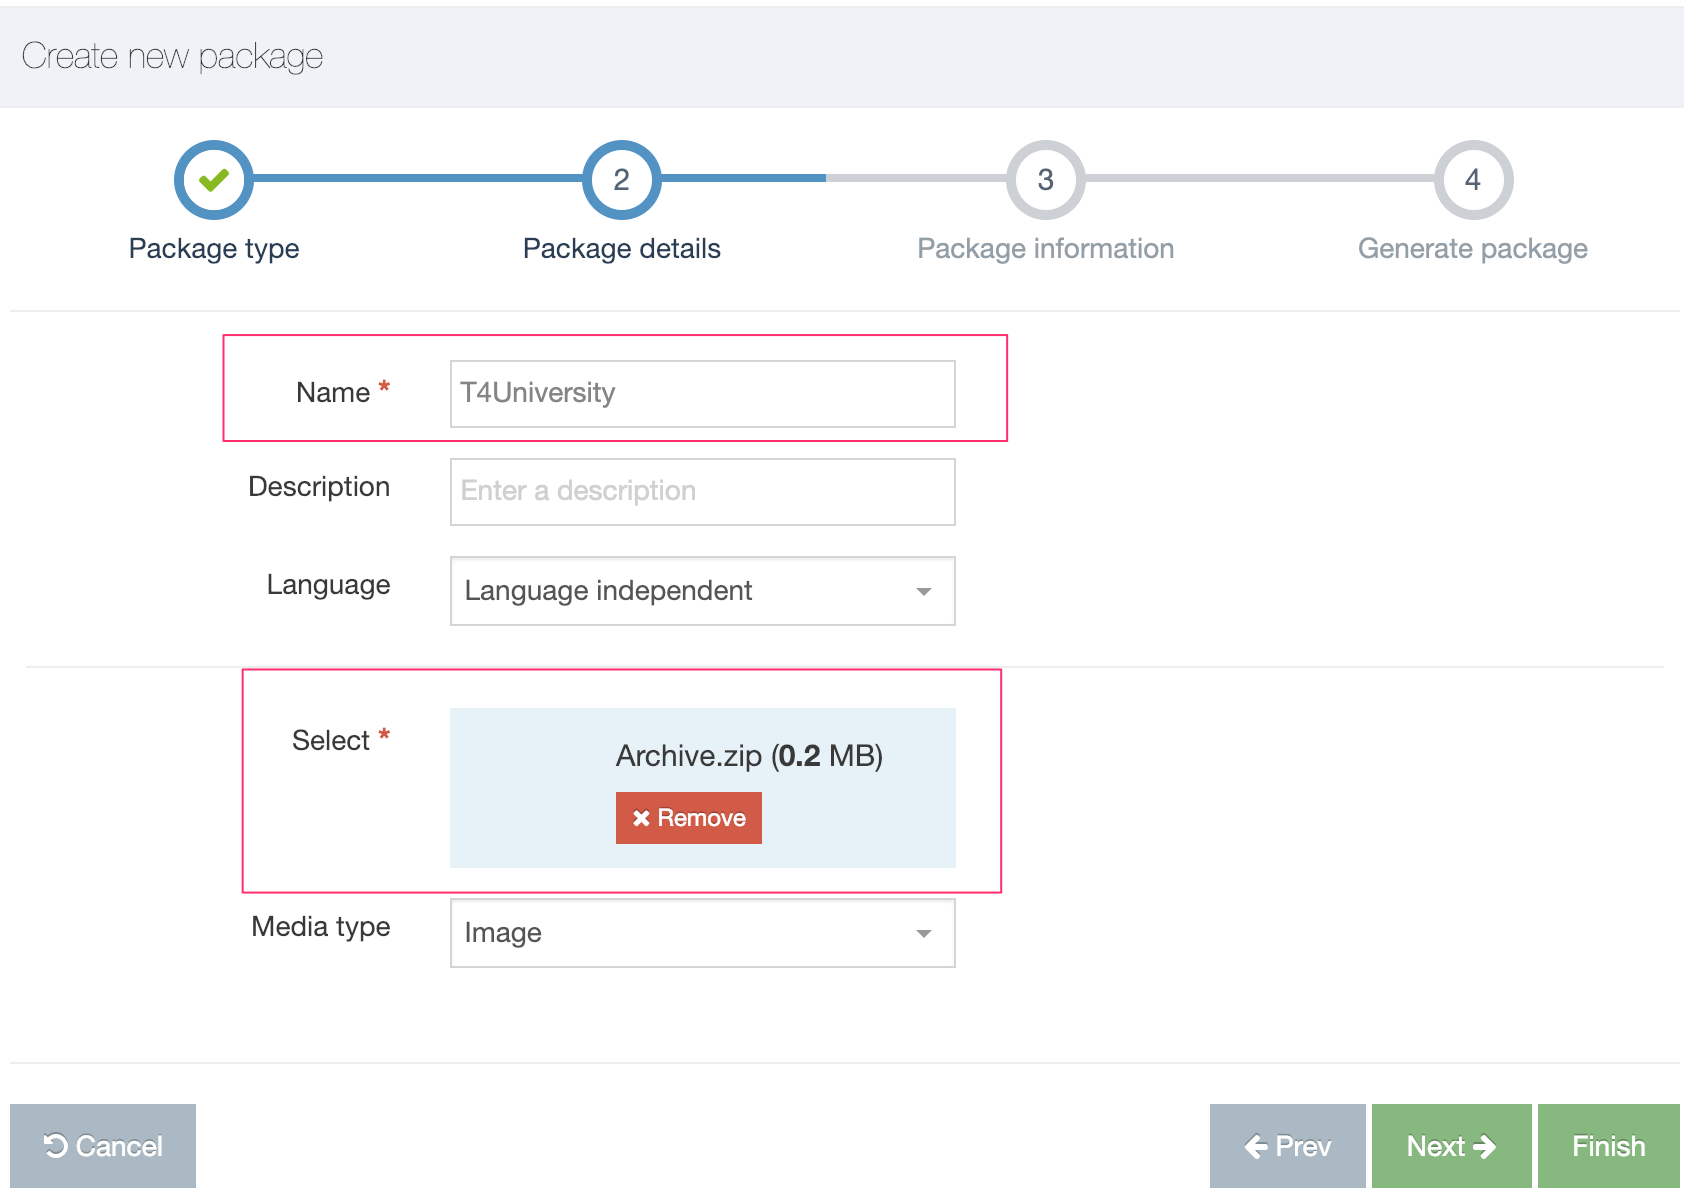
Name the Package (avoid special characters or spaces) and drag the zip file to the area beside the Select label and hit Next:
In the next screen, you can inspect the Package contents. Scroll to the bottom and select Next.
When the Package has been created, select Finish.
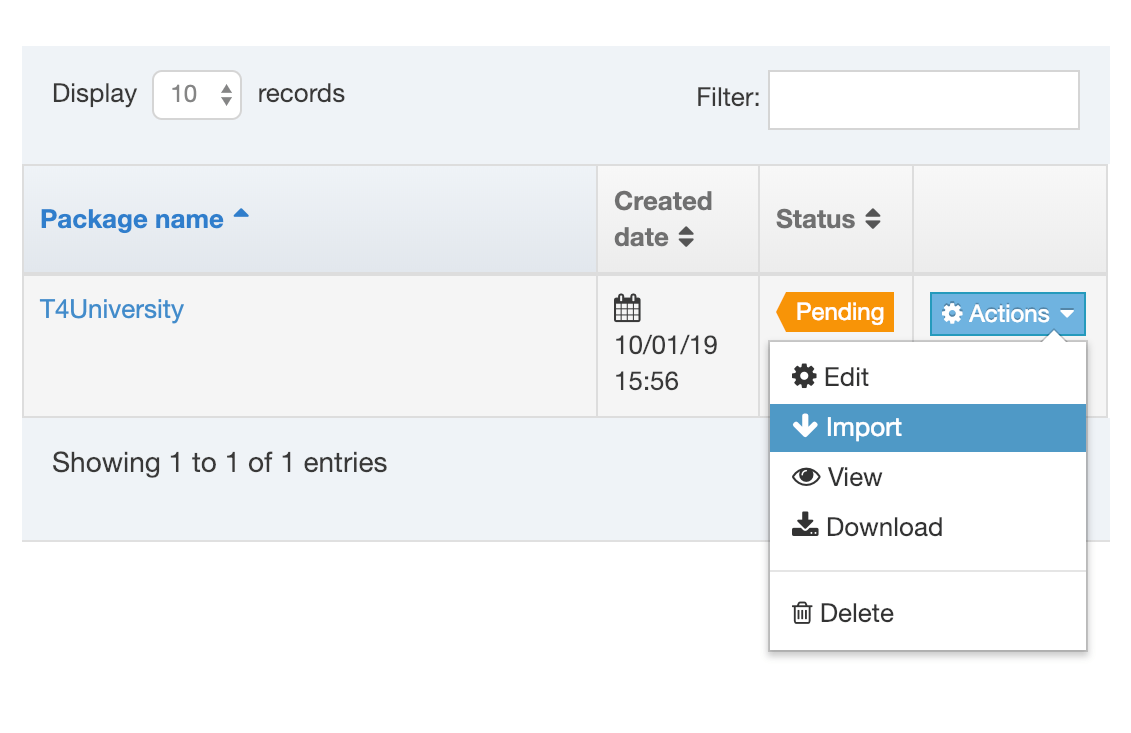
On the next screen, you will see the Package you have just created. From the Actions menu, select Import, to import it into the Media Library.
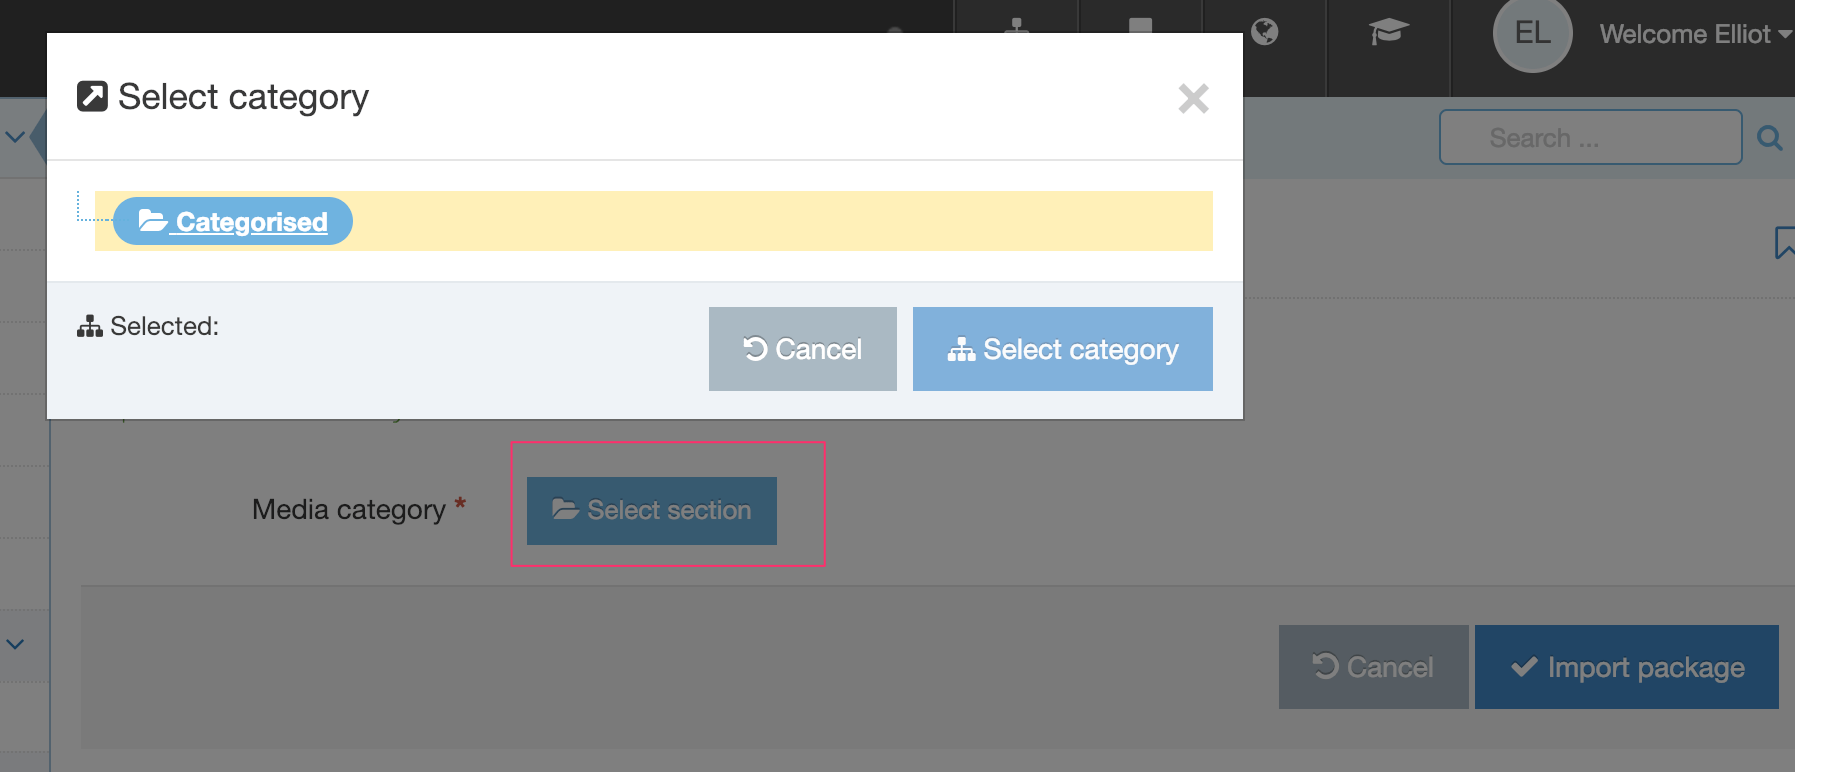
Select the root Category and click Import Package:
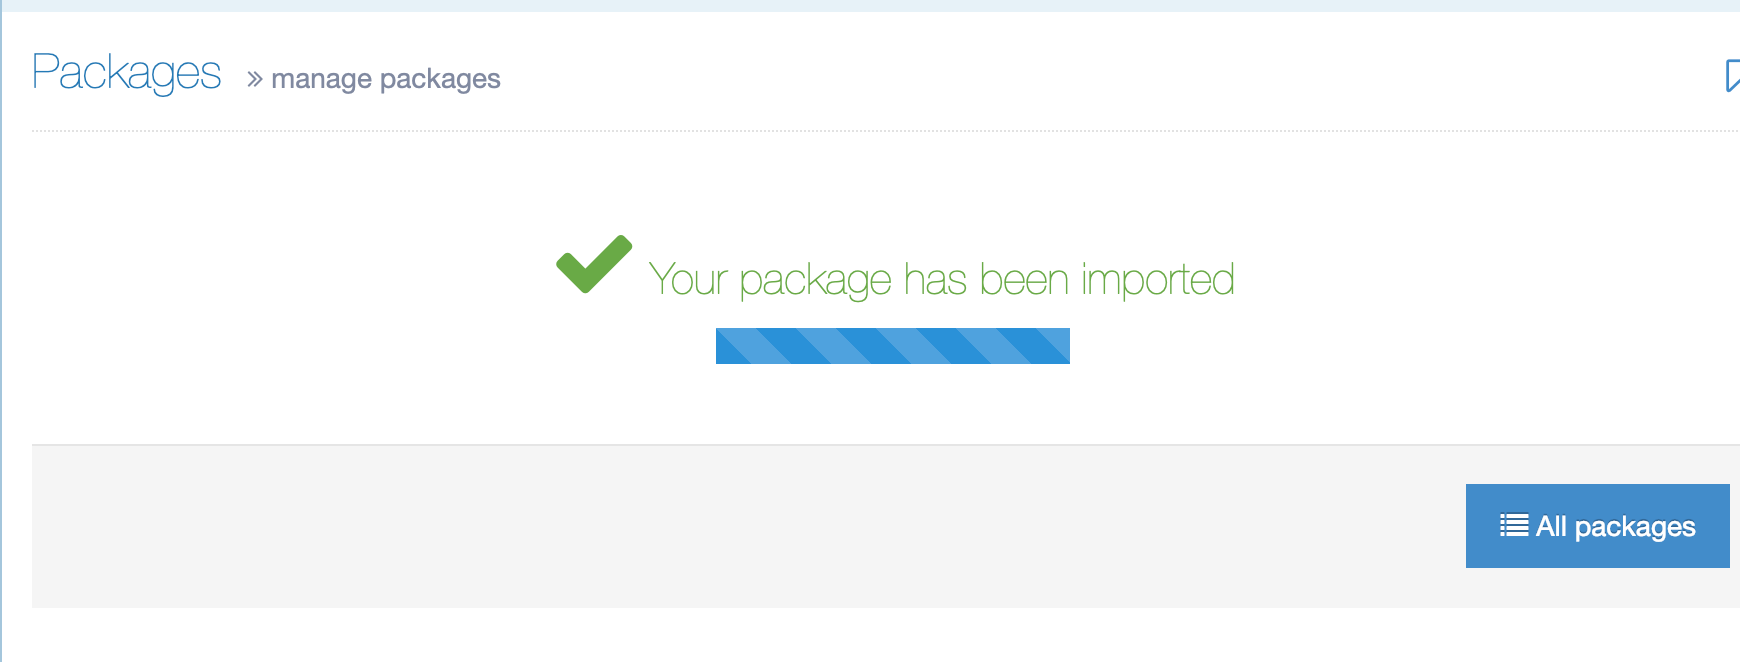
You should see a success message:
Back in the Media Library, when the images Subcategory is selected, you will them listed on the right.
Create new Subcategories called "css" and "js":

Select the "css" Subcategory and select Add Media. Drag the stylesheet to Media File area, give it a name and Save.

You can also add the JavaScript file to the "js" Category.
Now, all our files are in place we can move on to building our page. We'll start with a Page Layout.
Create your Page Layout
Terminalfour features a few different kinds of Assets that help you efficiently build, maintain and update your site and its content. The first one we'll use is Page Layouts.
Page Layouts form the basis of your page design and while you could use a single Page Layout for every page in your site, depending on your needs, you'll probably require more. A Page Layout comprises the header and footer HTML that will appear on all the pages that use it. Changes to the Page Layout markup will be reflected on all the pages that use it.
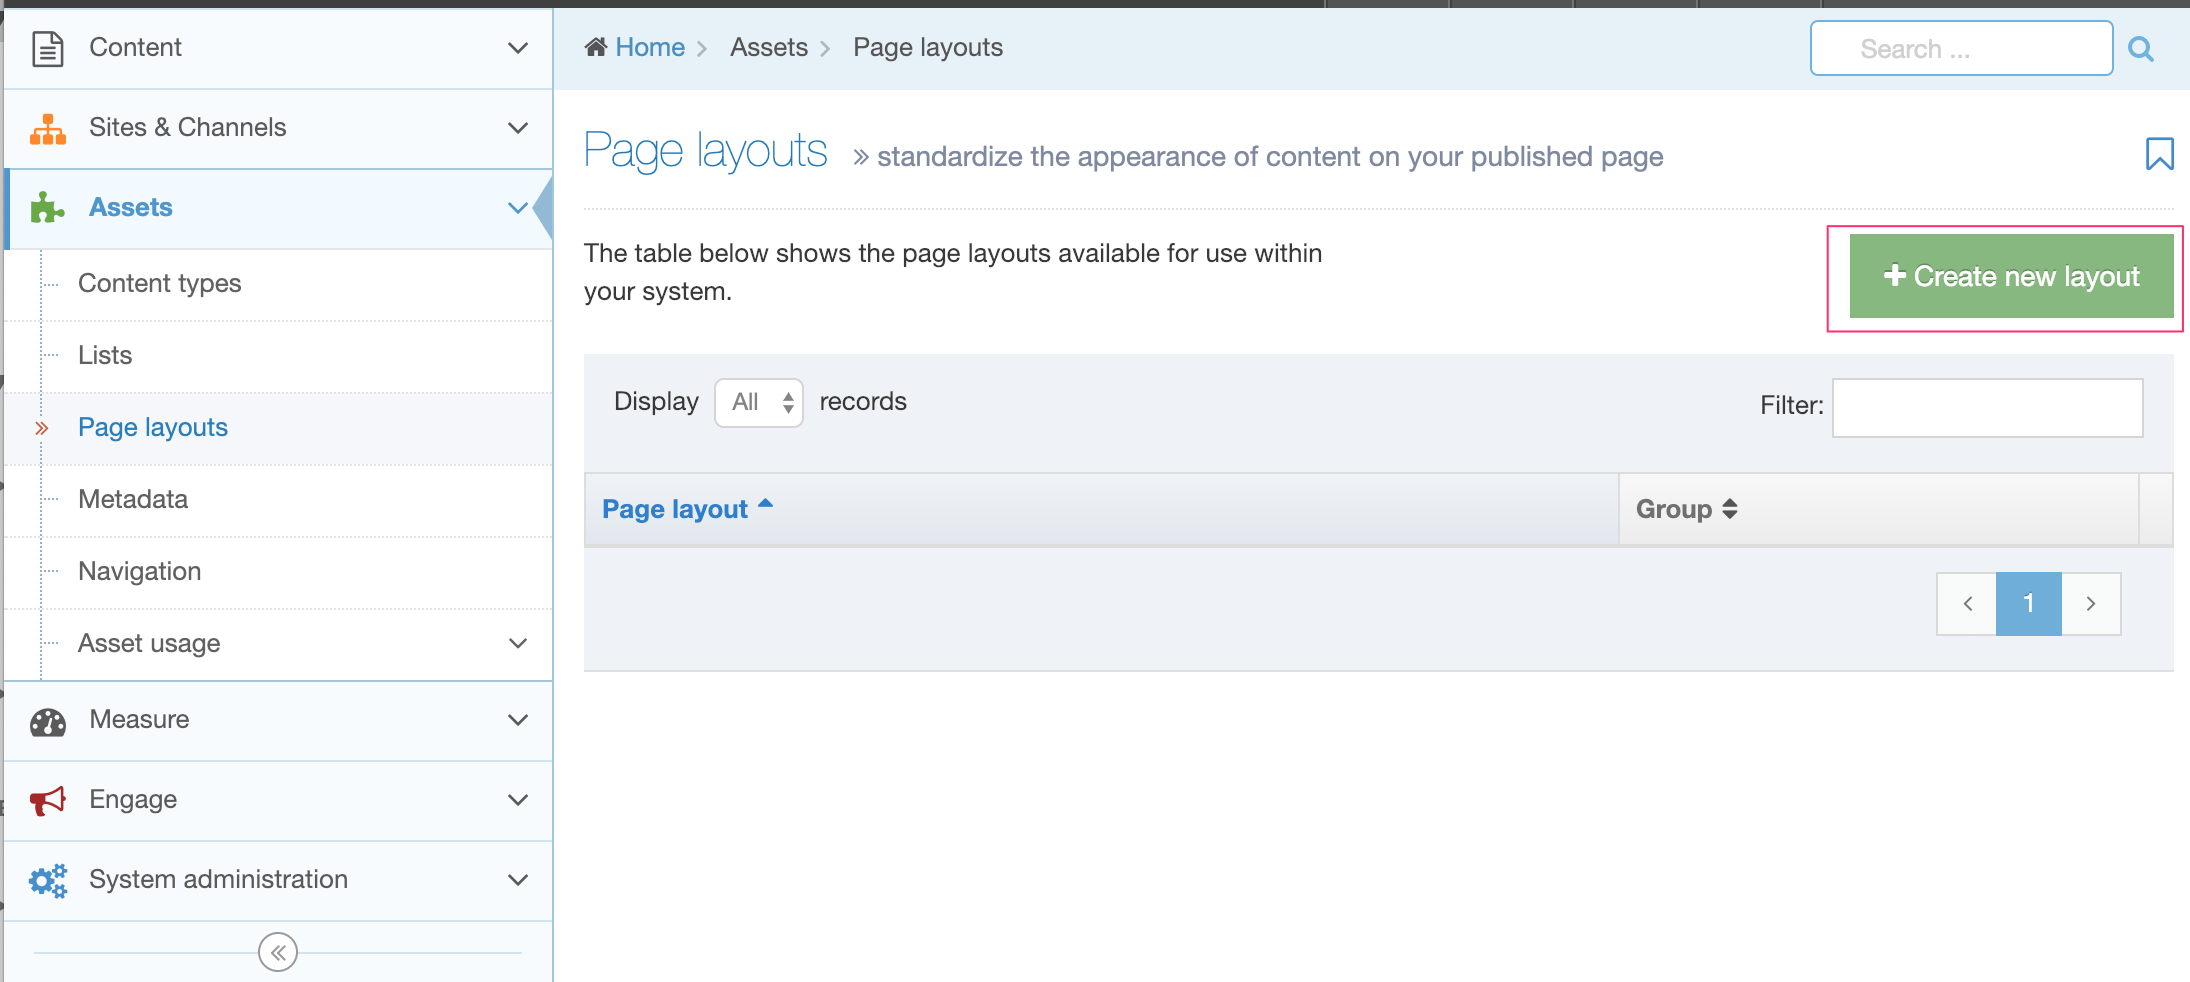
Let’s create the Page Layout for our page. Go to Assets > Page Layouts and create a new Layout:
Give the Page Layout a name in the General Information tab:

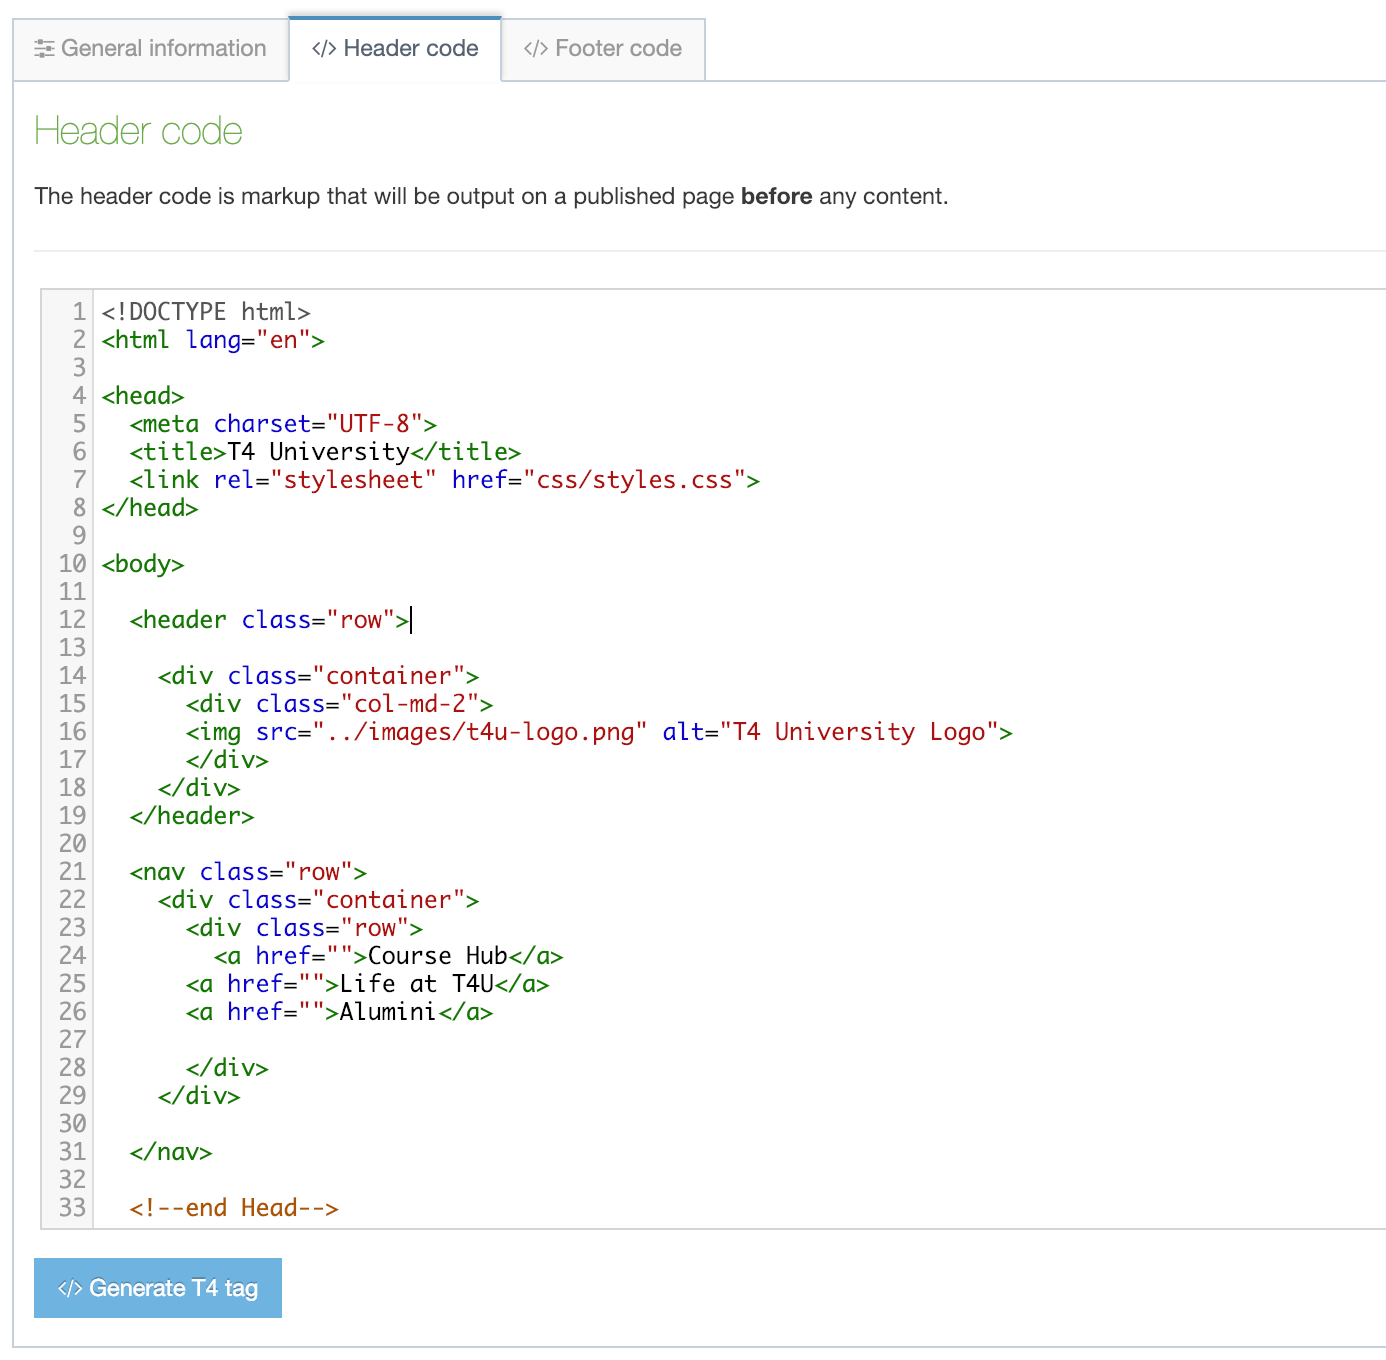
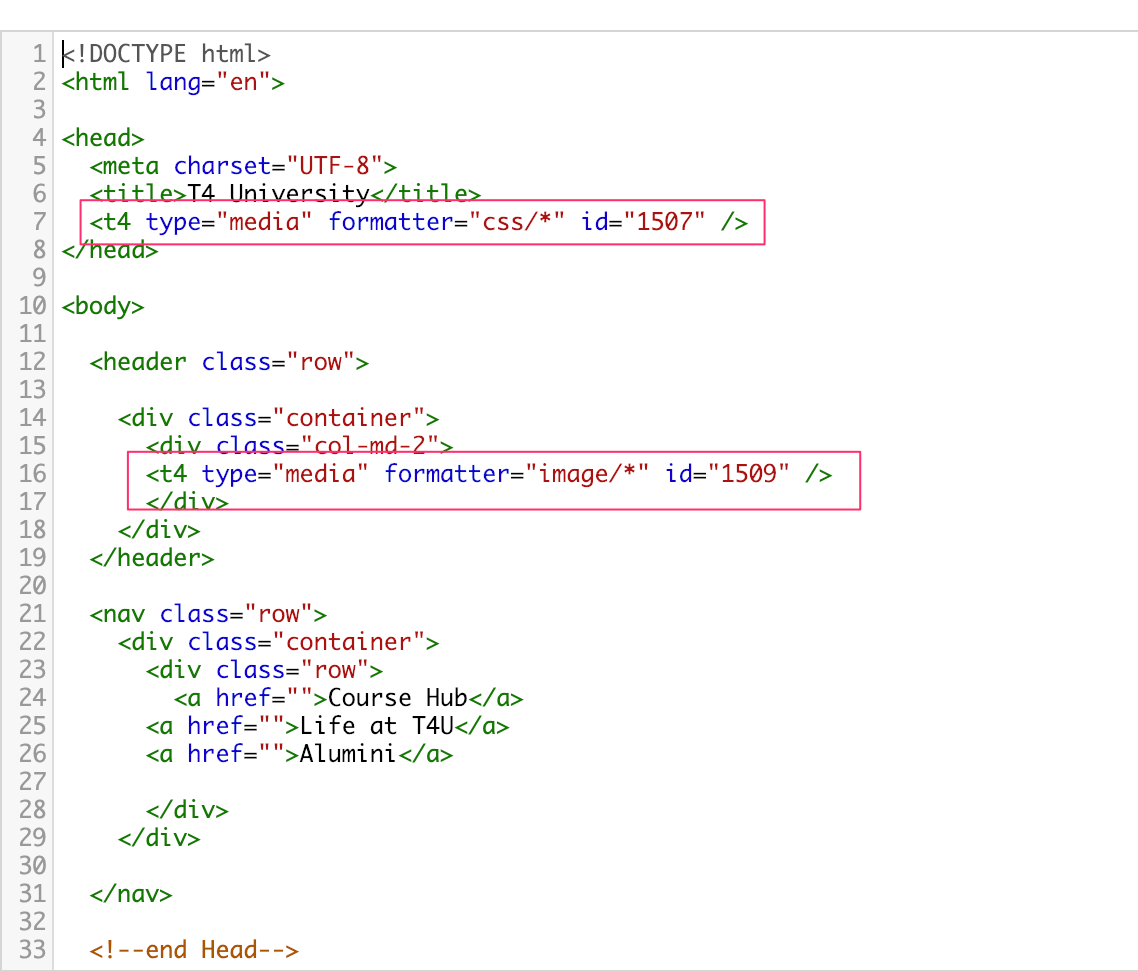
Open the "index.html" file in your preferred text editor and select and copy the code from the "end Head" comment up to the start:

Paste the code into to the Header tab:
Next, we can replace the media files with the files stored in the Media Library.
To do this, we’ll use T4 Media Tags as to act as placeholders for these files until the page is previewed or published (the ID number that you see will be different):
The two files to replace with T4 Tags are the stylesheet and the logo image file:
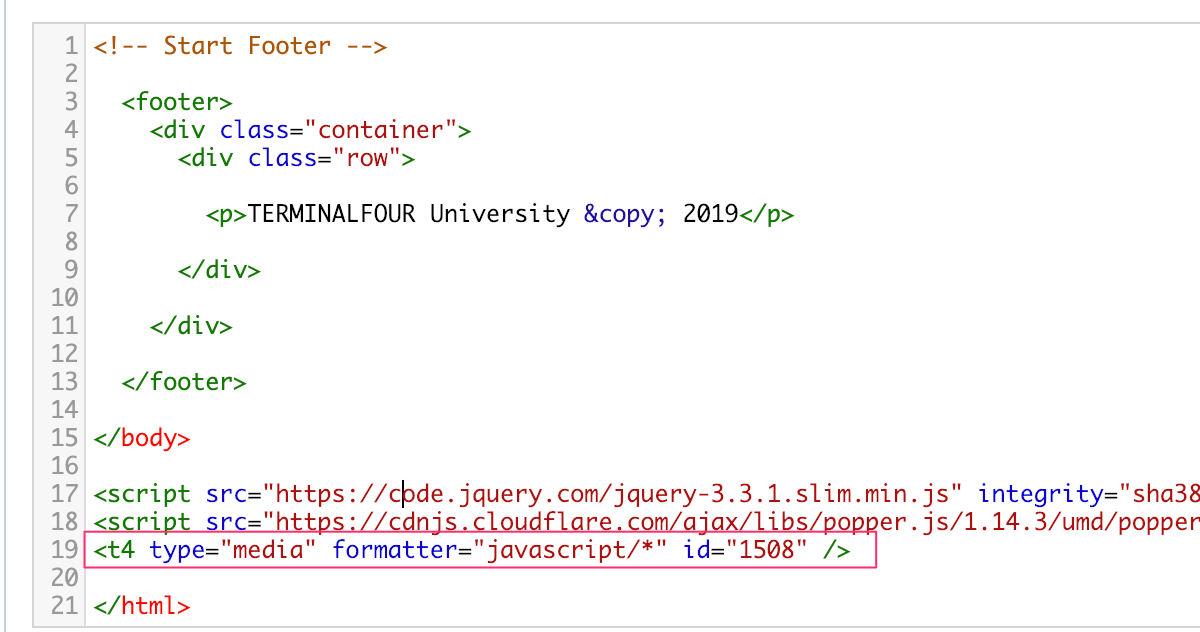
Next, we’ll add the Footer code by selecting and copying everything from the "Start Footer" comment down:
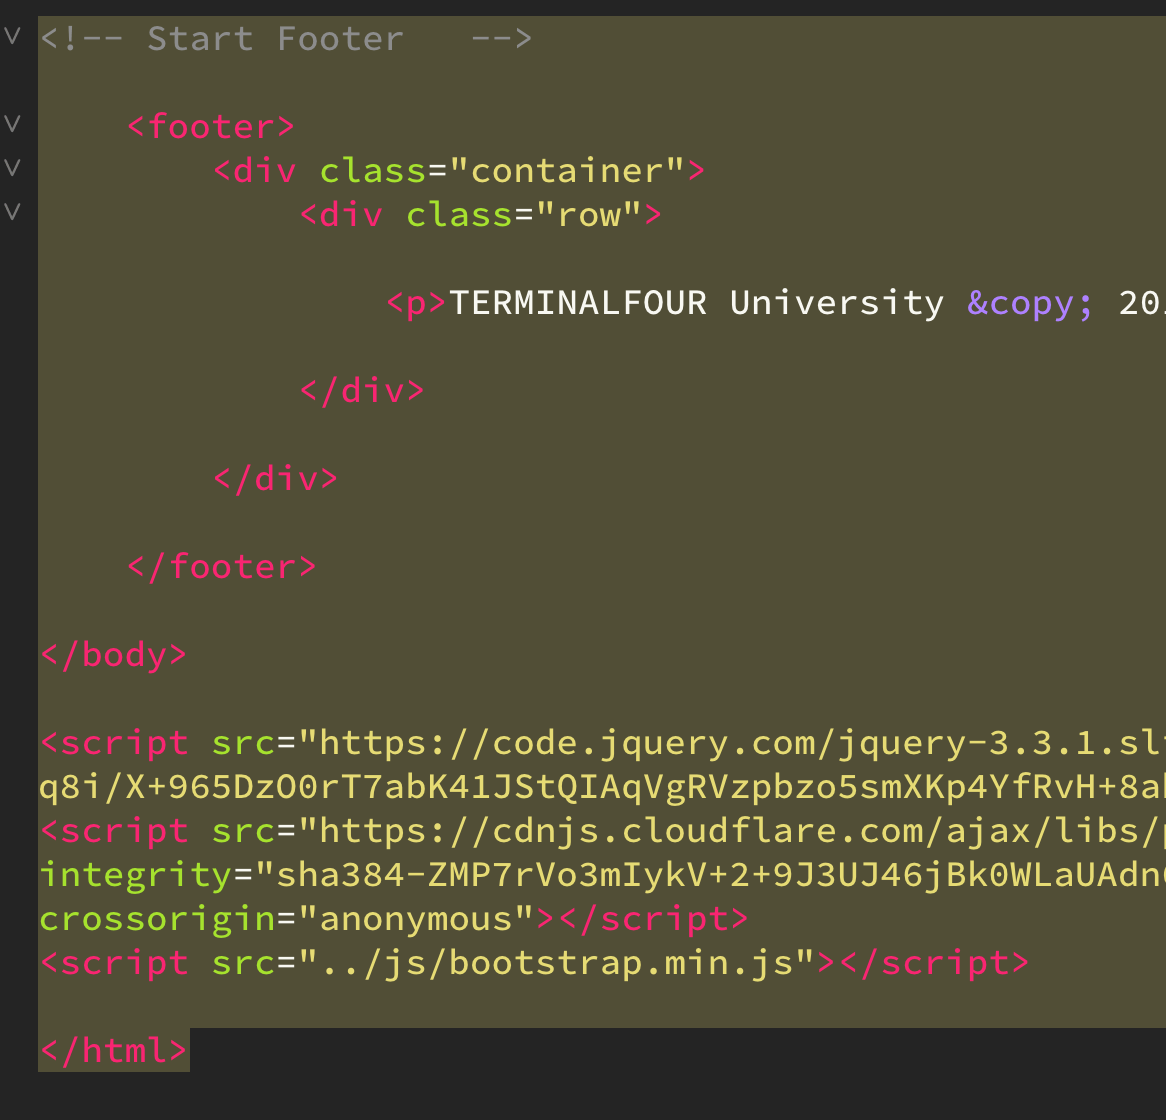
Paste into the box in the Footer tab. Here, I’ve replaced the JavaScript file paths with a T4 Tag referencing the same file in the Media Library:
Hit Save and you’ll see the file listed in the main Page Layouts screen.
Next, we need somewhere to put our pages and that’s what the Site Structure is for.
The Site Structure
The Site Structure keeps your site organized. You’re not just limited to just a single site in Terminalfour; you can manage multiple sites from the Site Structure. This lets you easily move or duplicate content from one site to another. The Site Structure contains folders called Sections and like folders on your PC, you can put Sections inside other Sections (in Terminalfour, we call Sections that have Subsections, Branches).
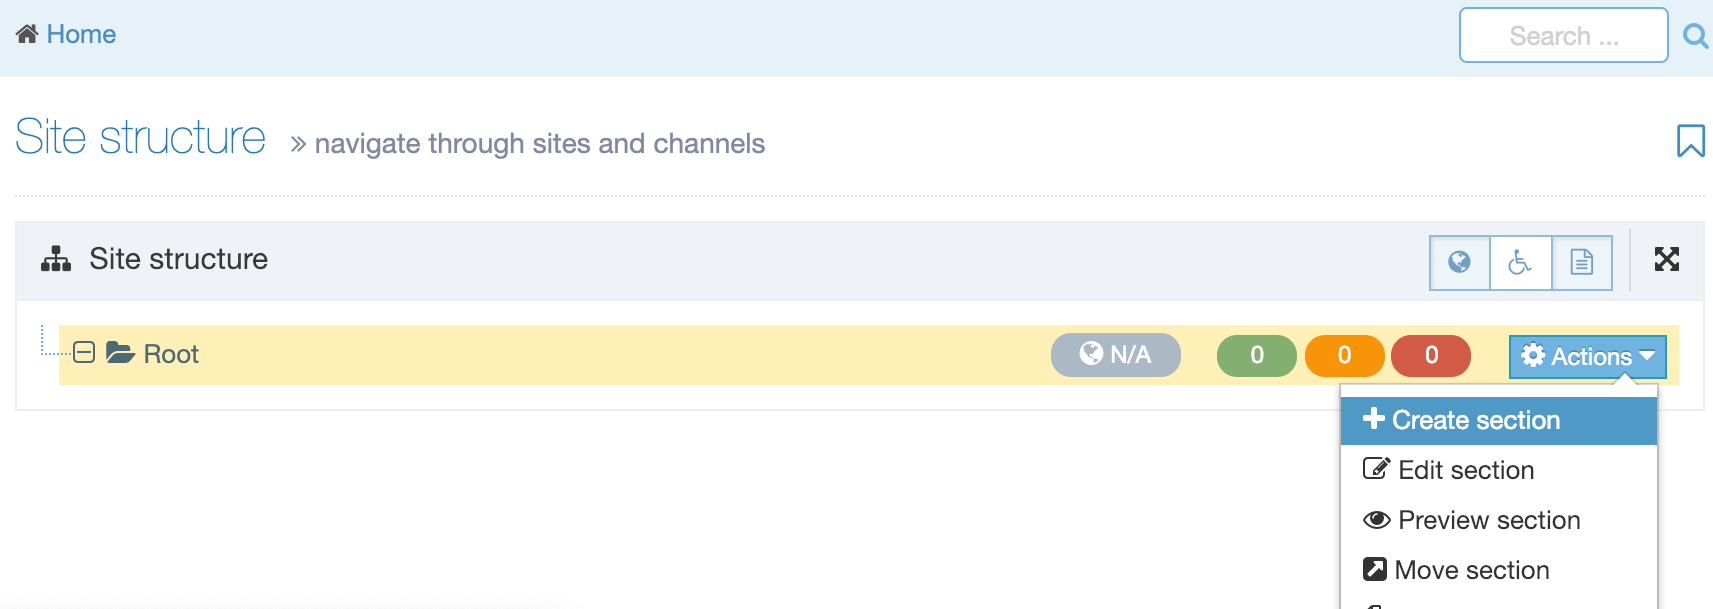
If your Site Structure is empty, you’ll see the Root Section. You’ll be adding the Branch that makes up your site below this Root Section. To do this, select the Action Menu to the right and select Create Section:
In the next screen, we’ll give the new Section a name and save it:
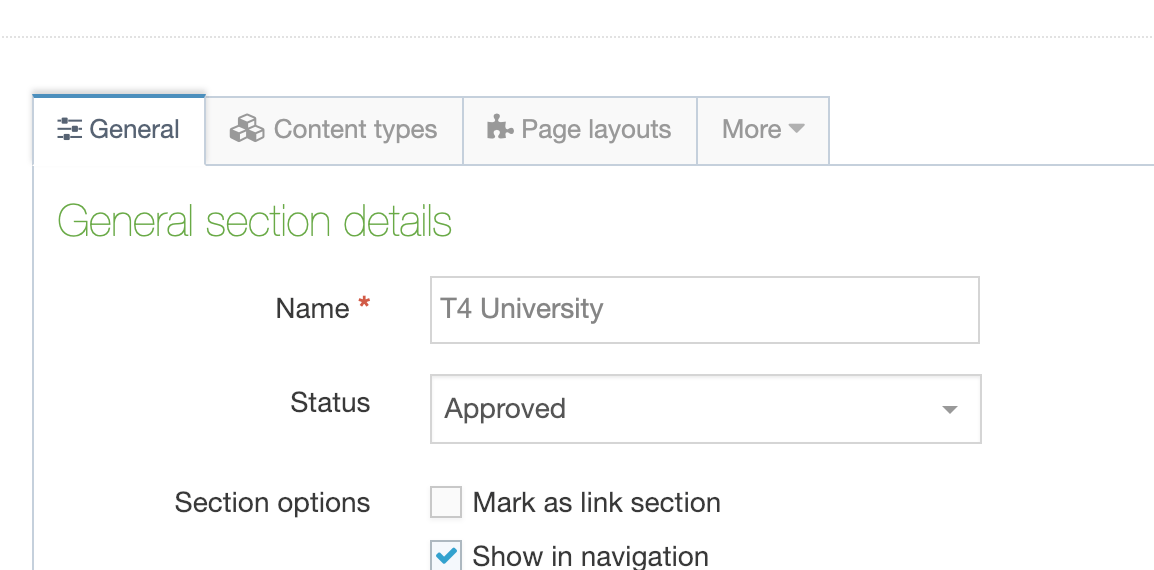
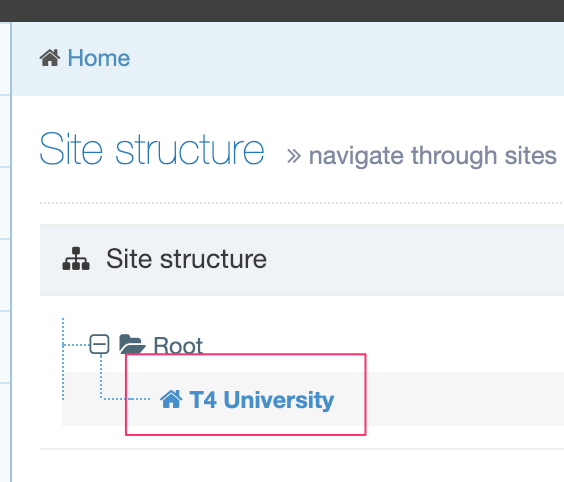
When it’s saved, the T4 University Section will appear will below the Root Section.
Next up, we'll want to set up a Channel to handle site publishing.
Add a Channel
Before you set up a Channel, you'll first create an output directory on your web server that the site will publish to. On an Apache server, this would typically be in the "htdocs" directory.
Channels contain the publish settings for our site. With a Channel, we specify where the site will publish to and what Page and Content Layouts will be used (which determines how the site will look when it is published).
Go to System Administration > Set up Sites and Channels > Channels and select Create New Channel.
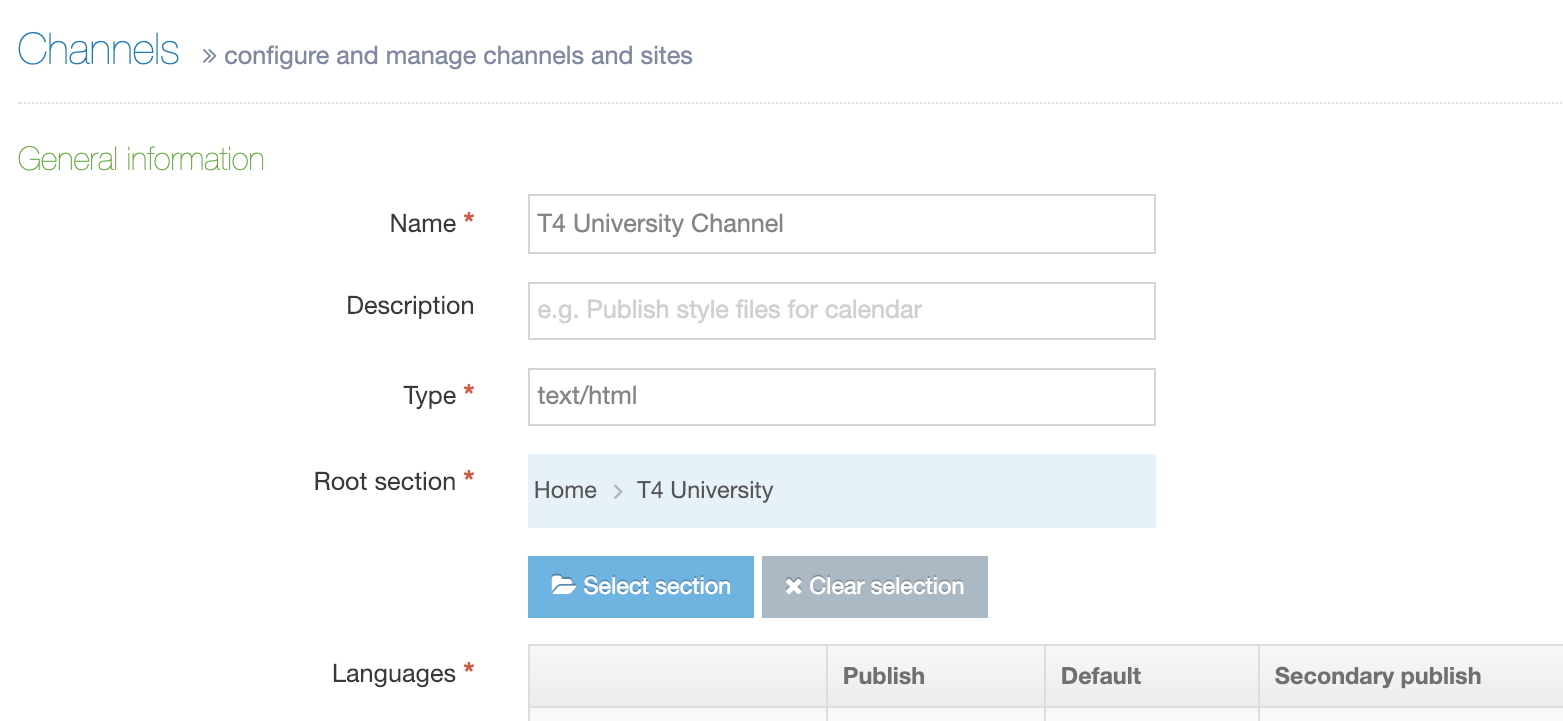
Here we are going to add the Channel settings:
- Name
- Type – we’re going to add "text/html" here which will match the type we are going to add to our Content Layouts. This tells the Channel how content should be presented on publish
- Root Section – this is the site’s root that we just created in the Site Structure.
- Languages – we are only publishing this site in English so this will be the only publish language used
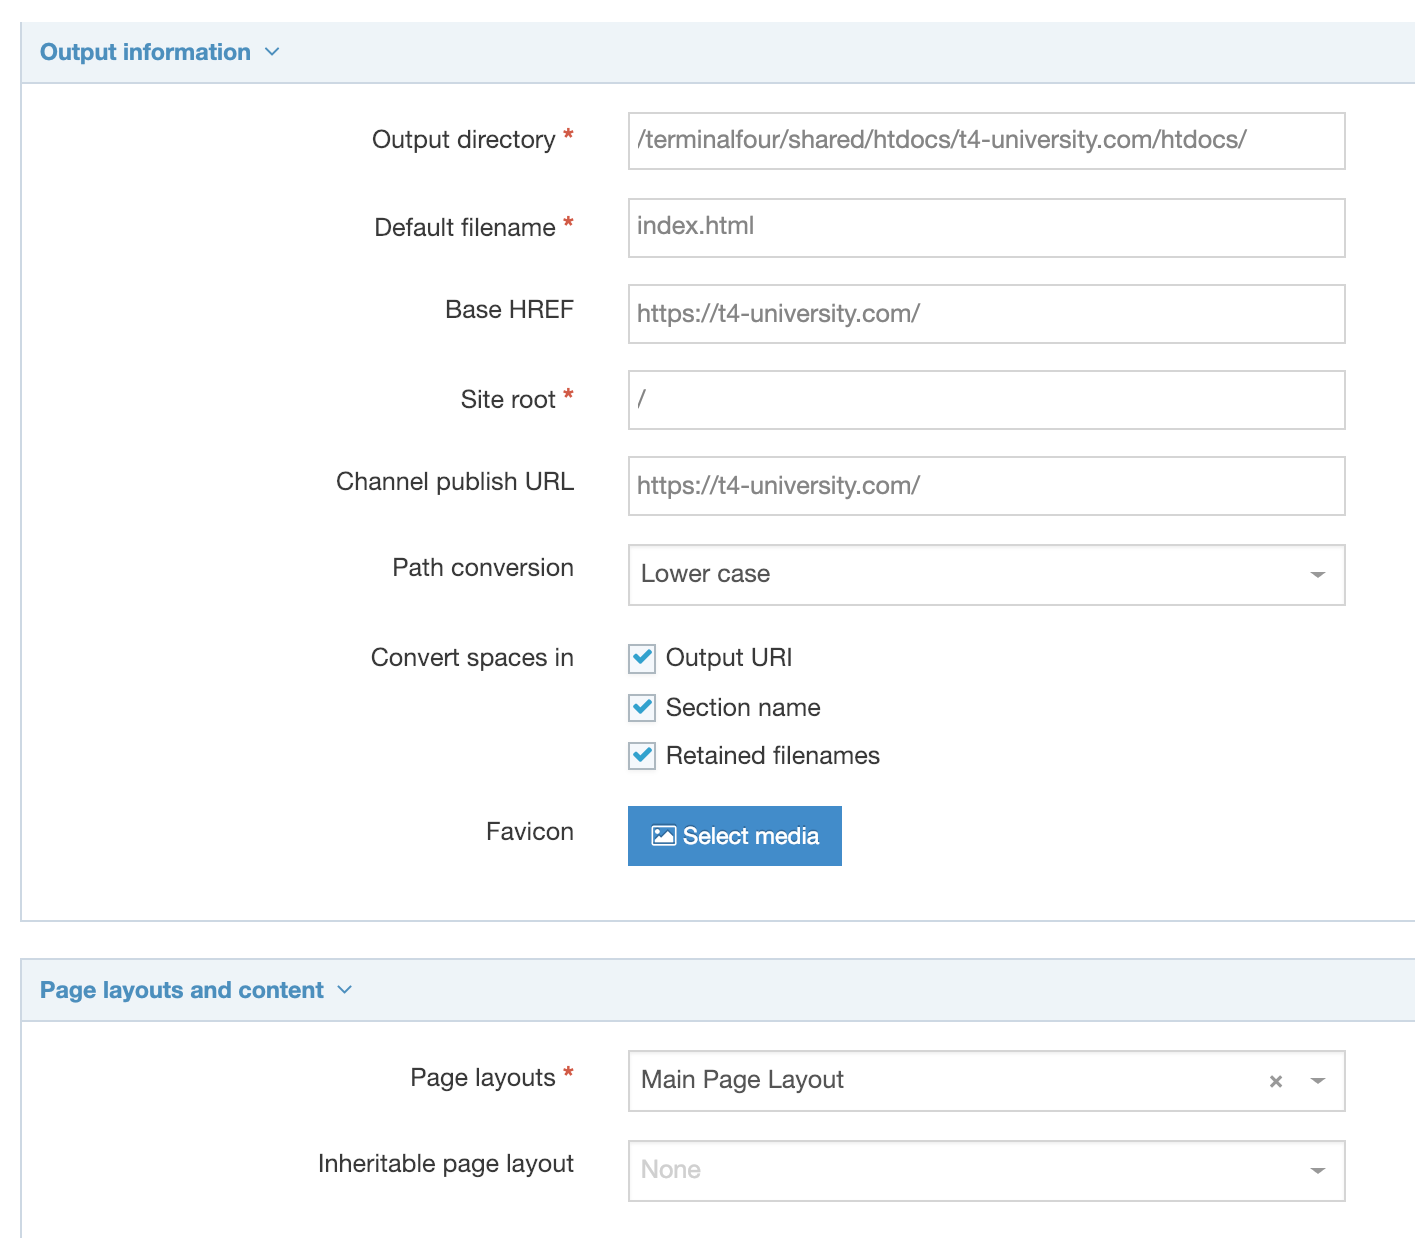
Next, add the following:
- Output directory - path to the Output Directory on your web server
- Default filename – this is typically named "index.html"
- Site Root – sets the part of the URL after the base HREF and is used for all links within the Channel.
- If the published Channel is http://www.oursite.com/, the Site Root would be "/".
- If the published Channel is http://www.someisp.com/oursite/, the Site Root would be /oursite/.
In the section below select the Page Layout created earlier.
Now we can preview the site. Return to the Site Structure:

Select Preview Section from the Actions menu:
Your Preview should look like this, showing just the Header and Footer from your Page Layout:

Now, all we need is some content...
Create a Content Type
Content Types are structured containers for content. For instance, content like course information will have a structure – a title, main text, and an accompanying image. Because each course info item we create is made upon all or some of the those, we’ll create a Content Type that features those Content Elements.
When we are building your site in Terminalfour, it’s worth considering the structure of your content and the types of Content Types that can be created from it.
On our homepage, we can identify three possible Content Types:

Let's create the first of those. After that, you can try the others for yourself.
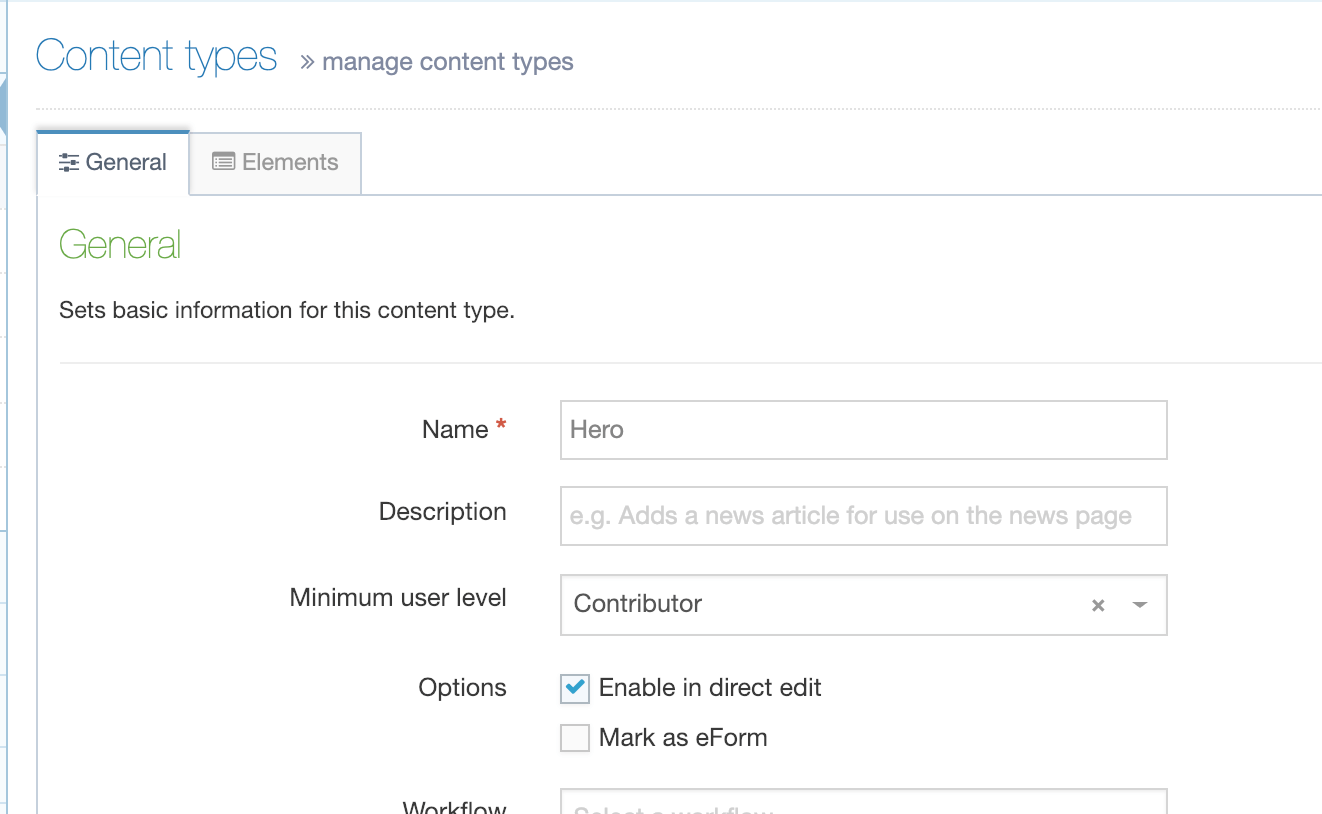
Go to Assets > Content Types and create select New Content Type:

The first Content Type we’ll create is the Hero text:
We’ll need to add the Elements to the Content Type. In this Content Type, we add just one plain text Element which we will call "Hero Text":
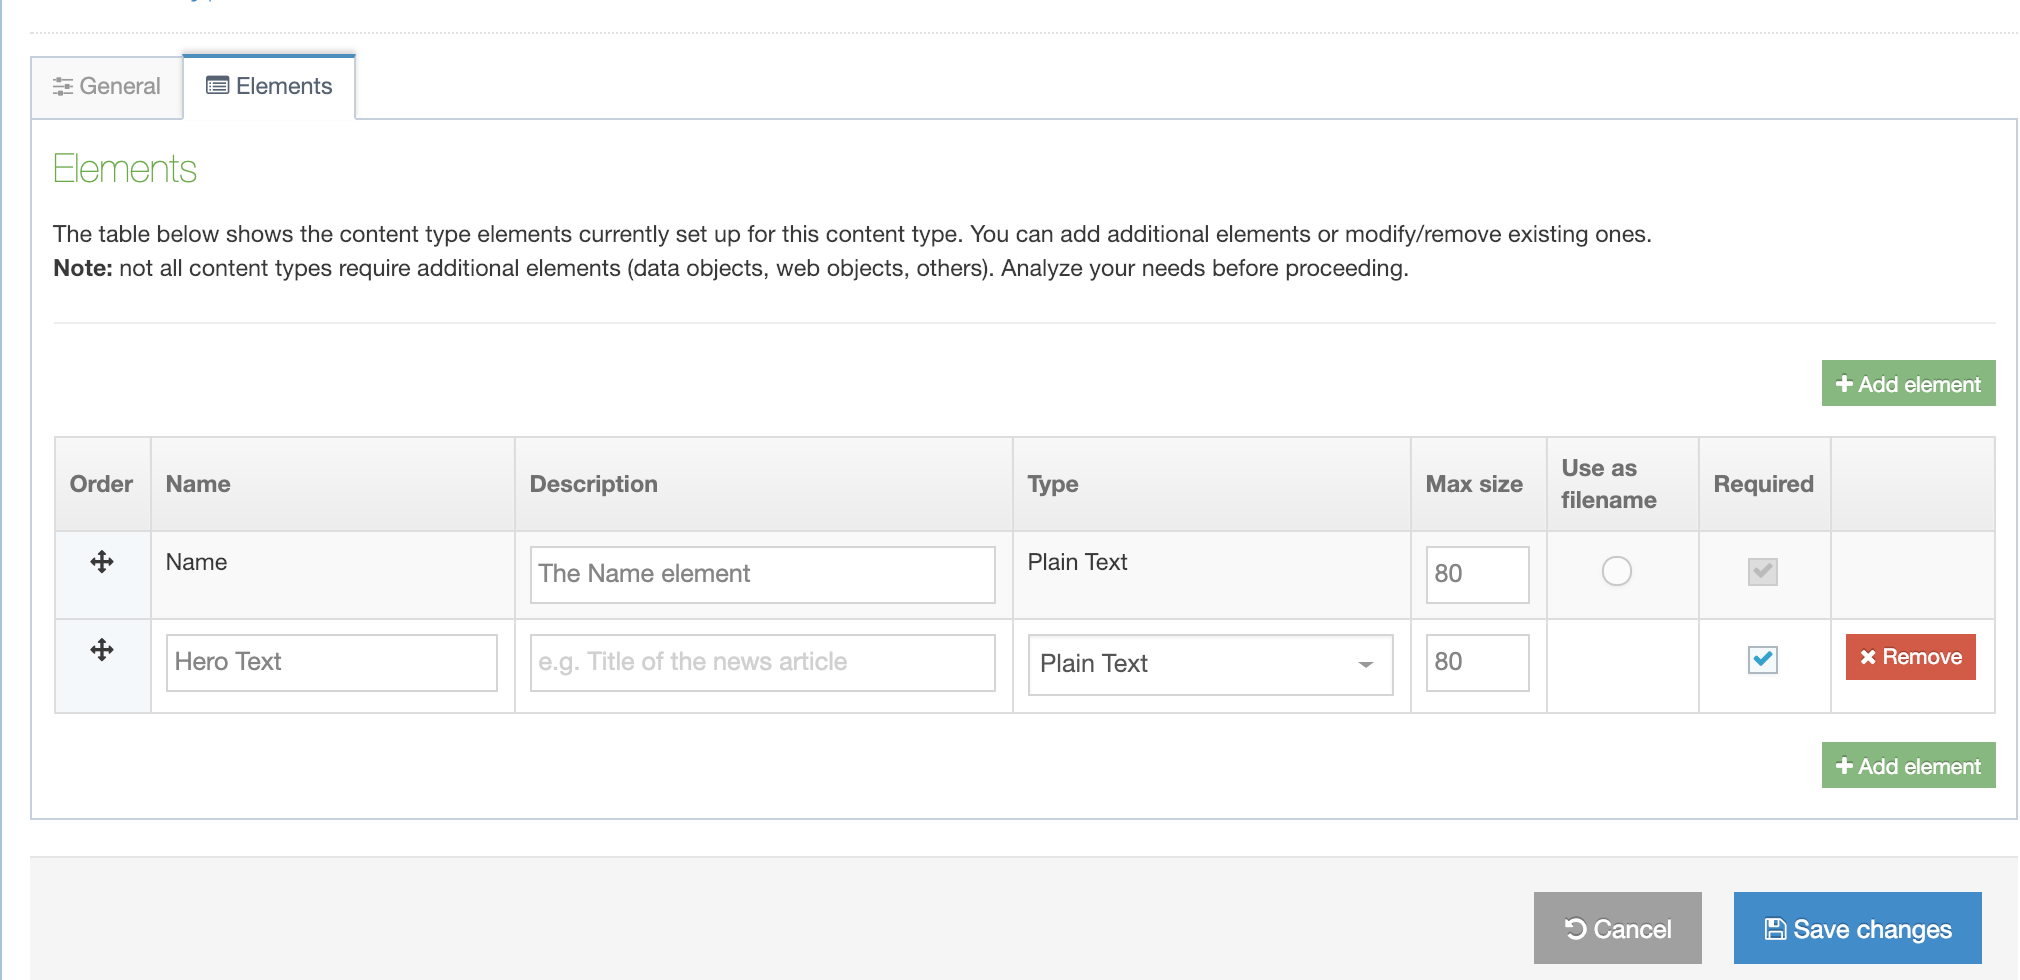
When you have saved the changes, a new Content Layouts tab will display. Select Create Layout.
Creating a Content Layout
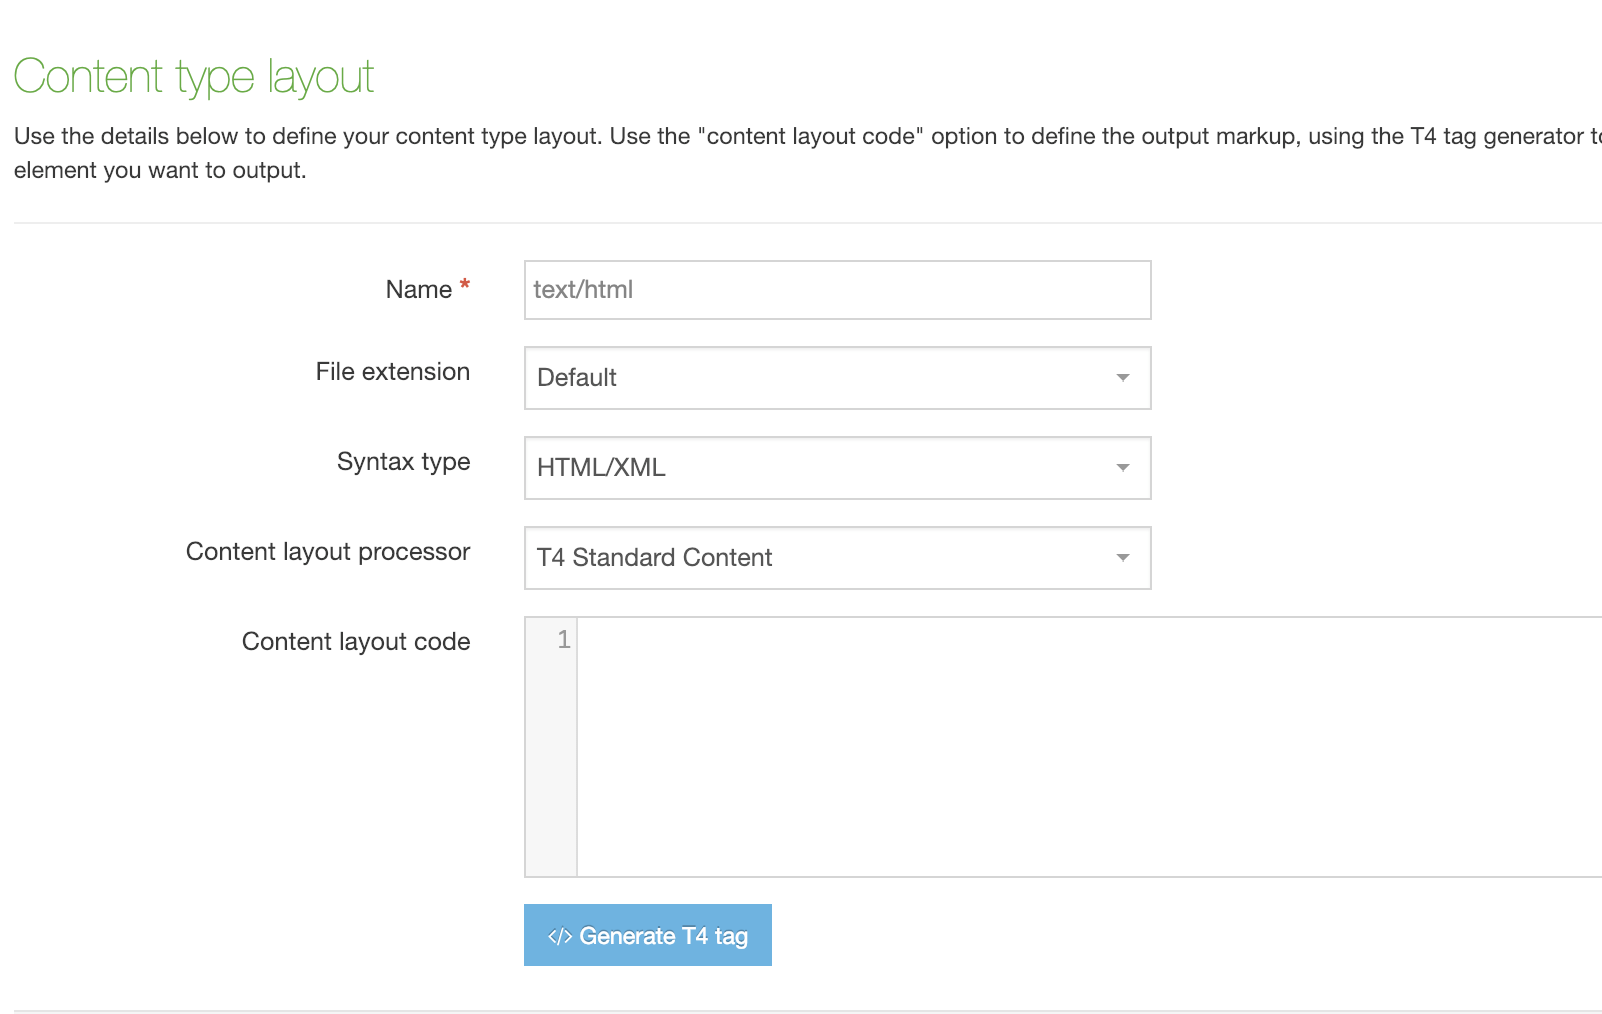
If the Content Type is the structure of our content, then the Content Layout is the presentation. A single Content Type can be presented in multiple ways throughout your site(s), so you can create a Content Layout for each instance of it.
The name of the Content Layout must match Type setting we specified when we set up the Channel. In this case, it’s "text/html":
Back in the original index page, copy the text between the "Start Hero" and "End Hero" comments:
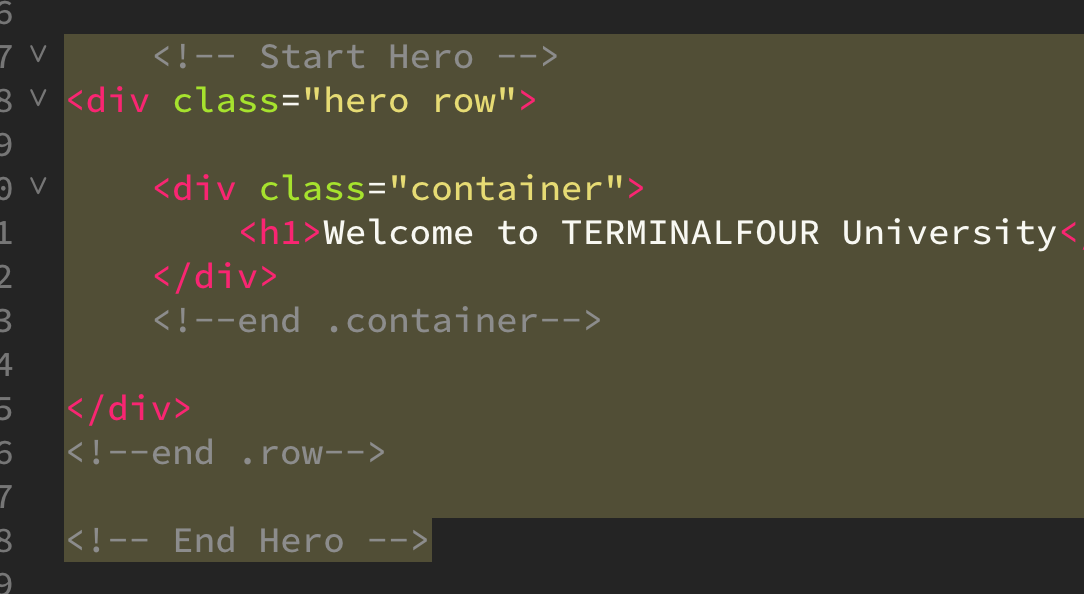
Because we want the heading replaced by text from the Content Type we will generate a T4 Content Tag that will take the text from set in the Content Type:
You might notice that the "hero" uses a background image that we must add to our stylesheet. Let’s generate the T4 Tag for it here.
Select Generate T4 Tag and this time select the Media tab, navigate to the image in the Media Library named "hero-bg.jpg" and copy the T4 Tag to your clipboard.
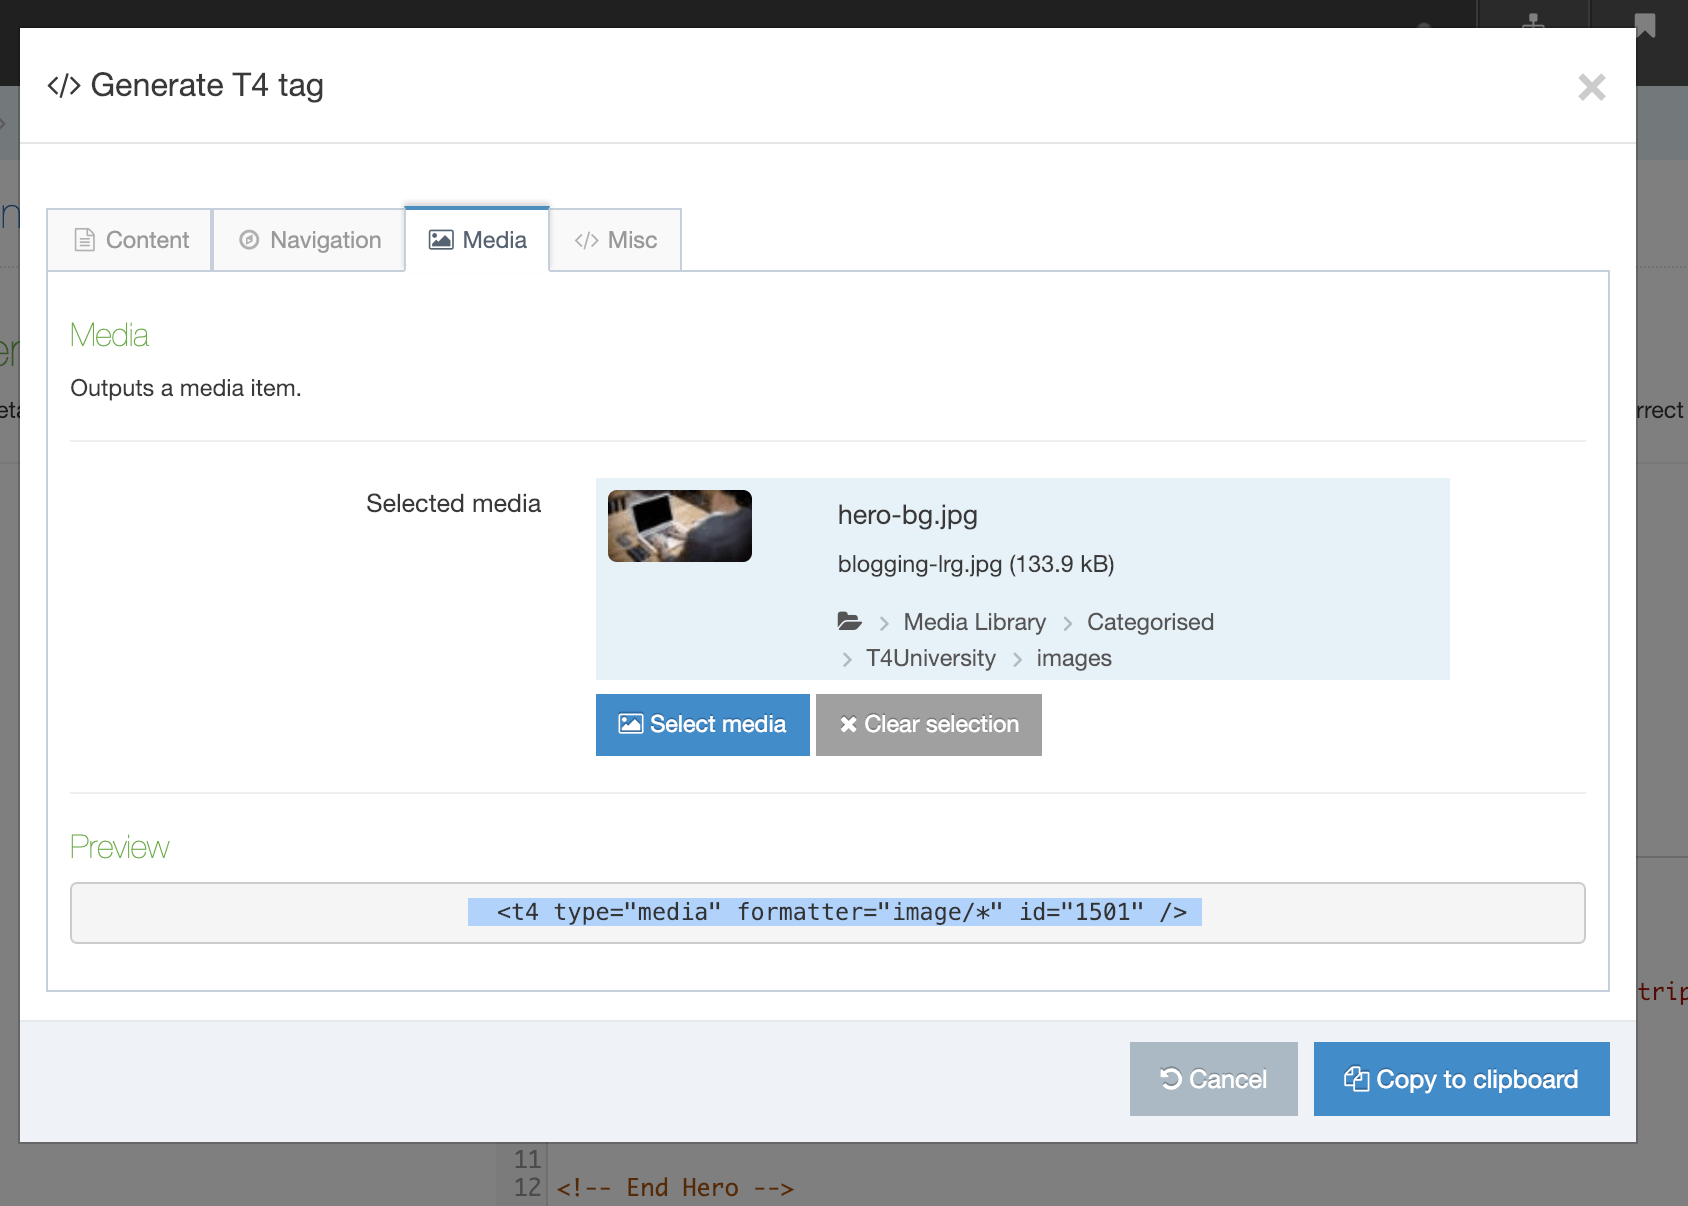
Cancel the modal window and Save the Content Type.
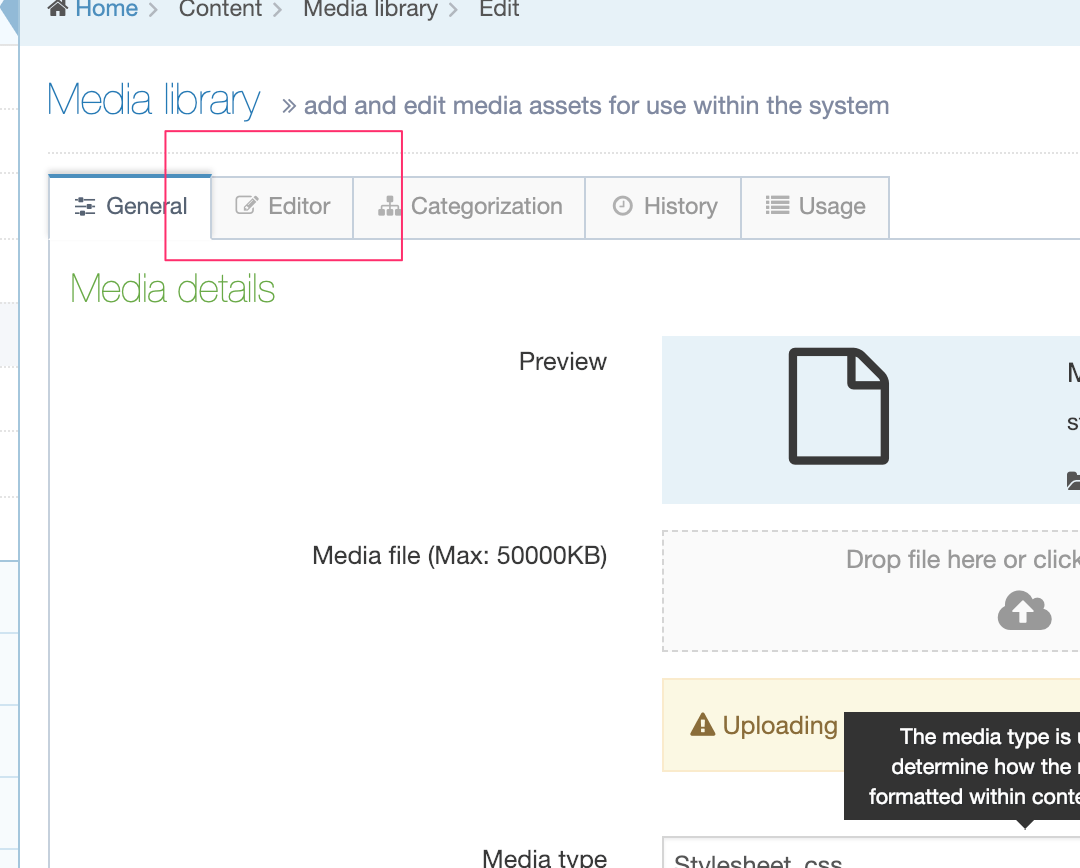
Got to Content > Media Library, navigate to the "css" folder and select the "Main Styles" file. Because we want to edit the stylesheet, select the Editor tab:
Scroll down until you see the ".hero" class – it’s down towards the end – and paste the T4 Tag into the background URL value to replace the image path.
Because we don’t require the image tag here (we only need the path) change the formatter value from "media/*" to "path/*".
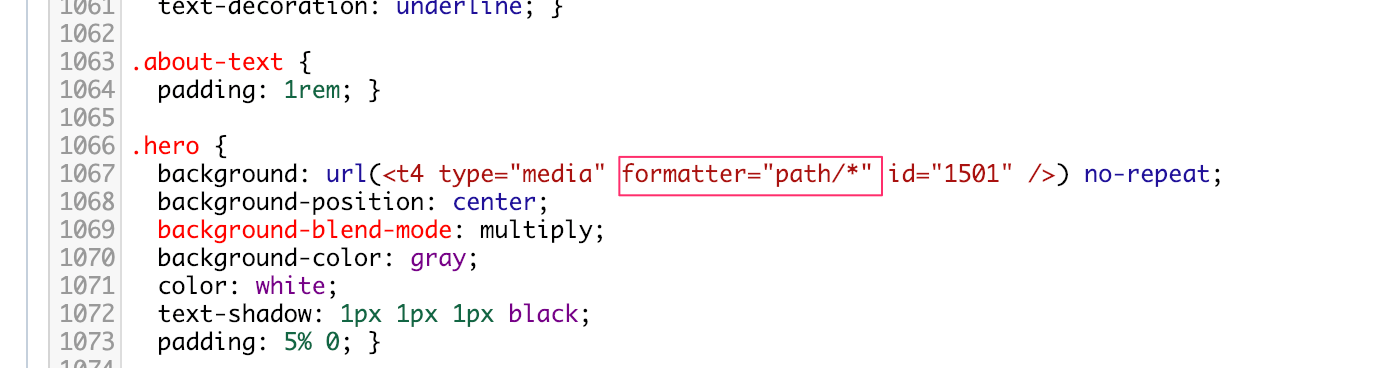
Save Changes.
Enabling a Content Type
The next step is to enable the "Hero" Content Type for the site. From the Site Structure, select the site:
From the Section settings, select the Content Types tab and enable the "Hero" Content Type and click Save Changes:
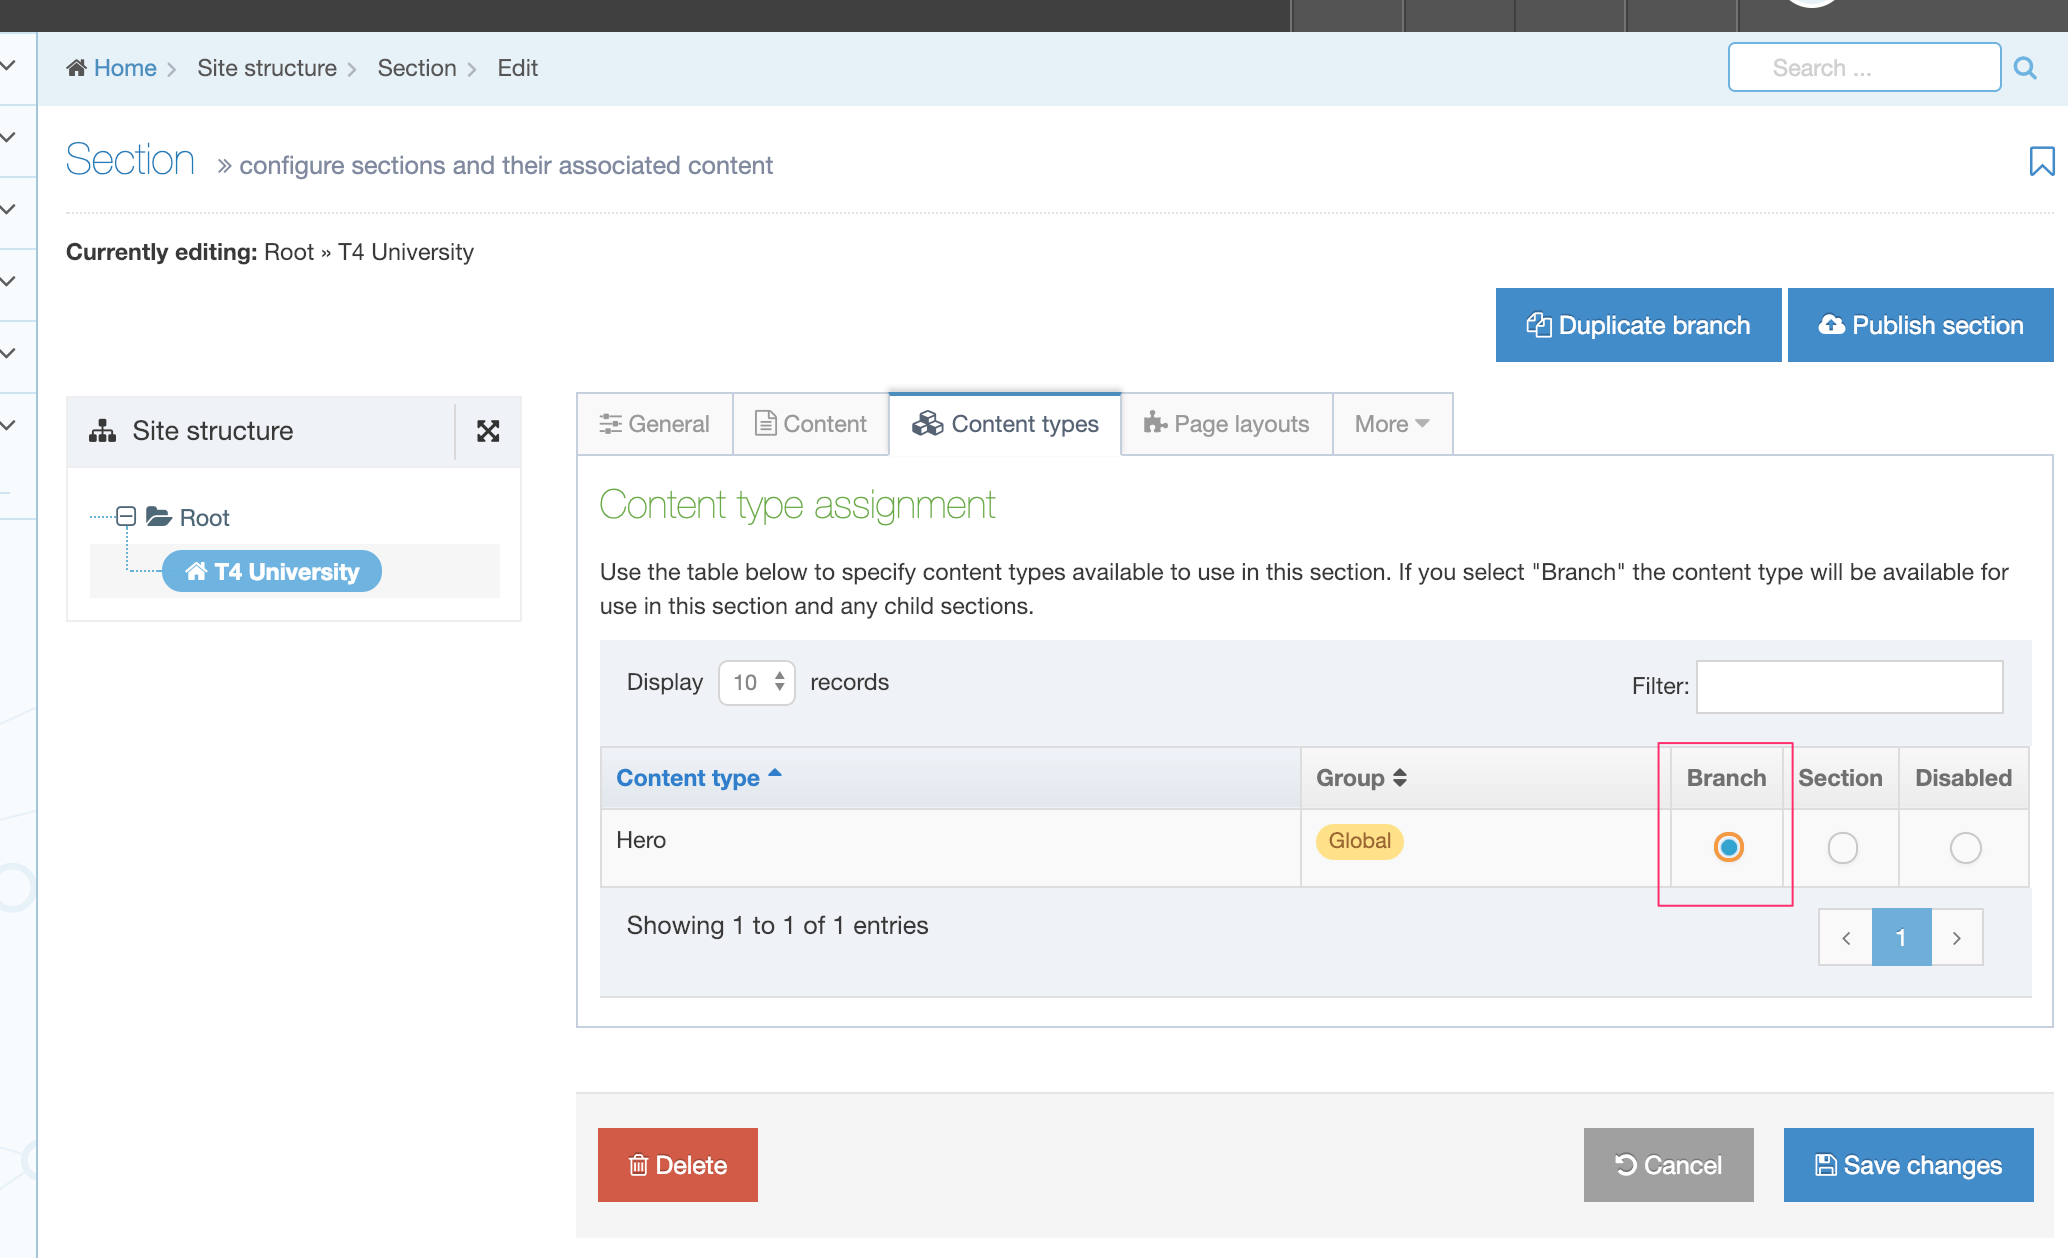
You will be returned to the Site Structure.
Go to Content > Create Content and select the Section where you intend to add the content. In this case, it’s the site root:
Give the Content Item a name and add the text you want to appear in the hero:
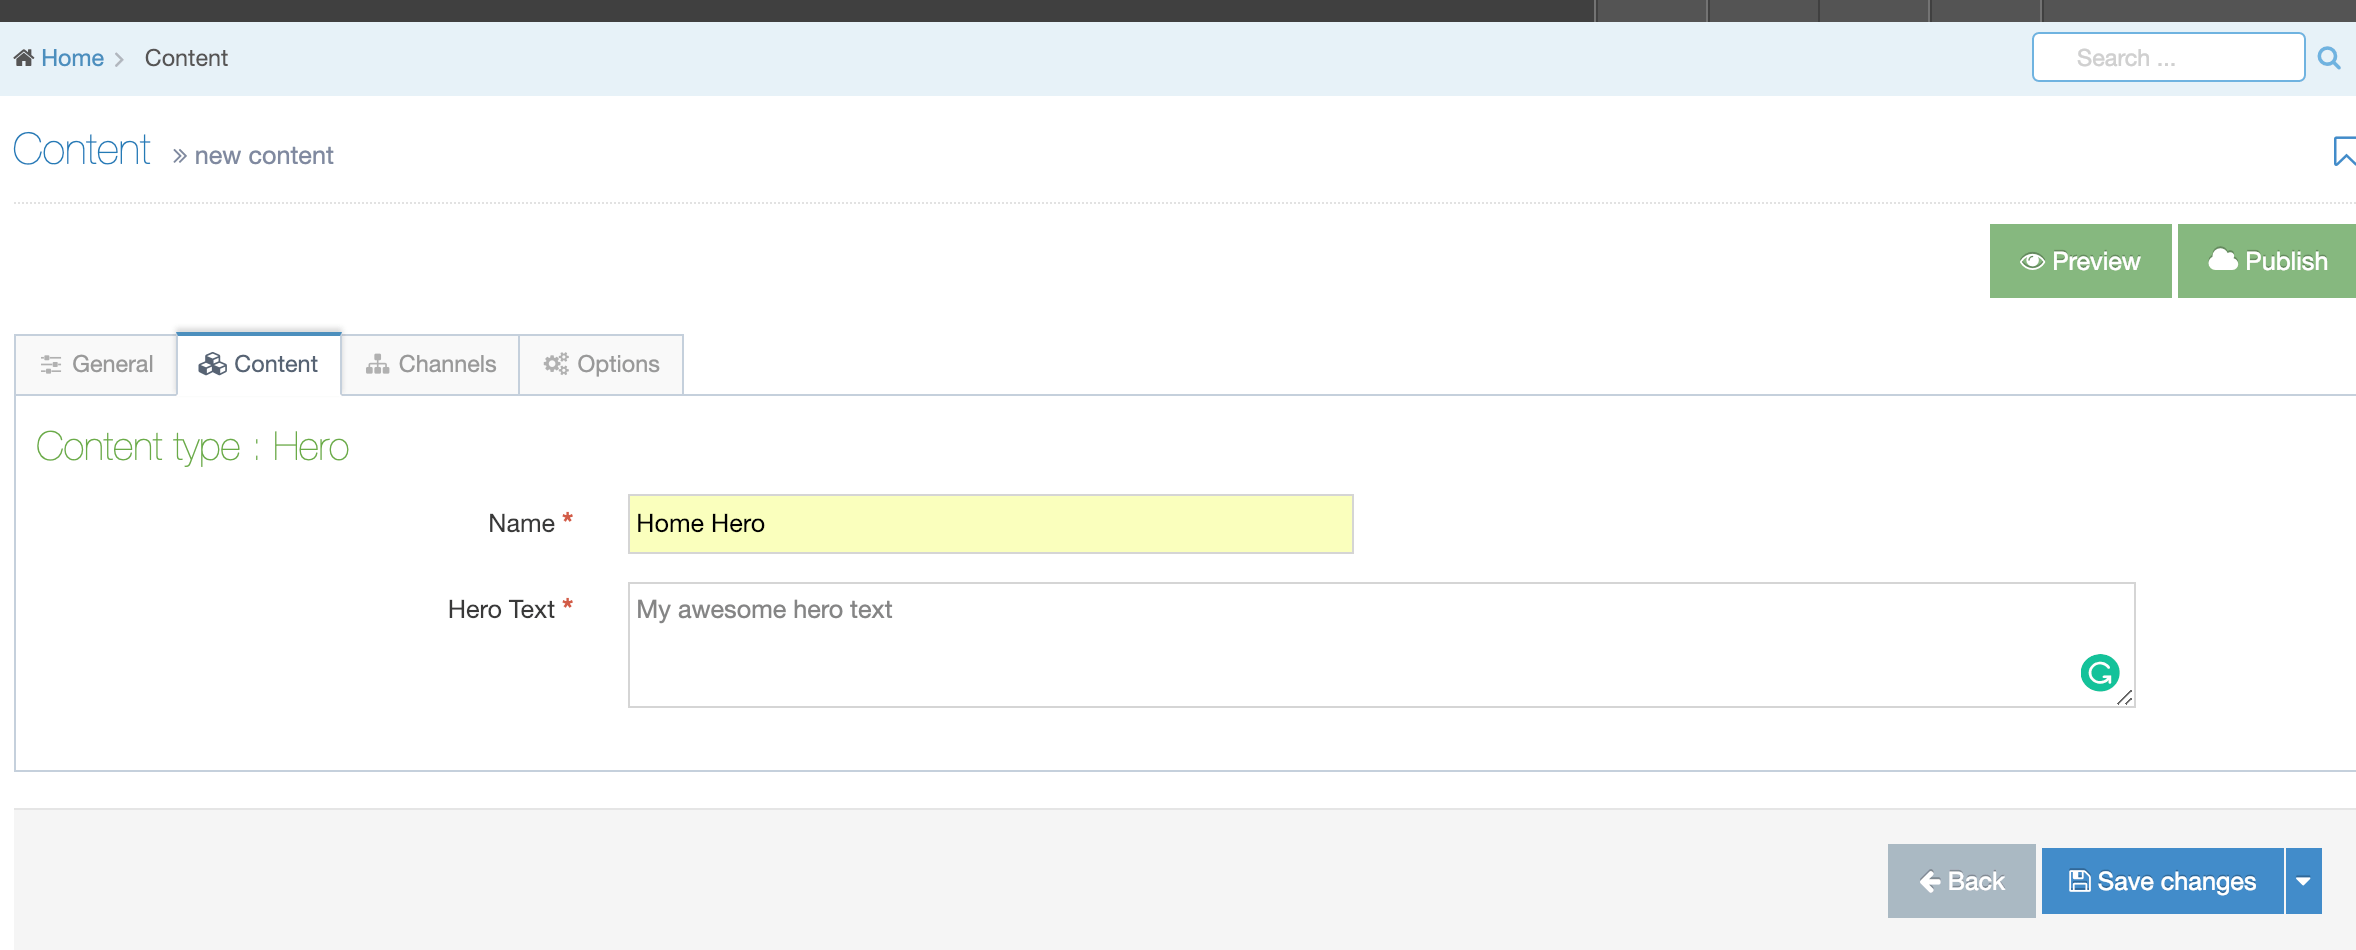
You can see how the page will look with your content with the Preview button which will open the preview in a new tab:

If you are happy with the preview, click Publish back in the original tab. This will approve and publish the page.
Now that you are a little familiar with adding content to a page go ahead and create Content Types and Content Layouts for the About and Course Information parts of the page.
Conclusion
Phew! We've covered a lot of ground here – using Packages to bulk upload files to the Media Library, creating a Page Layout, setting up a Channel and adding content with the Content Type we made.
Hopefully, you'll feel confident with the basics of Terminalfour. If anything wasn't clear or you think something should be added please feel free to add feedback below. Happy content editing!
Back to top