
Create Content
Description
When creating content in Terminalfour, there are a couple of things to consider first:
- is there an existing Content Type to add the content to, or do you need to create one?
- is there an existing Section to which the content will be added, or do you need to create one?
You can choose to create content from the Content menu item in the sidebar or select a Section from the Site Structure and create content from there.
Create content from the menu
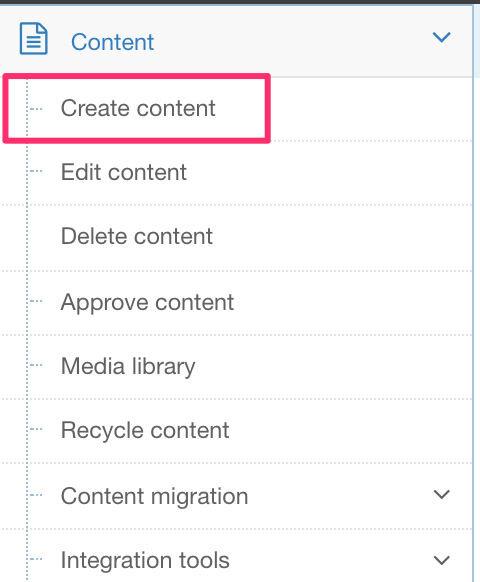
Go to Content > Create Content:
A modal window will appear in which you can choose the Section to add the content to:
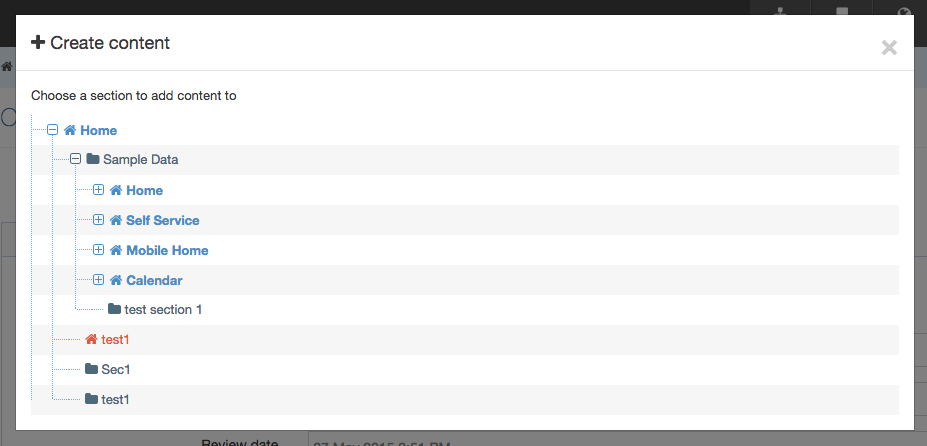
If necessary, expand the Branches in Site Structure using the plus (+) icon to the left of the Branch name. Select the name of the Section you want to add content to.
You will then be asked to choose a Content Type to add the content to.
Create content from the Site Structure
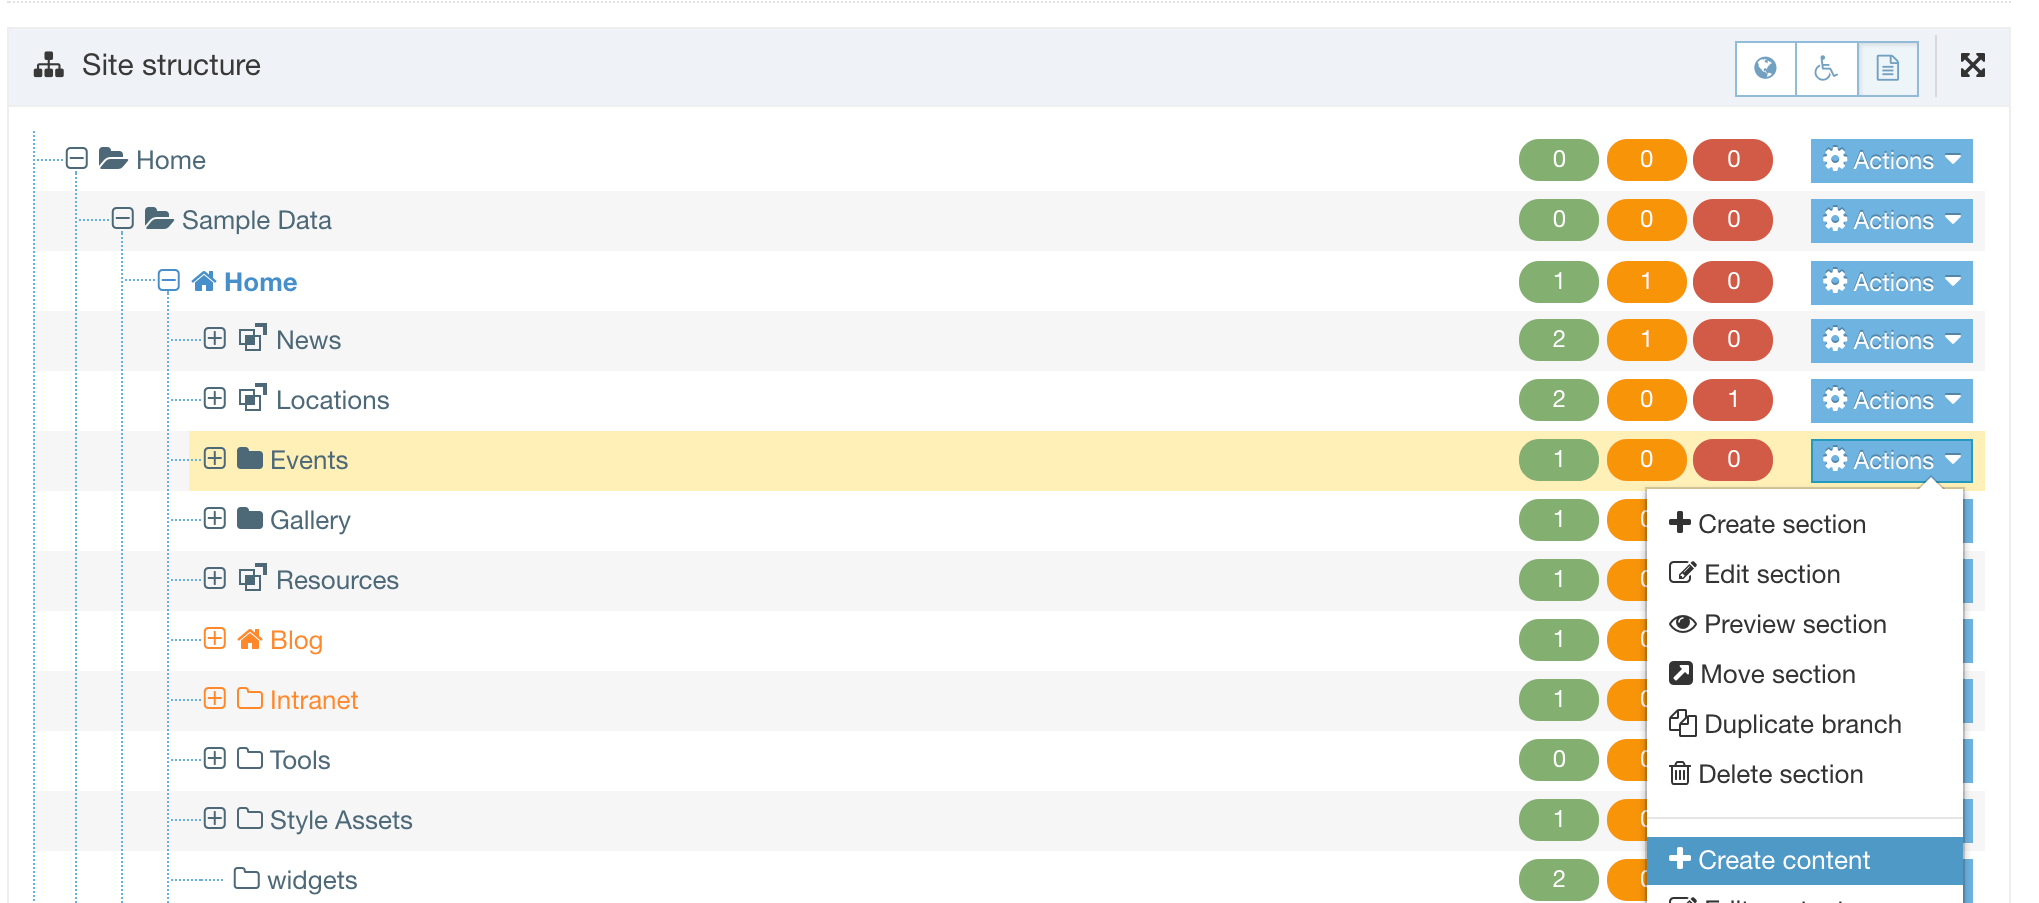
Select the Section that you are going to add content to. From the Section Action Menu select Create Content:
You will then be asked to choose a Content Type to add the content to.
Choose a Content Type
A Content Item's structure is provided by a Content Type so when you are adding content you must choose the Content Type that the content will use. When you have specified the Section that your content will be added to you will choose the Content Type:
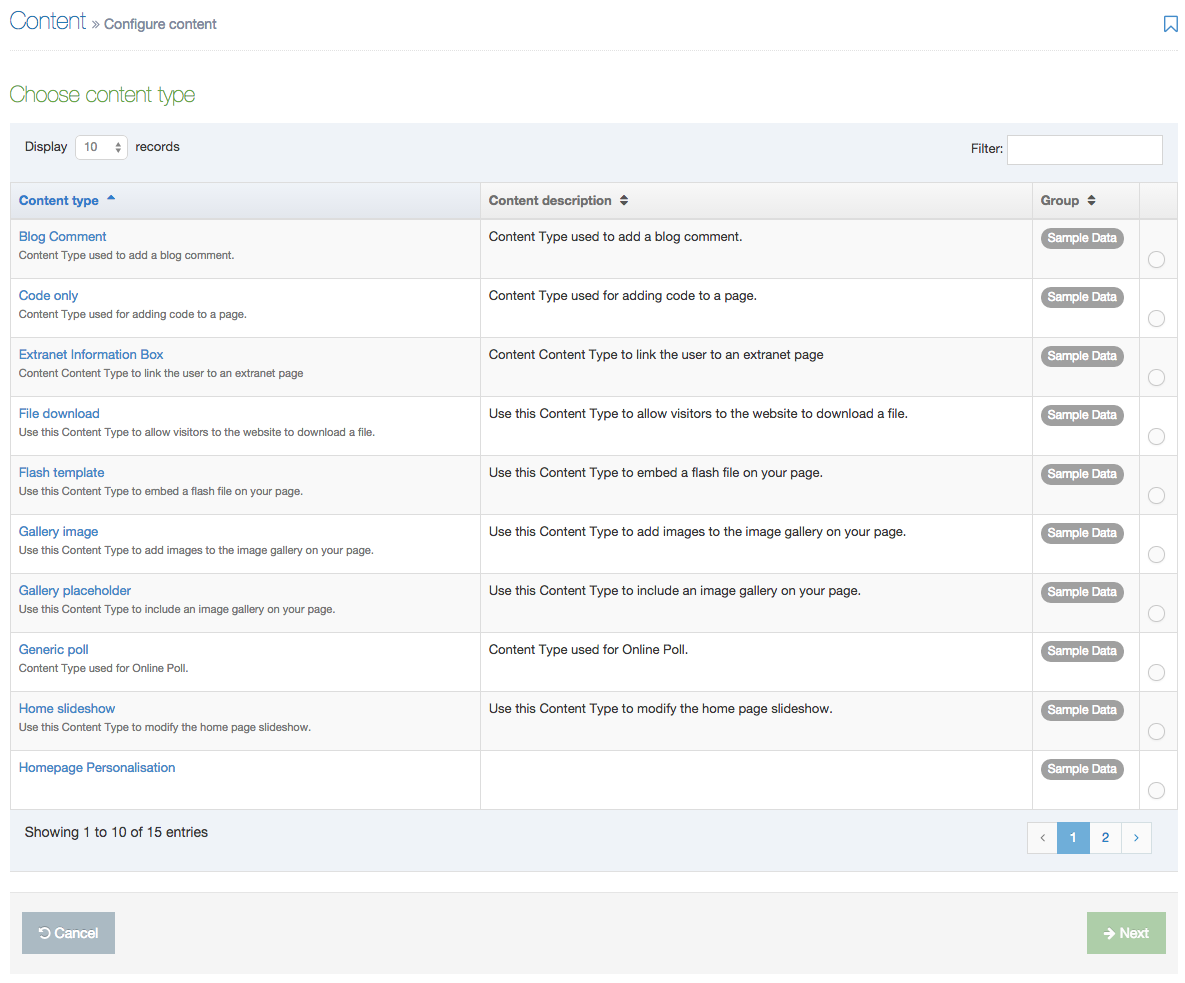
You will only see Content Types that have been assigned to this Branch or Section. If you don't see the Content Type you want to use, you must go to Content Types in the Section settings, enable it and return to Content > Create Content.
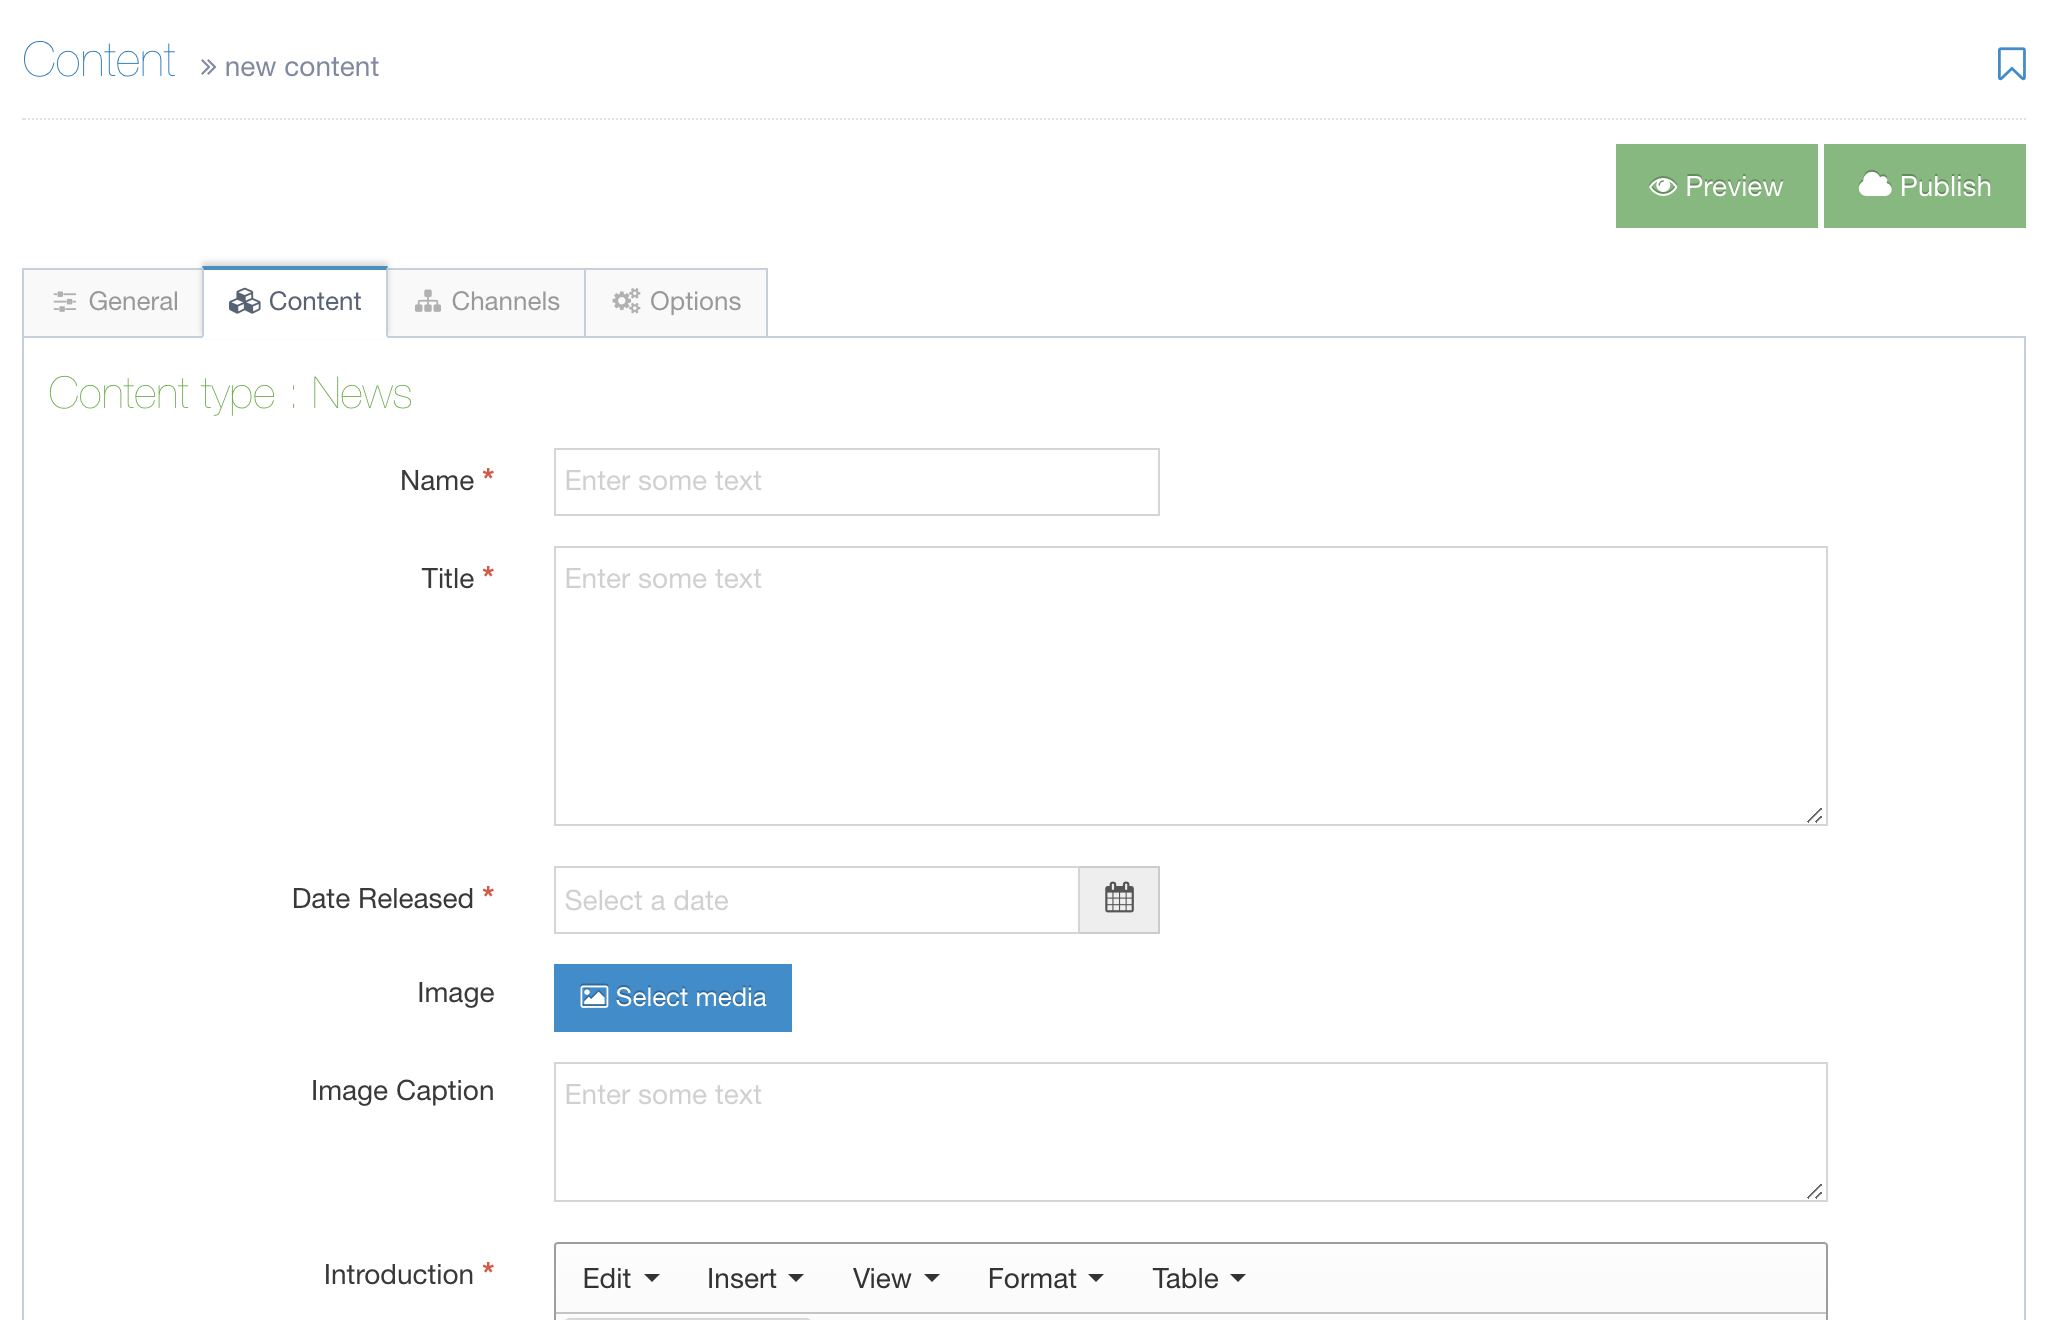
Content tab: Enter content details
When a Content Type has been selected you will be directed to the Content tab from which you can begin adding content. The Content Elements (fields) you will see are determined by the Content Type.
Each Content Item has a Name which is used to describe the content.
Hovering over the field will display help text.
Required elements
All Content Elements marked with a red asterisk (*) are required. If a required field is empty, the screen will scroll to the first empty required element when you try to save changes. A Content Item will not save until all required elements are complete.
Examples of Content Elements
Below are examples of all the different types of content elements that may appear when creating or editing content.
| Name | Description | Example |
|---|---|---|
| Plain Text | Enter text and numbers without formatting. |  |
| HTML | Use the “WYSIWYG” editor to enter and format text, images, links, etc. See more information about the TinyMCE editor. | 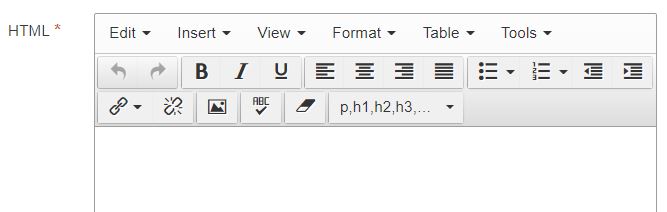 |
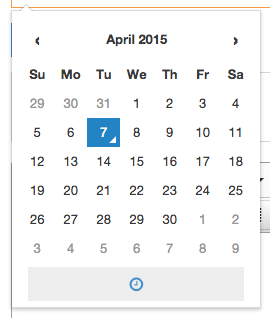
| Date | Select a date and time from the calendar. |  |
| Media | Select a file (e.g., image, pdf, sound file) from the Media library. If permissions allow, media can also be added and selected. For more information regarding the use of images see Media library. | 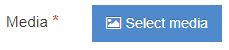 |
| File | Upload a file from your computer. | 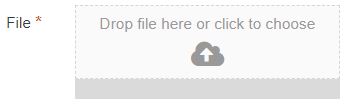 |
| Image | Upload an image from your computer. | 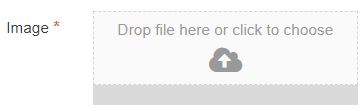 |
| Section/Content Link | Create a link to a section (page) or a Content Item. |  |
| Decimal Number | Insert a number with decimal places. |  |
| Whole Number | Insert a number with no decimal places. |  |
| Keyword Selector | Select keywords from a predefined list. |  |
| Content Owner | Specify the owner of the content by selecting the user from the list. |  |
| Group Select | Used with Access Control. Select one or multiple groups. | |
| Cascading List | Select from a predefined list with one or multiple sub-lists. It works like a drop-down list with sub-lists branching off of particular options. |  |
| Check Box | Check one or more options from a predefined list. |  |
| Multiple Select | Select one or multiple options from a predefined drop-down list. |  |
| Multi-select List | Select multiple items from a predefined list. |  |
| Radio Button | Select one option from predefined list items. | 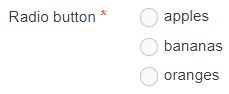 |
| Select Box | Select one option from a predefined drop-down list. |  |
Using Date elements
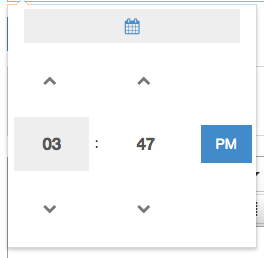
Move the pointer to inside the field and you have access to two pop-up screens - a dd/mm/yyyy calendar and a hh:mm, am/pm clock to set.
For the calendar - the default setting is the date you view the calendar - you can forward set the date as needed. The clock icon is shown at the bottom of the box.
For the time: the default setting is when you opened the clock - use the up/down symbols to set the hour and minute for release, plus select AM or PM. The calendar icon is shown at the top of the box.
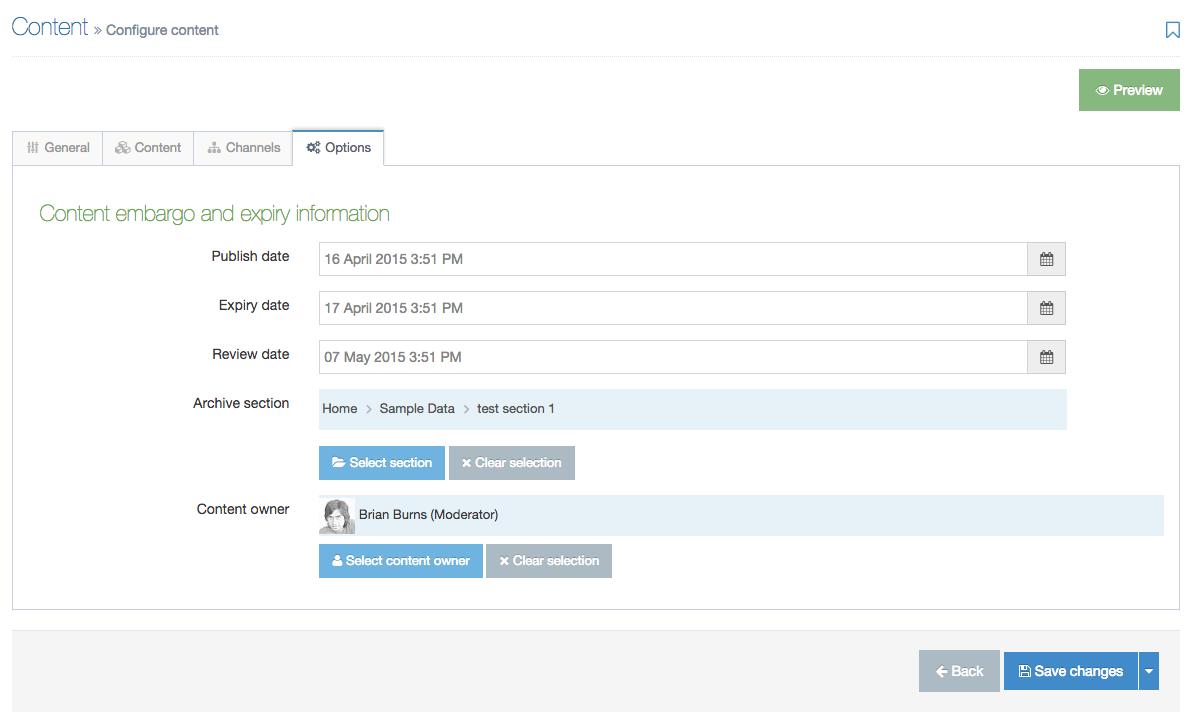
Options Tab
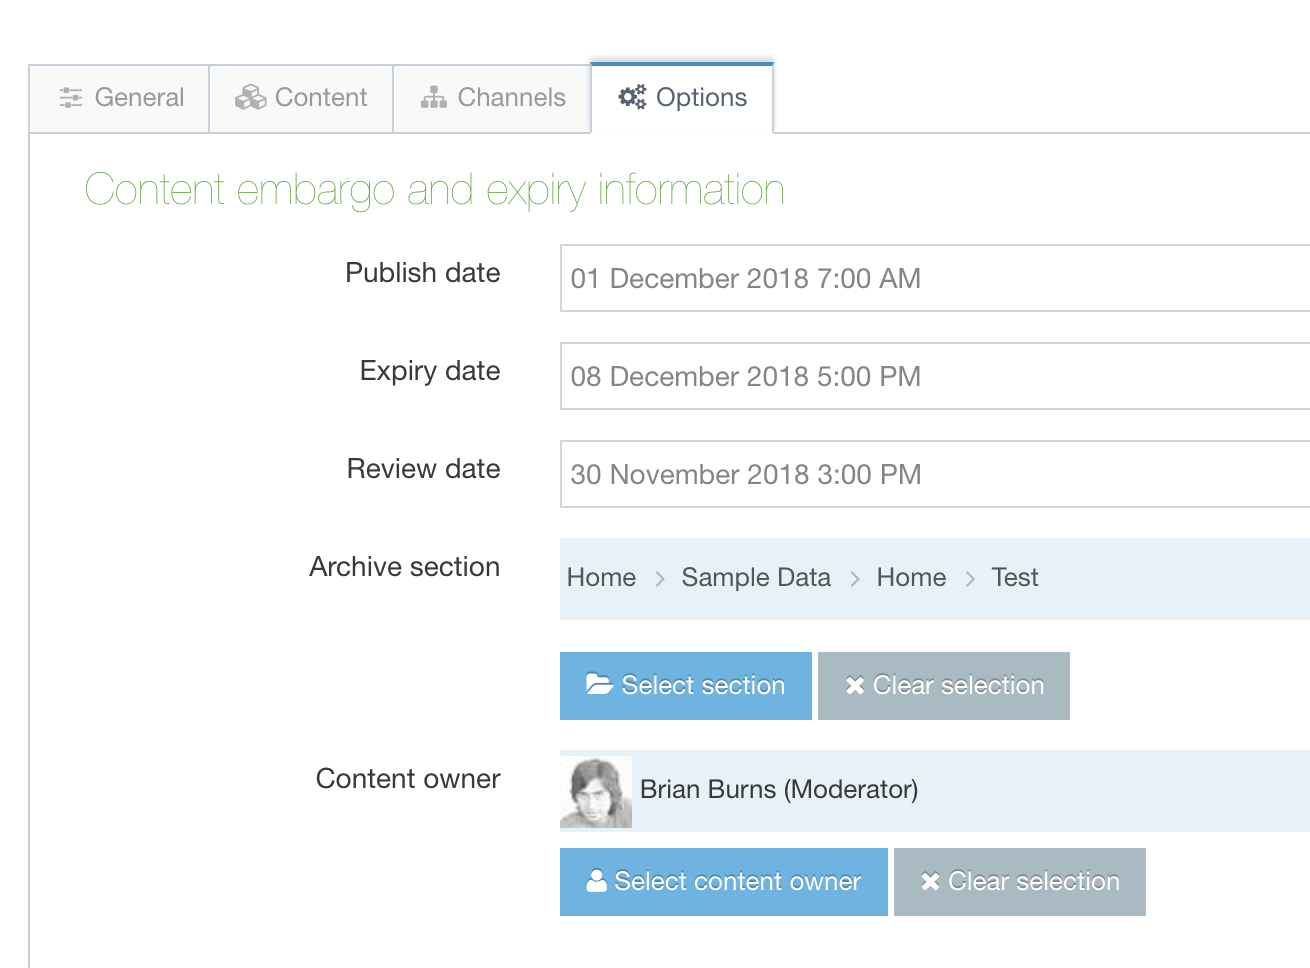
In the Options tab, you can configure the content for publication with Content embargo and Expiry information. Additionally, you can assign an Archive Section and assign a content owner:
| Item | Description |
|---|---|
| Publish date |
The date and time when the content will be published by Terminalfour if it is approved. The Publish date does not initiate a publish of the page or site at that date and time, but the content will be published as part of the next publish that runs after this date and time, whether that is a manual publish or a scheduled publish. If a publish date is added to an already published Content Item, the Content Item will be unpublished until the specified publish date. Learn more about scheduling updates to existing Content Items. |
| Expiry date |
The date and time that the content will expire. The content will be expire and/or be removed from your site when the next publish runs, whether that is a manual publish or a scheduled publish. There are two ways that expired content is treated:
To restore an expired Content Item, select the content to edit it and save the changes. |
| Review date | The date and time when the content should be reviewed. An email reminder is sent to the user who last modified the content, or to the content owner (if one is set). The content review date gets removed from the content once the date is met. |
| Archive Section | Specify a Section for the content to move to once it has expired. Under Content Configuration Settings, a Default Archive Section can be set to move expired content to. Content with an explicit Archive Section set overrides this default. If you are publishing lots of content, it may be a good idea to create an Archive Section to store expired content. This way the content can be used and published again at a later date. |
| Content Owner | Assign a Content Owner to a Content Item. If this is not set, the content owner will be inherited from the Section or the Branch above. |
As with the other tabs, you have the same Save changes options and the same Preview process.
Schedule an update to a published Content Item
If you'd like to update an existing Content Item with a new one at a specified publish date you can:
- Duplicate the existing Content Item
- Set a publish date on the new Content Item
- On the original Content Item set an expiry date that's the same as the new Content Item
- Approve both Content Items
- Now, when the original Content Item expires the new one will start to publish
Channels tab

Content can be set to be published to multiple Channels, and the relevant Channels are generally selected by default.
For example, you can publish to an intranet and website Channel based on the same Site Structure, where a single Content Item needs to appear in both locations. Of course, you can publish via a single Channel too.
To proceed, click the Channels tab - the screen opens (shown below)
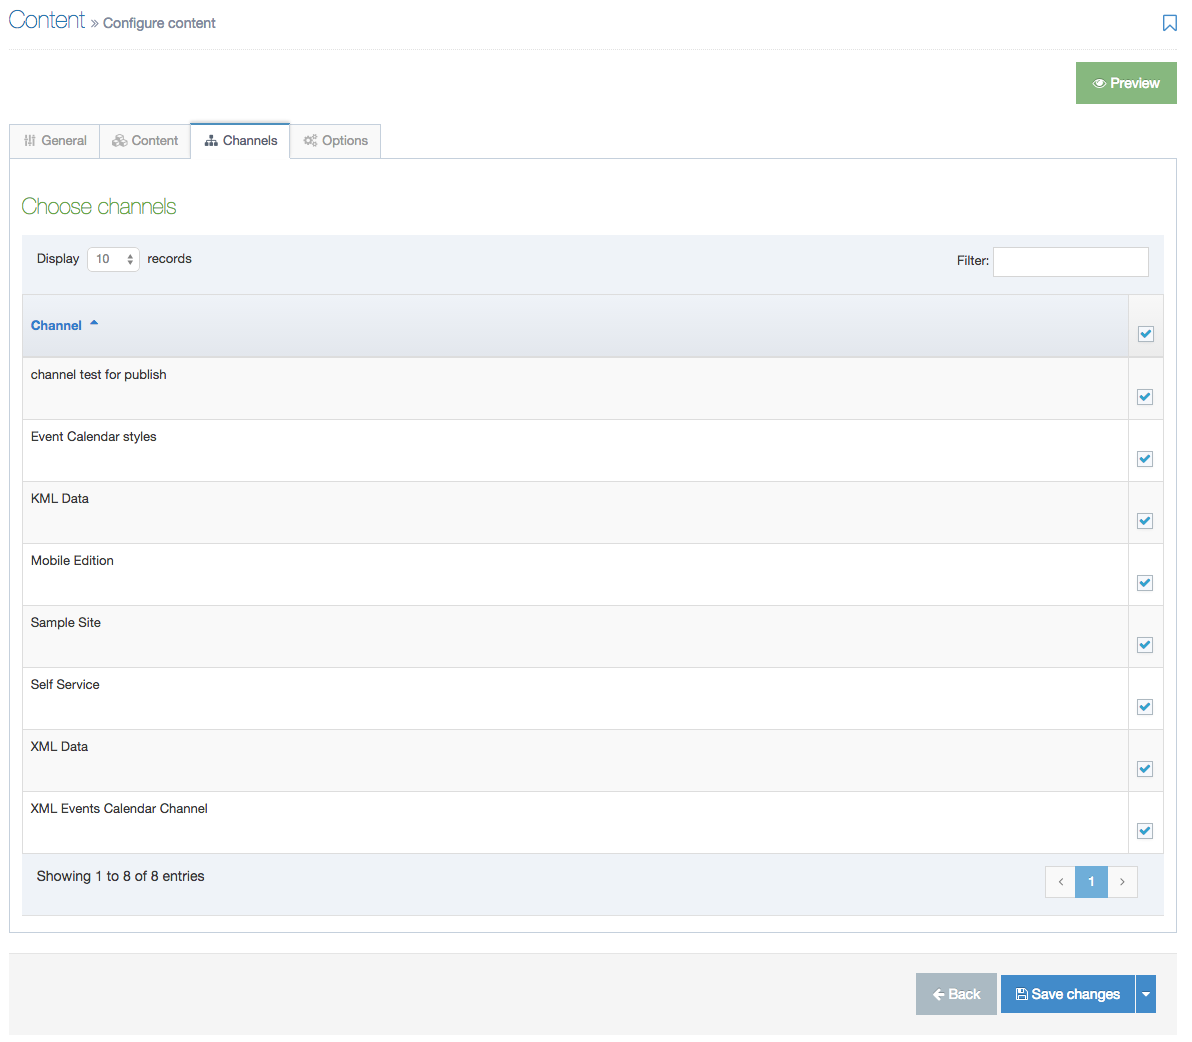
Choose the Channels appropriate for your content.
As with the saving content, the Save changes button for the Channels tab has the same options.
Make your choice to save the Channel selections.
If the content is created before the Channel has been created, the content will not be associated with the Channel. To associate all content under a Channel root with the Channel, use the Reset Content option on the Channel.
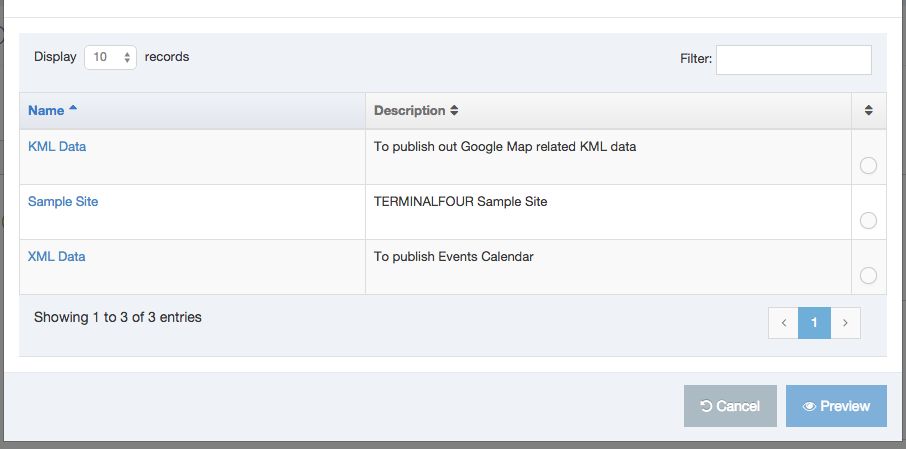
Preview content

To preview the content - from the top of the page, click the green Preview button. Depending on the default preview configuration for the user, the screen below may appear and you can choose which channel you use to preview the content. Select a Channel to preview and click the Preview button.
View the content in the Preview page.

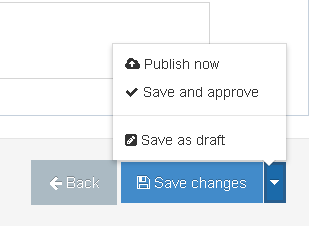
Saving content
When saving content there are different options, depending on your user level and configuration settings.
| Option | Description |
|---|---|
| Save changes | Saves the content with a status of Pending. Content then appears in the approval list. The previously approved version of the content (if there is one) will be published until this content item is approved. |
| Save as draft | Saves the content with a status of Draft. The user can keep working on the content without risk of it being published, as it does not appear in the approval queue. Until it is approved, the previously approved version of the content (if there is one) will be published. |
| Save and approve | Saves and approves the content with a status of Approved. This button will only appear if automatic approval is configured for the user level. |
| Publish now | Saves, approves and publishes the content with a status of Approved. This button will only appear if Publish Now is enabled and automatic approval and Publish Now are configured for the user level. |