
Media Library
- Last Modified:
- 29 Sep 2022
- User Level:
- Contributor
Description
Unless you have been granted read/write access rights to the Media Library – your access is "read-only".
The Media Library is the home to the Media Items you will be using in your site(s). Media Items can be:
- images
- documents (e.g., text files, MS Office, PDFs, etc.)
- code files (e.g. JavaScript, CSS, PHP, etc.)
- audio and video
By default, any user can access these files to use them in a Content Item (via a Media Content Element or the HTML Editor), Content Layout or Page Layout (using the Generate T4 Tag feature), but only Administrators or users who have been granted appropriate access can add and modify files in the Media Library. Read access can also be removed for particular Media Categories. Power Users and Administrators also have direct access to the Media Library from most assets.
Media Items in the Media Library use a System Content Type referred to as a Media Content Type. This is the only Content Type associated with the Media Library. The Media Library can be accessed from many parts of the system, including directly from the content if you have a Media or HTML element or via the menu at Content > Media Library.
The Media Library is categorized to help you organize your Media Items.
Using the Media Library
To access the Media Library, go to Content > Media Library. This screen appears:
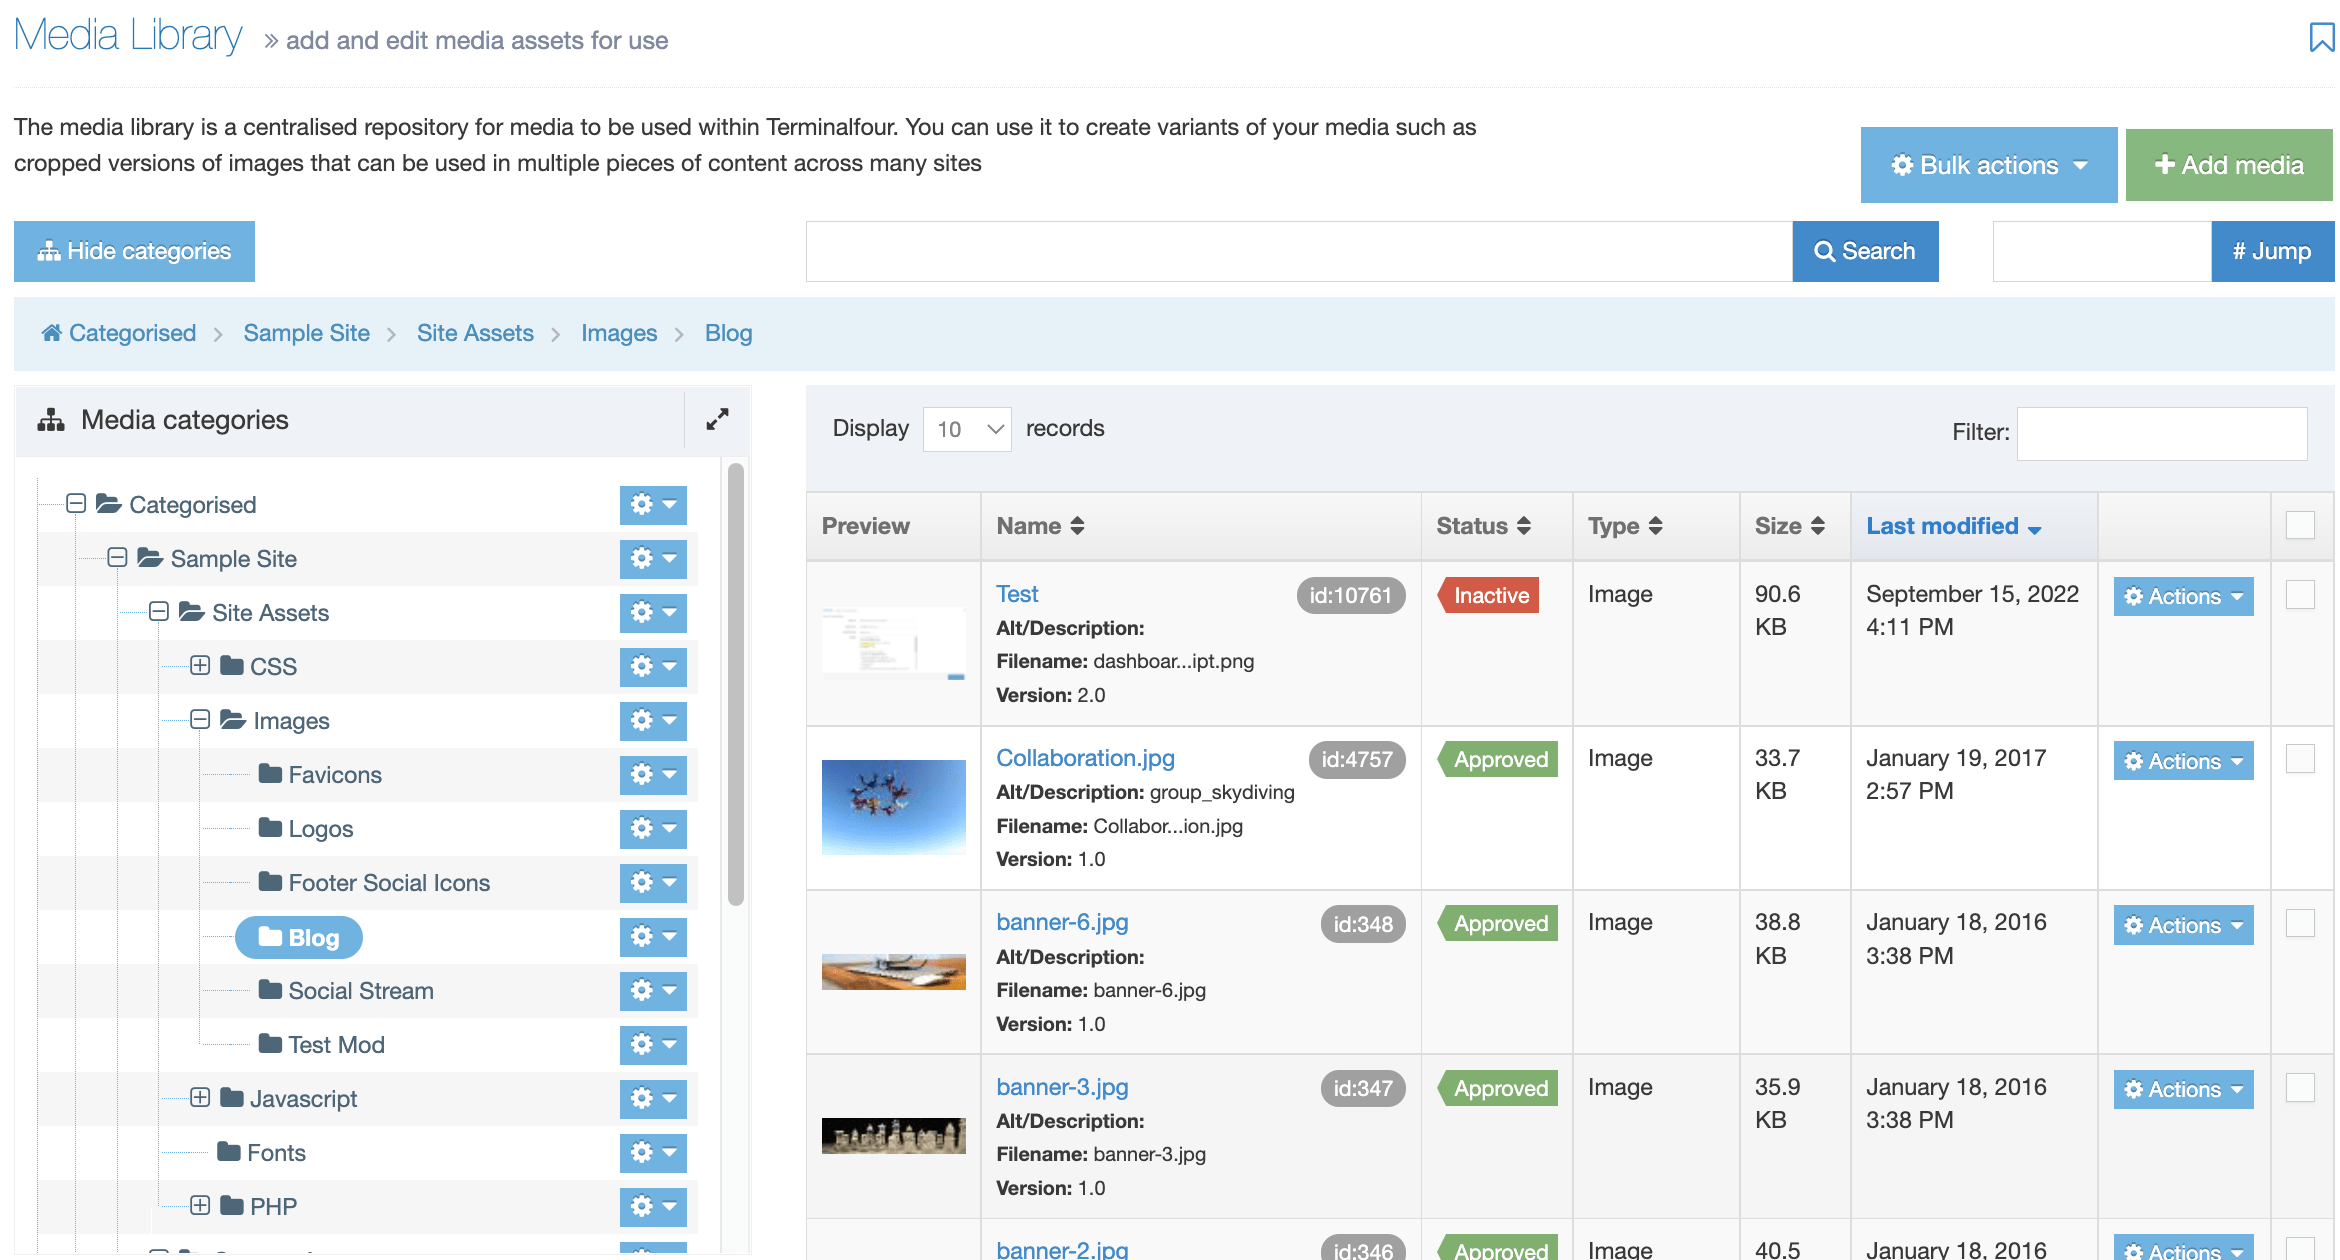
With a new installation, the list is empty, but as you add more items to the Media Library, the list will grow.
Media Library Controls
The Media Library controls let you add, move, delete and retrieve media items.
- Search: To locate Media Items, enter the Media Item name or the keywords associated with it in the Search box and click Search.
- Jump: Each Media Item has a unique ID number associated with it. If you have the ID for the Media Item, enter it into the Jump box and select Jump.
- Bulk actions: Delete or move multiple files to a different Category. You must select two or more items' checkboxes to use the Bulk actions.
- Add Media: Create new media within the currently selected Category.
Media Categories
Categories help you keep stay organized. When you add a new item to the Media Library you can choose to add it to a new or existing Category folder. Categories are arranged in a hierarchical folder structure so you can place Child Categories inside Parent Category folders. It's worth taking time to plan the Categories and Child Categories organization that would work best for your organization.
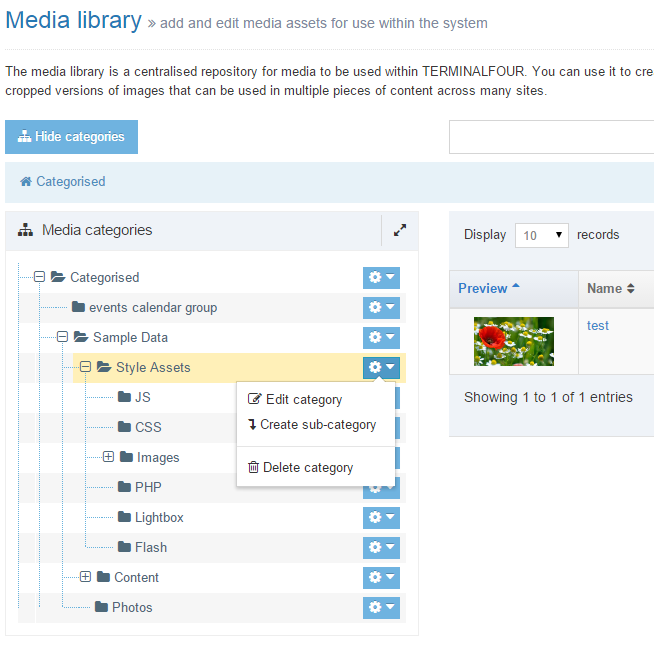
It is possible to:
- Expand and collapse Categories using the + and - buttons to the left of a parent Category. Categories can expand to full page size.
- Create Category, Edit Category and Delete Category.
Media Items
Media Items are listed in a table. You can change the number of items that will be listed per page by using the records dropdown options on the top right. To quickly search through the items in the selected Category you can enter text in the Filter input on the top right.
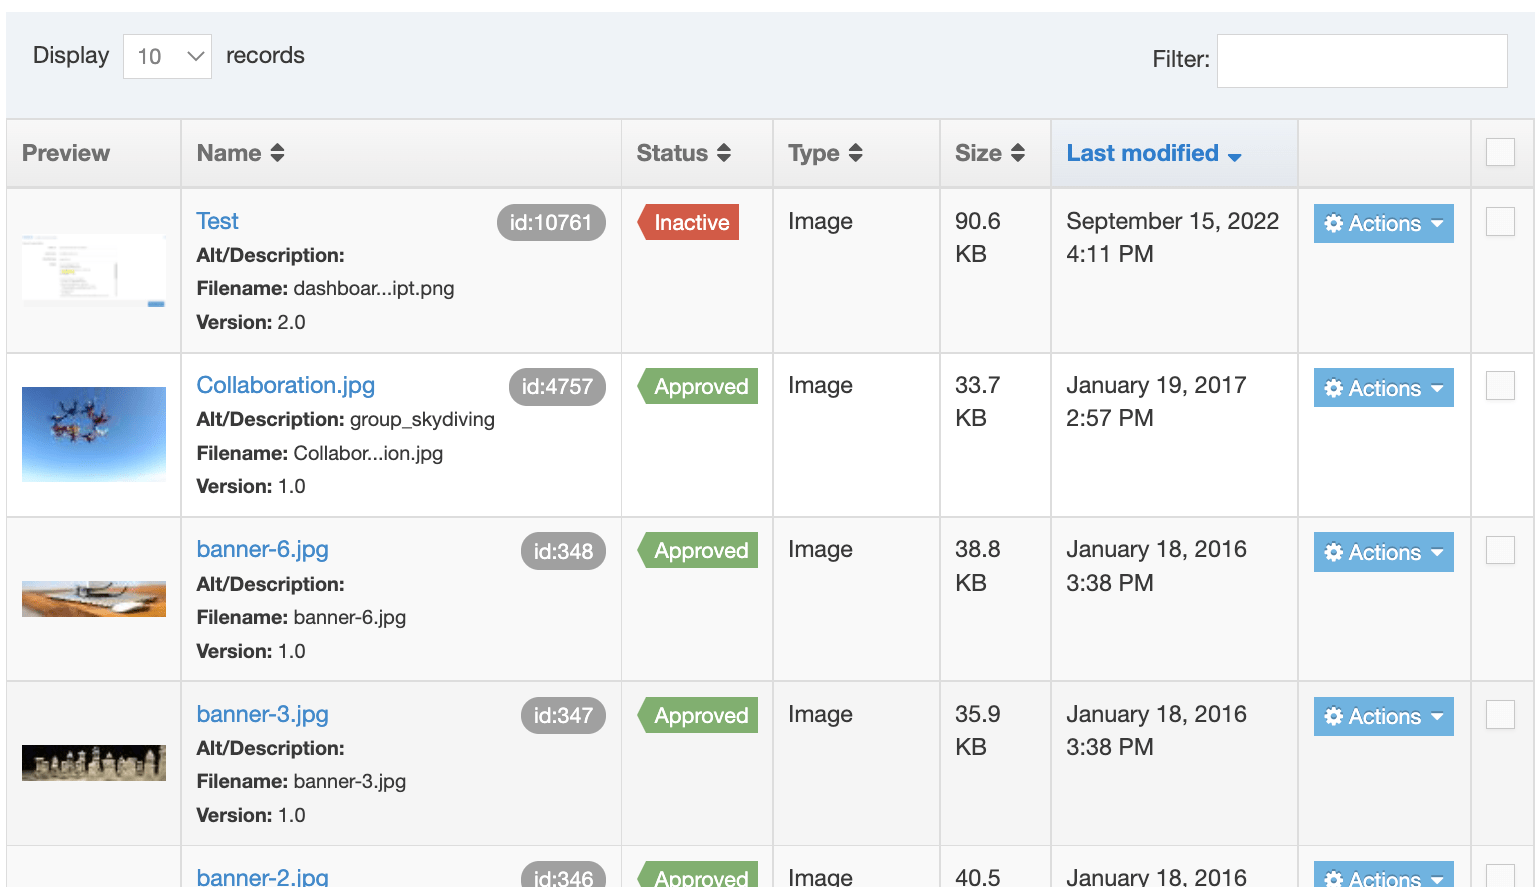
Each Media Item is a row in the table and the columns are sortable:
| Name | Description |
|---|---|
| Preview |
A thumbnail view of image files will be displayed. For other file types, a document icon is displayed. |
| Name |
The name of the Media Item. This links to the Edit screen where you can change the Media Item's settings or upload a new file. This column also contains:
|
| Status |
A Media Item has a status of Approved when uploaded. When deleted the status is changed to Inactive and it will no longer publish. To permanently delete a Media Item go to Content > Recycle Content. In the Inactive Content tab, you can use the Filter to search for the Media Item. When it is selected, click on Purge Content. To revert the status of a Media Item from 'Inactive' to 'Approved' just change any of the Media Item settings in the Edit screen and Save Changes. |
| Size | The Media Item's filesize in kilobytes |
| Last modified |
The date that the Media Item was last modified. This includes when it was added originally. |
| Actions |
When clicked, the Action Menu will expand to show the following options:
|
| Checkbox |
Select multiple Media Items to apply the Move and Delete Bulk Actions |
Adding a Media Item to your content
The Media Library doesn't just store media files like images, video and audio. You can also store CSS and JavaScript files that can be added to Page Layouts or documents like PDFs and MS Office docs that can be added to your Content Items.
To add a Media Item to a Content Item, the Content Type used must include an HTML element:
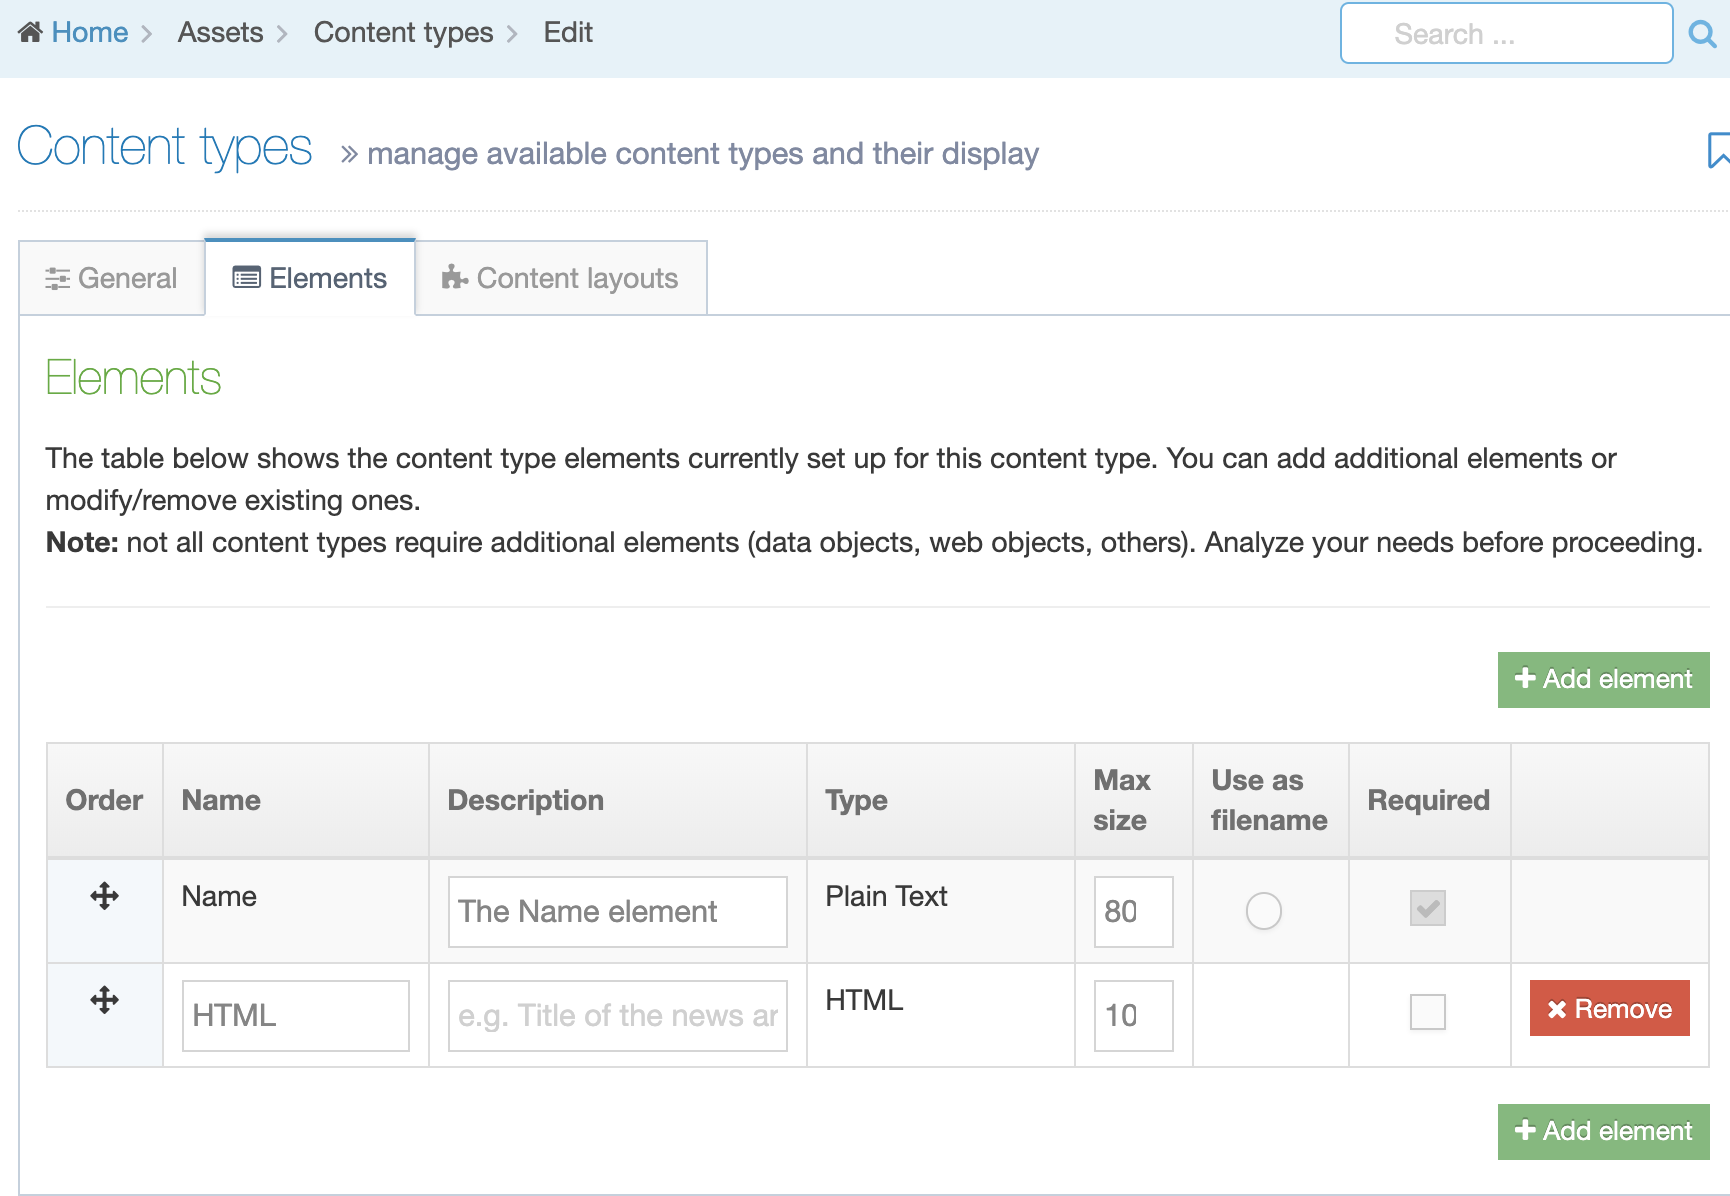
When creating a Content Item with an HTML element you will see the HTML editor. To add a Media Item select the Insert from Media button:

When an image is selected from the Media Library it will use the image Media Content Layout to output the img HTML element so the image will display on the page. If a document like a PDF or Office doc is selected, the name of the Media Item will be output with a link to the file.
To learn more about setting up Media Types and Media Content Layouts have a look at this video.
Delete category
You can delete from any tab, or from the Actions menu, select Delete. A "Confirm delete" popup window appears for you to confirm the request:
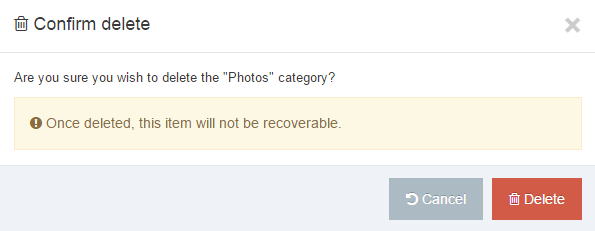
To proceed, click Delete. The media category is removed from the Site Structure.
Once a Media Category is deleted, it is no longer visible in the Media Library, but it is in the Recycle Bin. Media within deleted Categories is removed from the published content.