
Payment gateways configuration
Description
To configure the Payment Gateways that you want to use with Form Builder, go to System Administration > System Settings > Payment Gateways. Before configuring a Payment Gateway, the connection with Form Bank server will need to be configured.
Set up a Payment Gateway
If you are an Administrator and you want to process online payments with your forms, then the Payment Gateway must be configured in System Administration > System Settings > Payment Gateways.
For Administrators, there are two types of gateway available:
Terminalfour
- this is a test Payment Gateway that simulates how the form will work, this will not charge a card or accept any information
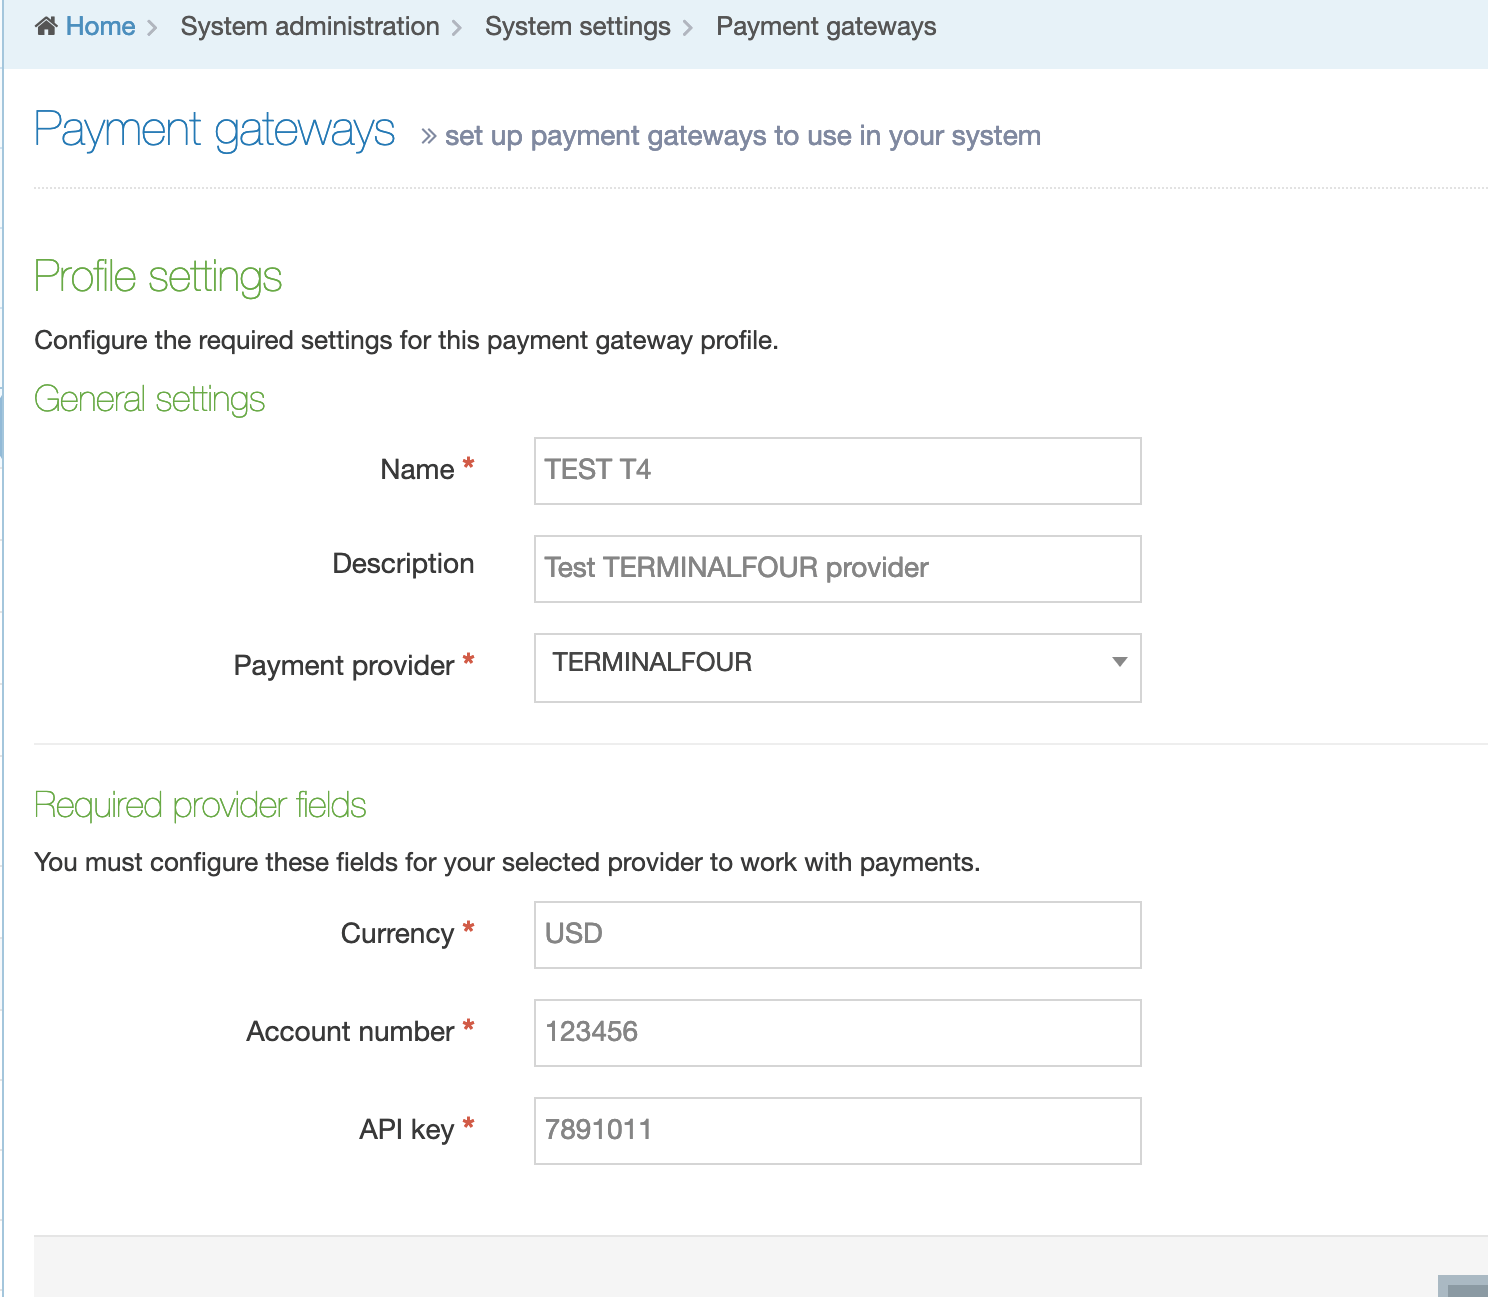
- the "Required Provider Fields" are mandatory:
- Currency: the default currency that payments will be processed with
- Account Number and API Key fields will accept any string
- this should not be used in a production environment
Stripe
There's a list of the minimum and maximum amounts that can be charged with Stripe here.
Stripe is the default payment processor in Terminalfour. When you have created a Stripe account, you will have access to two sets of API keys – one for test and one for live mode. In test mode, no payment information is sent or processed. Use this to test the payment functionality on your form initially
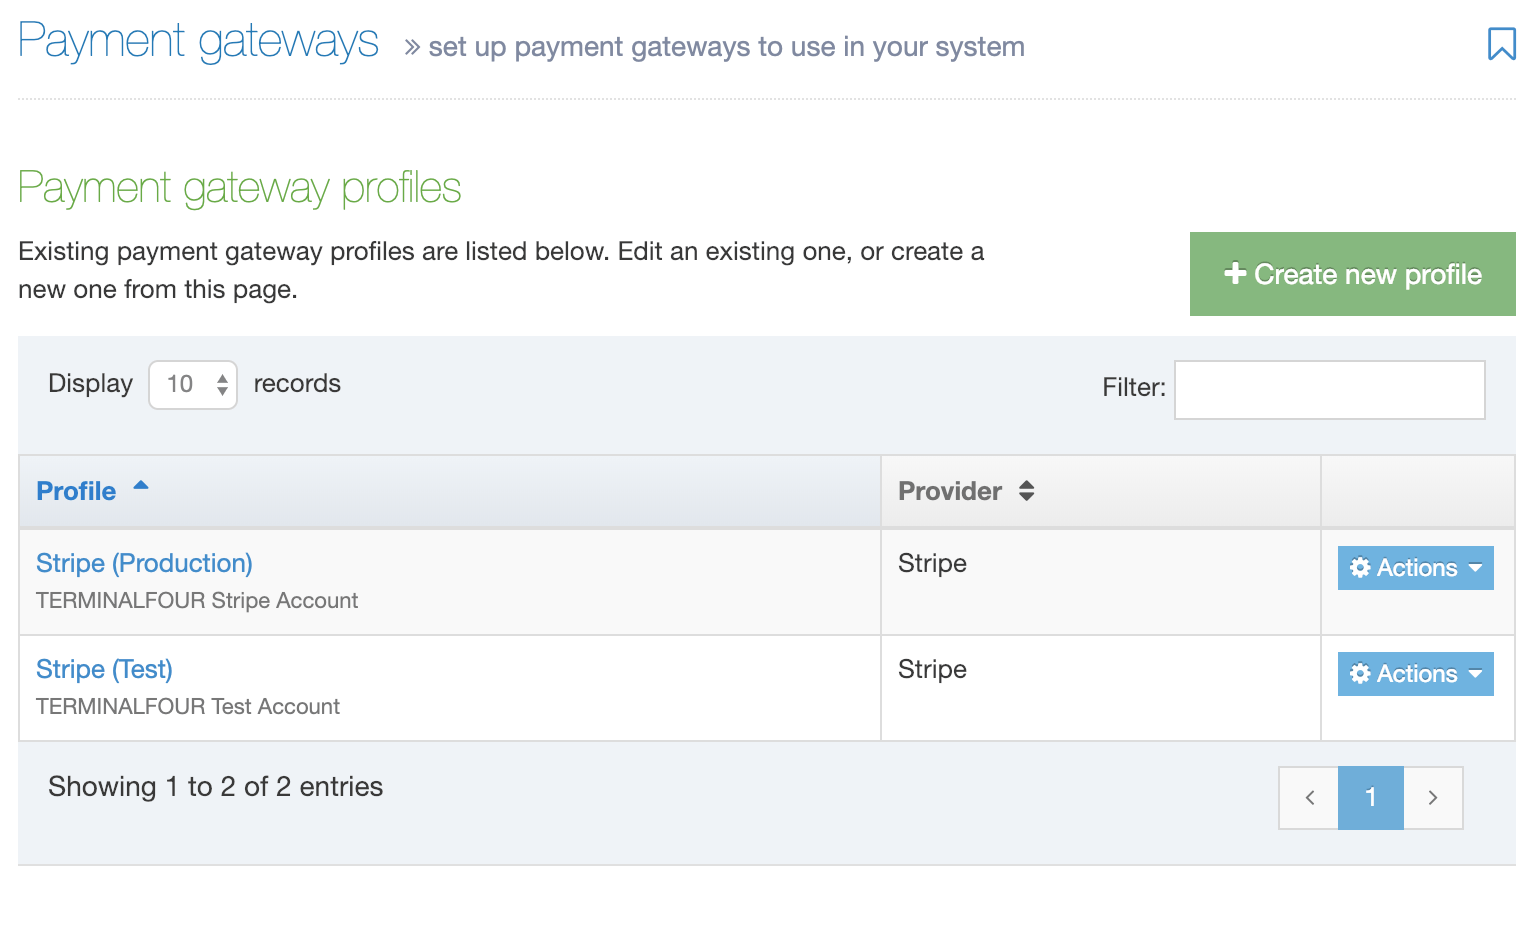
In this example, two gateway profiles – "Test" (using the Stripe test API key) and "Production" (using the Stripe live key) have been set up:
Set up a Stripe payment gateway
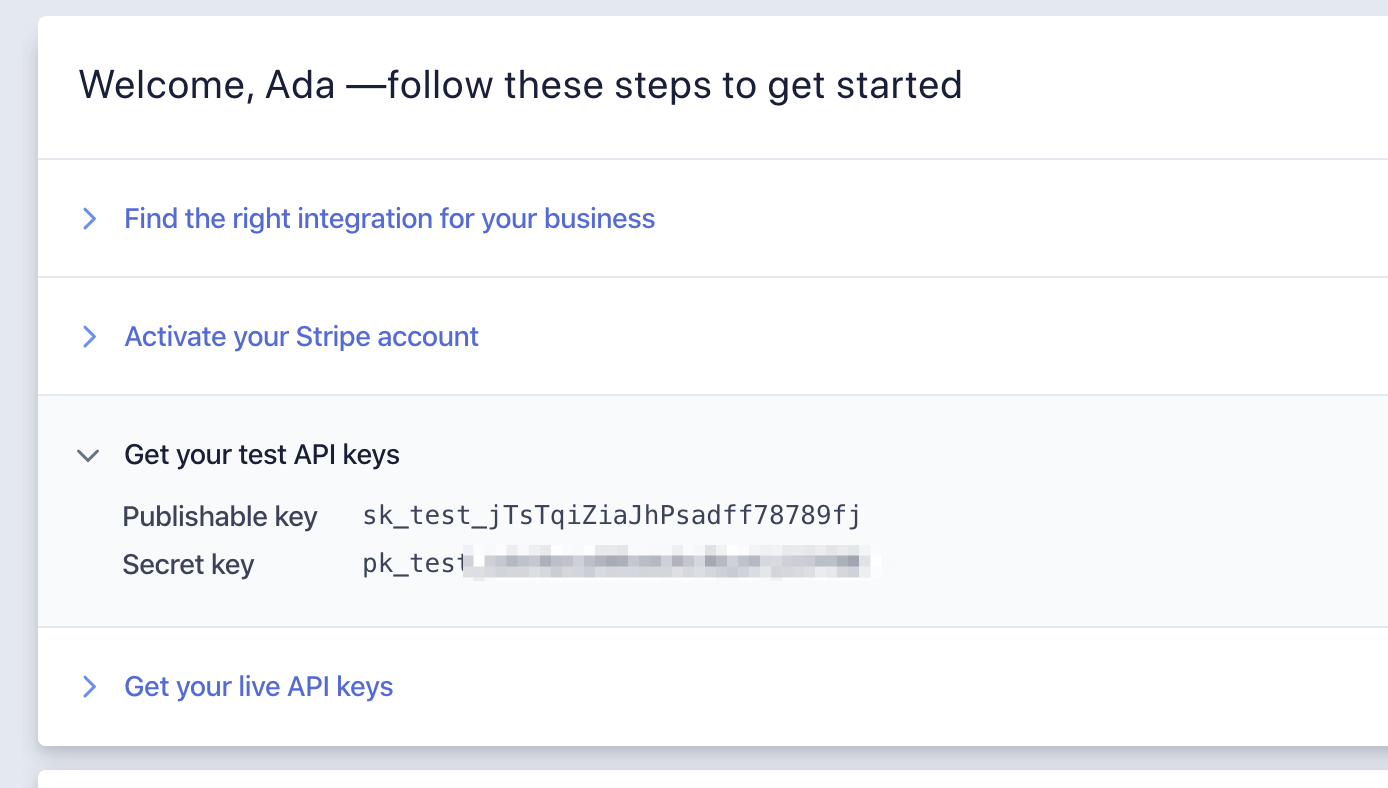
You'll need a Stripe account to login to the dashboard. From here, you can get the Publishable and Secret keys to set up your Payment Gateway profile. Select a key to copy it to your clipboard. In this example the test API keys are displayed:
Go to Administration > Settings > Payment Gateways and select Add new profile. When adding your profile details ensure that Stripe is selected from the Payment Provider dropdown and paste your Publishable and Secret keys in the provider fields:
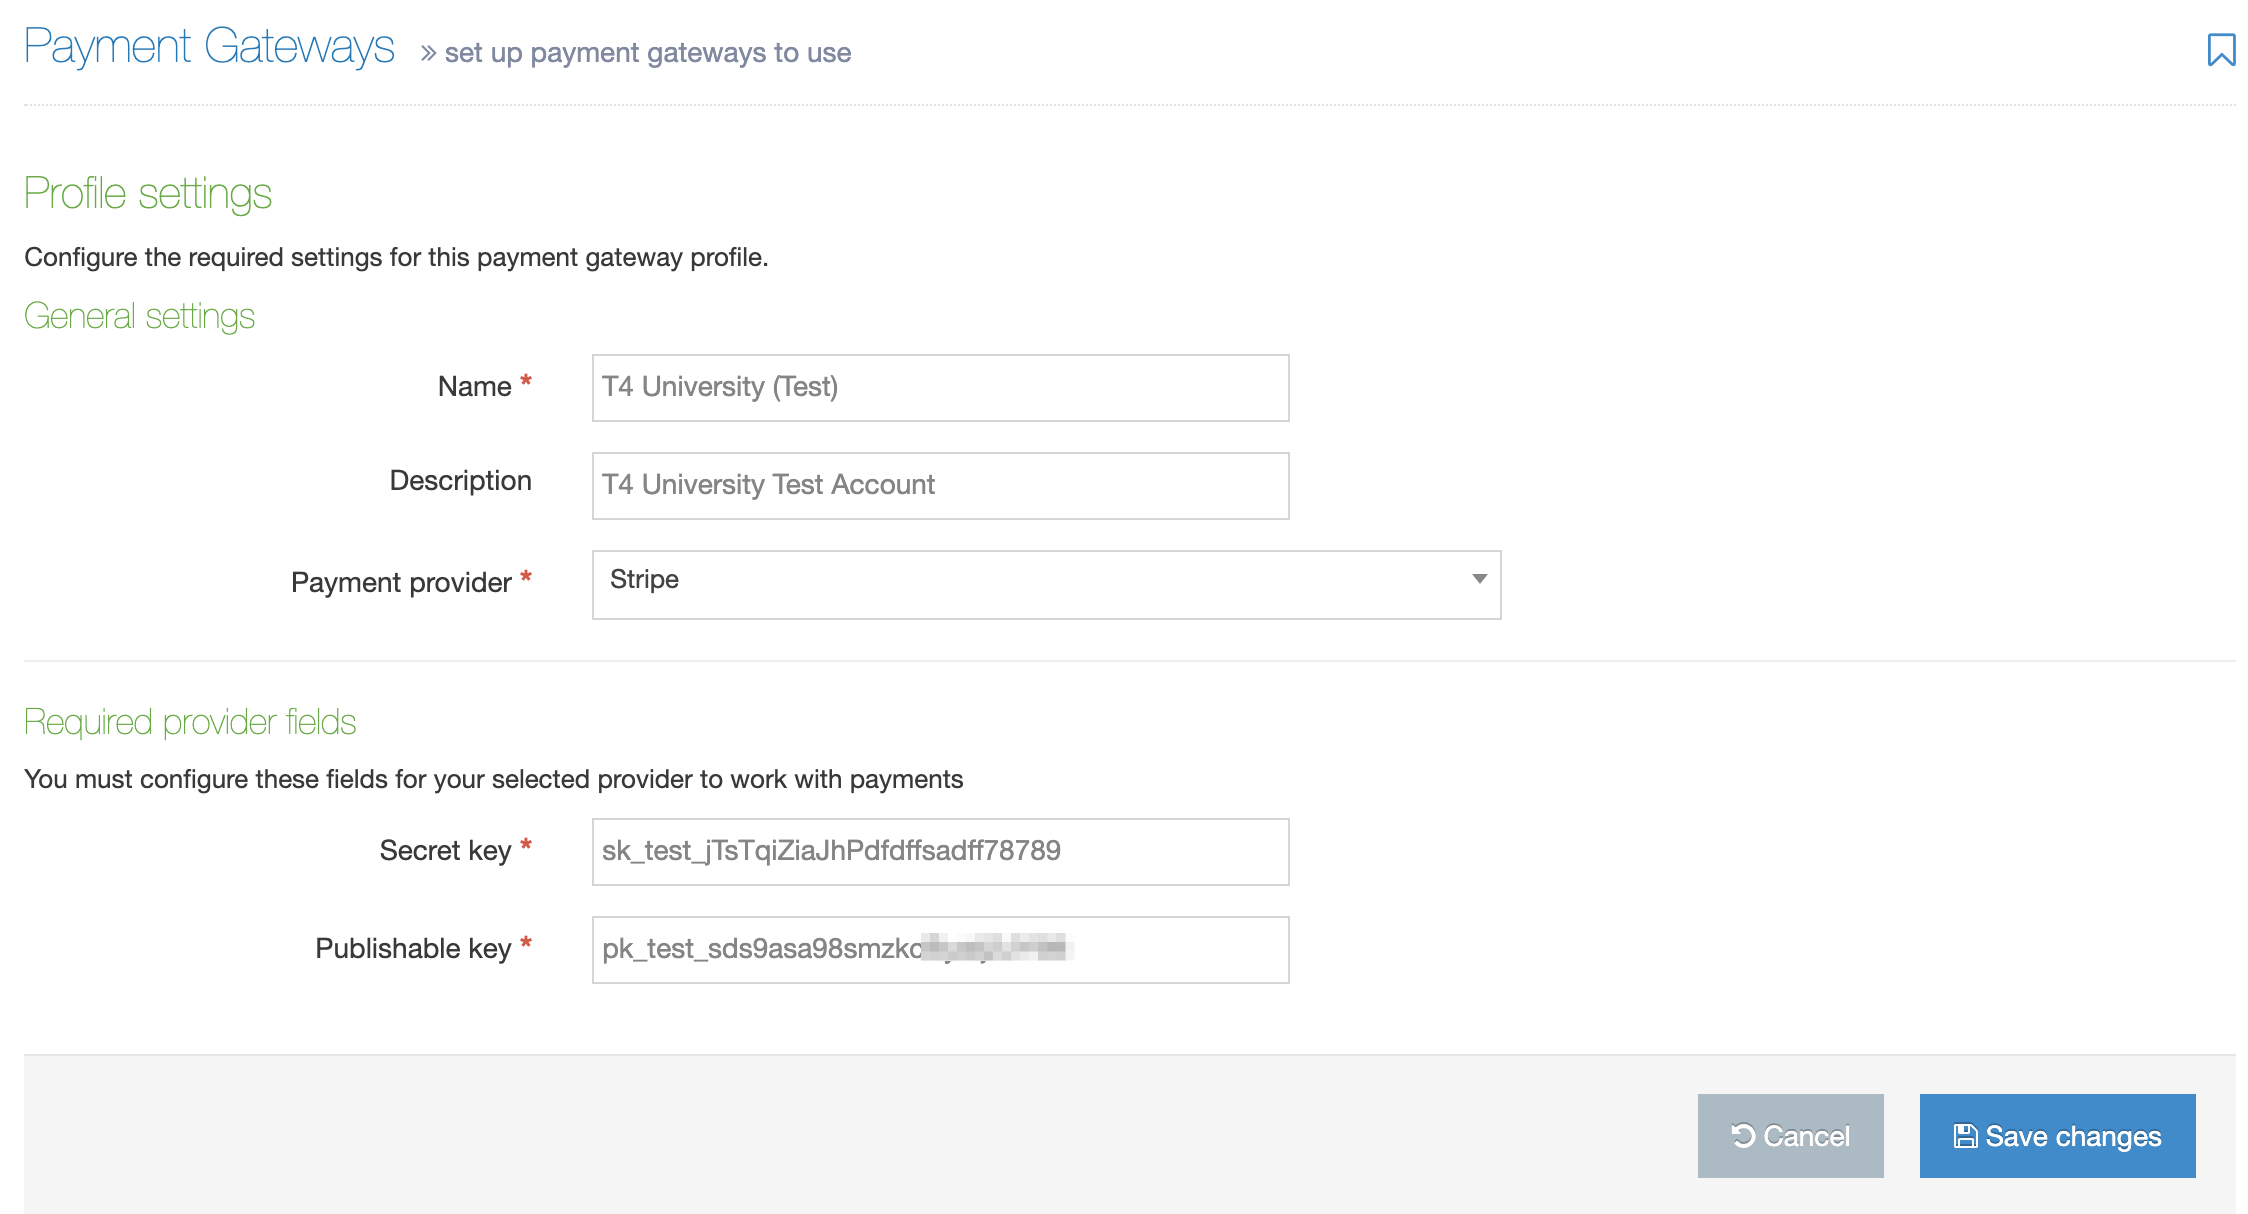
Don't forget to Save changes.
You can switch from Test to Production when you are satisfied with the payment flow on your form.
Learn how form submissions with Stripe payments are handled.
Adding Credit Card Info with Form Builder
When a payment gateway has been set up, a CC Info field will display in Form Builder below the Advanced inputs heading:
 If you have more than one Payment Gateway configured (e.g., test and production gateways) you can specify the one to use in the Additional Submission Options as well as field mapping options.
The input's position can be moved up or down within the form.
Form submissions that contain Stripe payments contain the Stripe payment ID and a link to the payment.
Testing your form
It's recommended that you thoroughly test your form with a test Payment Gateway before making it live with a production Payment Gateway. Since real credit card numbers cannot be used in test mode Stripe has provided a list of test credit card numbers you can use.
Here's how a published form with a CC Info field can look:
