
Group Management
- Last Modified:
- 27 Nov 2025
- User Level:
- Administrator
Description
With Group Management you can manage multiple Users who have may need to share common assets (e.g., Content Types, Page Layouts) and carry out similar tasks. Using Group Management you can avoid assigning rights to individual Users. Additional tasks in Group Management:
- add or remove members
- delete a Group
- disable a Group temporarily
- restore Group actions
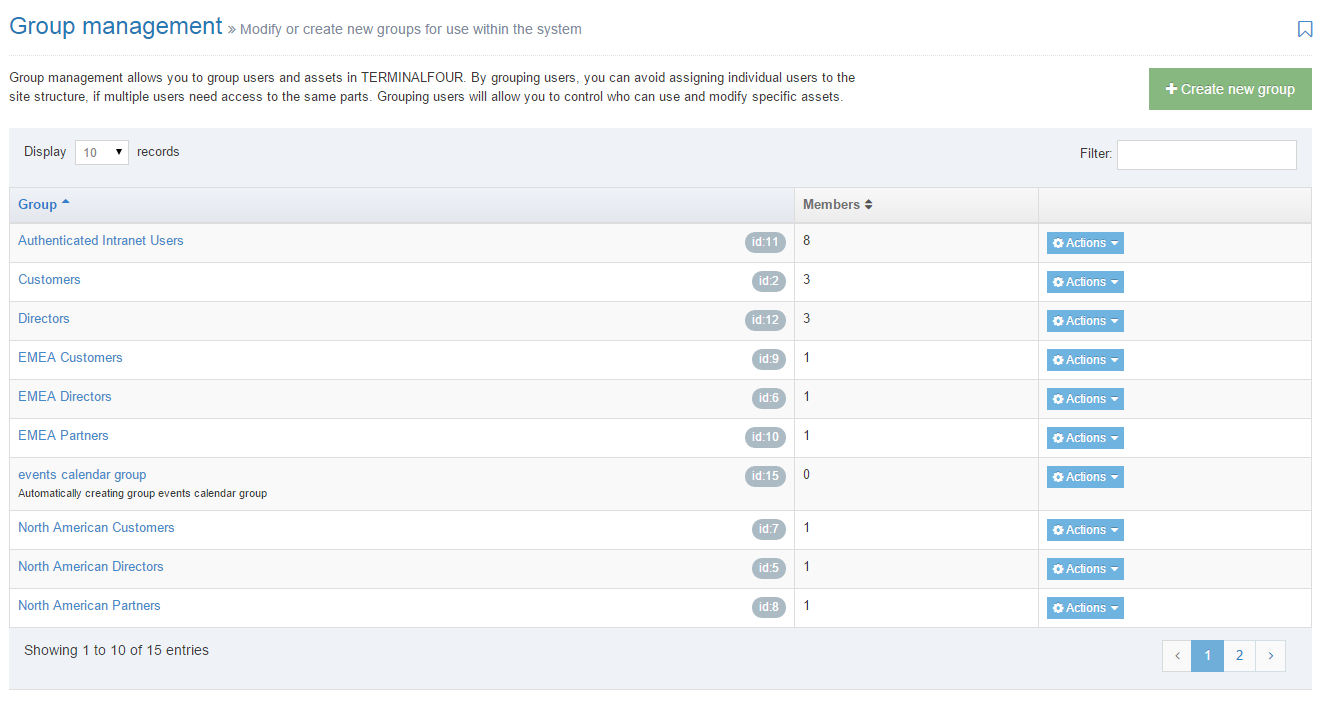
The image below is the start page for Group Management. To create a group, go to System Administration > User Rights & Roles > Group Management. The listing screen is shown below.
Create new group
Click Create new group and enter the following information about the group:
| Item | Description |
|---|---|
| Name | Name of the group |
| Description | Description of the group. |
| Email address | Sets the email address to send Group notifications to |
| Default preview channel |
This determines which Channel is used for previewing Content Items for this Group. If a default preview Channel has been specified in more than one place, the system applies the following logic:
|
| Group inheritance |
Choose from this list to add subgroups to the new Group. This does not affect the group's or user's access within TERMINALFOUR and is currently only used by the Group select element for Access control of the published site. When it is used, the subgroups are nested below their parent groups in the Access tab when creating or editing a Section, which controls the group's access to the section/page on the published site. In this case, if the parent group is granted access to a section on the published site, subgroups will also inherit access to the section. From Terminalfour 8.4.2 circular references in group inheritances are prevented. |
Add users to the group
Select the members of the new Group from the list of available Users. This is shown on the left side of the screen.
Power Users can only edit the Group(s) that they are members of so only Users who are members of the same Group(s) as the Power User are displayed.
You can filter your selection when you click the types of Available Users:
- All Users
- Visitors
- Contributors
- Moderators
- Power Users
- Administrators
- Group
When you have selected a User, click Add to move a User to the Group member list on the right side of the page. The list appears below:
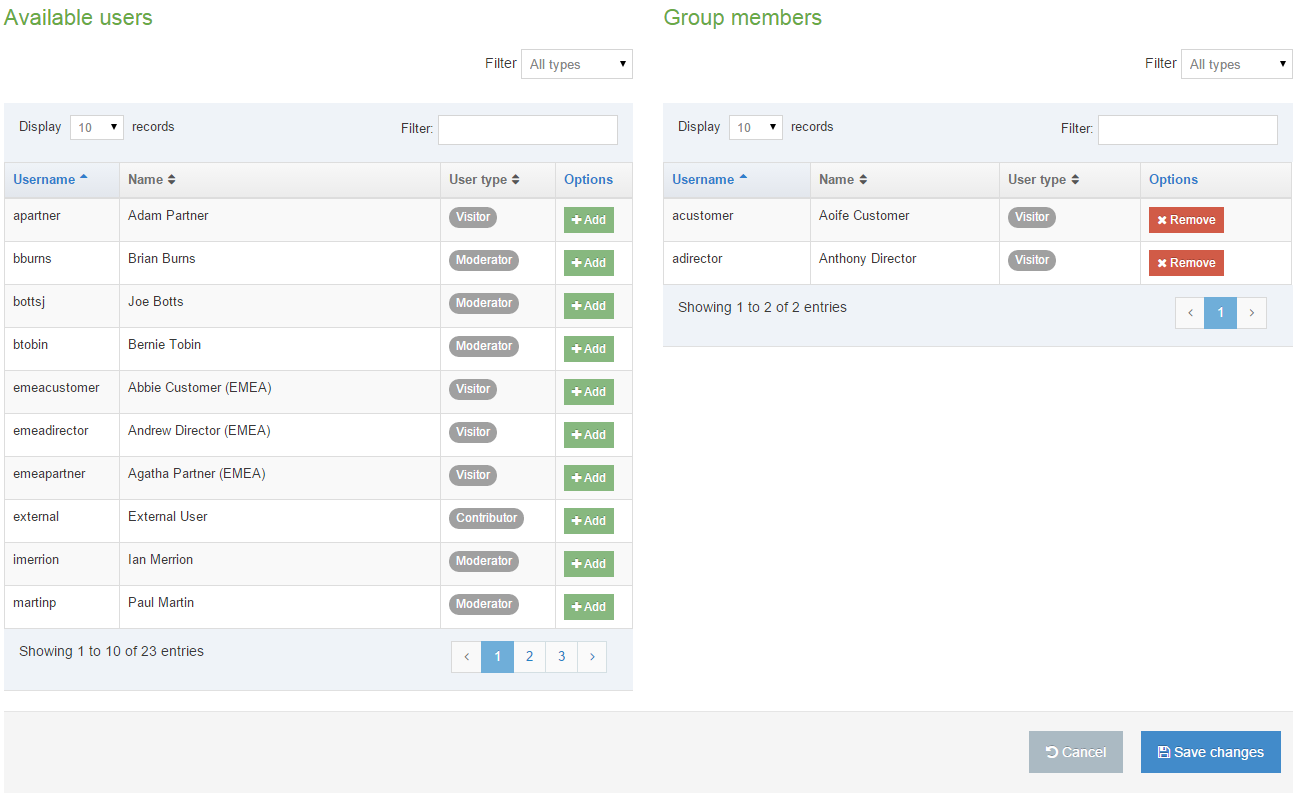 When you complete your list, ensure you Save changes.
Delete/Disable Group
If you no longer require a Group, permanently or temporarily, you can select one of the following options:
- Delete: The Group is removed from TERMINALFOUR. When deleting a Group, only the Group is deleted; Assets and Users within the Group are not deleted. Assets that were owned by the Group will become Global Assets.
Deleting a Group is permanent and it cannot be restored.
- Disable: Typically you disable a Group temporarily. The important aspect is the flexibility of this feature – you can turn it on and turn it off, yet still modify to suit your needs. Where a Group has been granted Edit Rights to a Section, disabling the Group will remove access to the Sections for each Group member.
Delete Group
To delete a Group, go to System Administration > User Rights & Roles > Group Management:
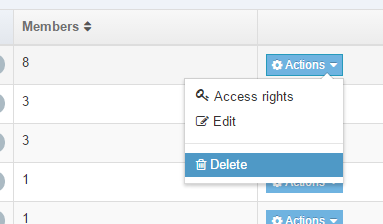
Using the Actions menu, click Delete beside the group to be deleted.
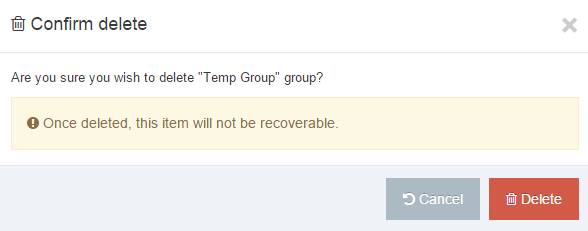
A confirmation box appears where you must confirm the deletion to proceed. Click Delete to proceed, or Cancel.
Disable Group (or Edit)
To temporarily disable a Group, go to System Administration > User Rights & Roles > Group Management.
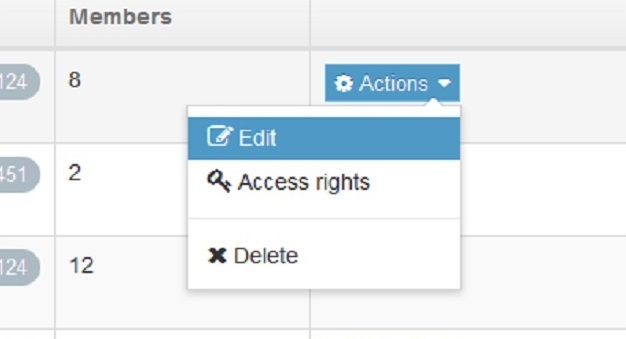
Using the Actions menu, click Edit beside the Group to be disabled.
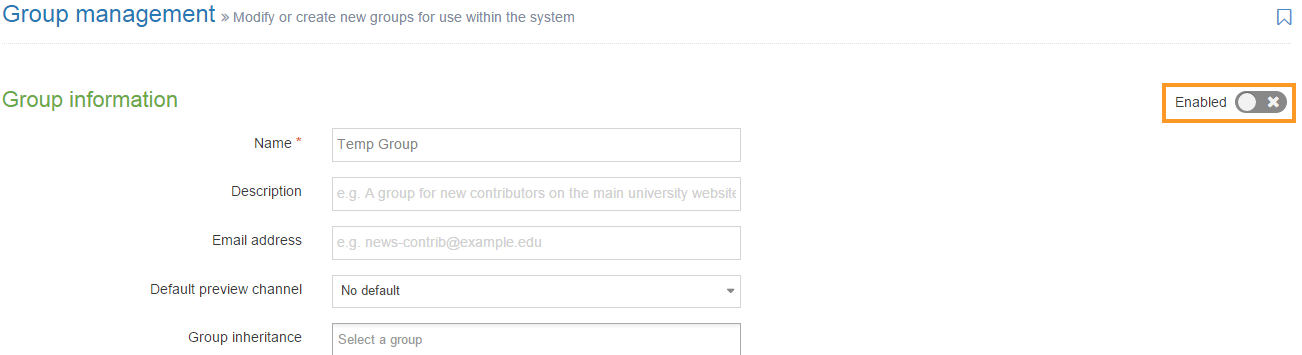 Click Enabled to remove the checkmark. This action disables the Group.