
Google Analytics
- Last Modified:
- 10 Sep 2024
- User Level:
- Administrator
Description
There are two changes to how Google Analytics in version 8.3.16:
- Only Google Analytics 4 is supported (this means that Universal Analytics properties are no longer supported)
- Google Analytics Dashboards has been removed from the product in 8.3.16. Google Analytics charts will still be viewable in Direct Edit and can be embedded in Dashboards.
In Terminalfour, you can use Google Analytics to learn about the traffic to your site, conversion rates, sources of traffic, and bounce rates. This allows you to measure and analyze your content's impact to improve your site's effectiveness.
These metrics are visible to all users who can view pages in Direct Edit.
There are four main steps when creating Dashboards:
First, you must have a Google Analytics 4 (GA4) property set up. You can create a new one, or, if you already have a Universal Analytics (UA) property, you can link a new GA4 one to it.
Authorize Google Analytics Account API
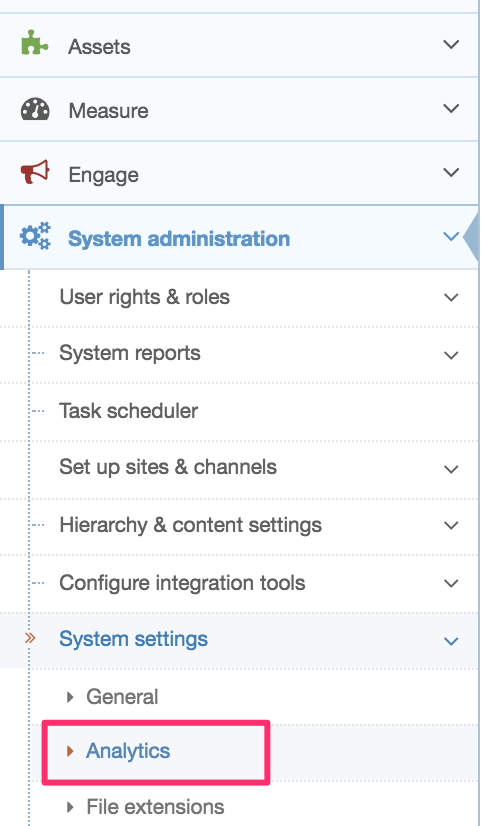
First, go to System Administration > System Settings > Analytics:
If you haven’t already linked a Google Analytics account to Terminalfour, select Analytics Account:

From the next screen, select Create New Account:

Create a Google Platform Project
If you were already using Google Analytics in Terminalfour and have a project set up, you can enable the Google Analytics Data API for that project (the UA API was named "Analytics API").
Since Terminalfour uses the GA4 API, you must create a project on Google Cloud Platform Console.
Go to the Google API Console and create a new project specifically to use the Google Analytics API with Terminalfour:
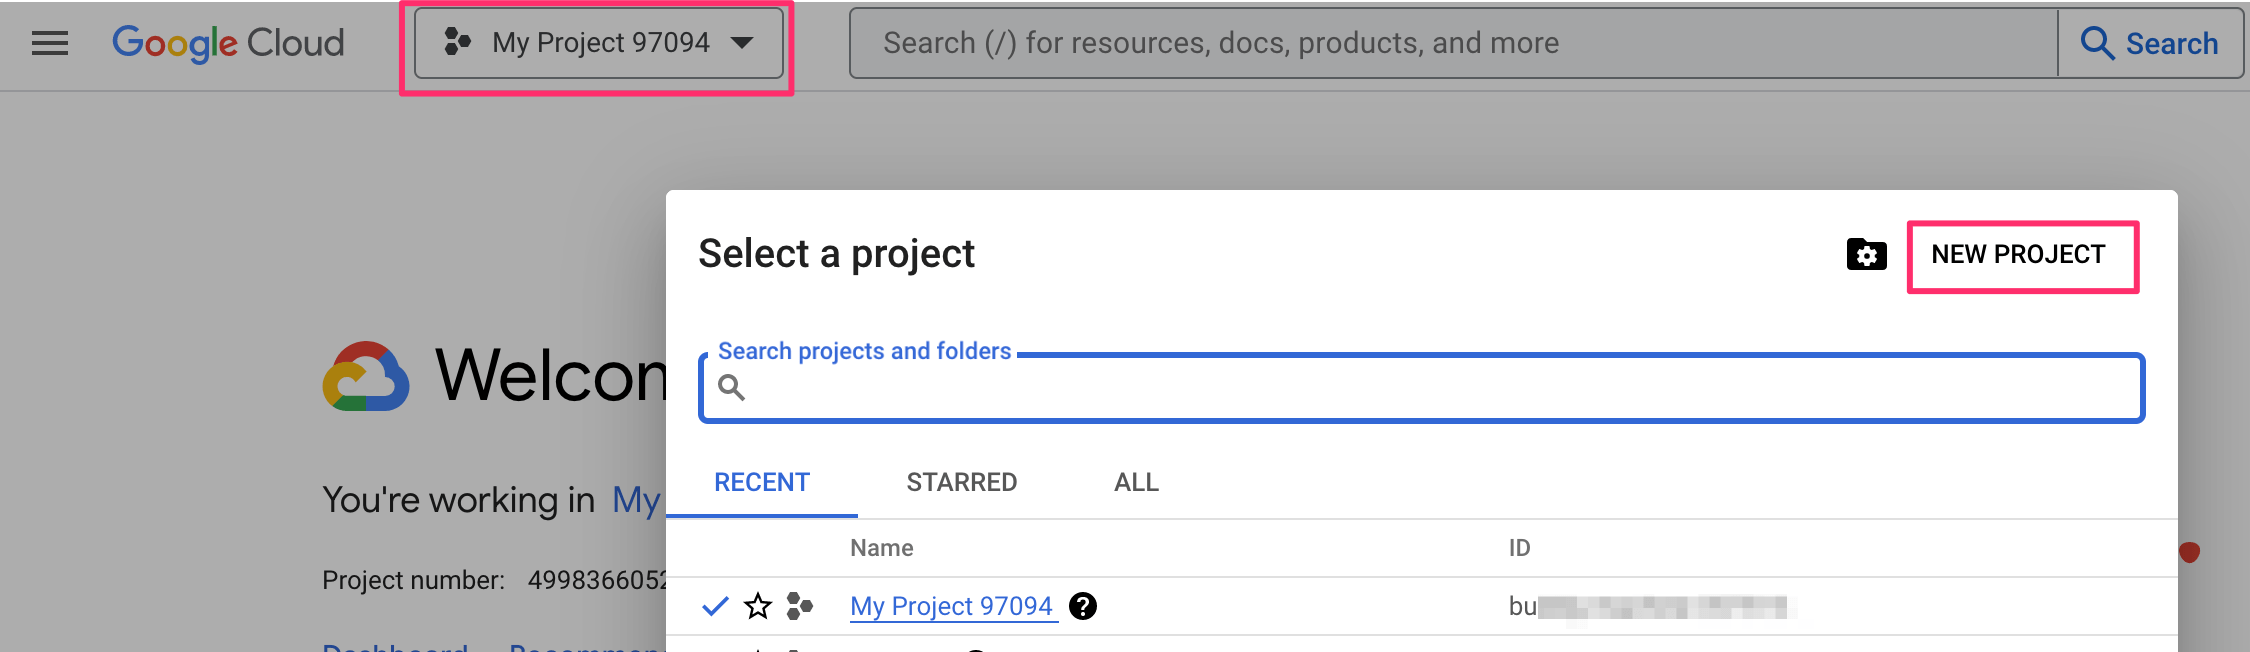
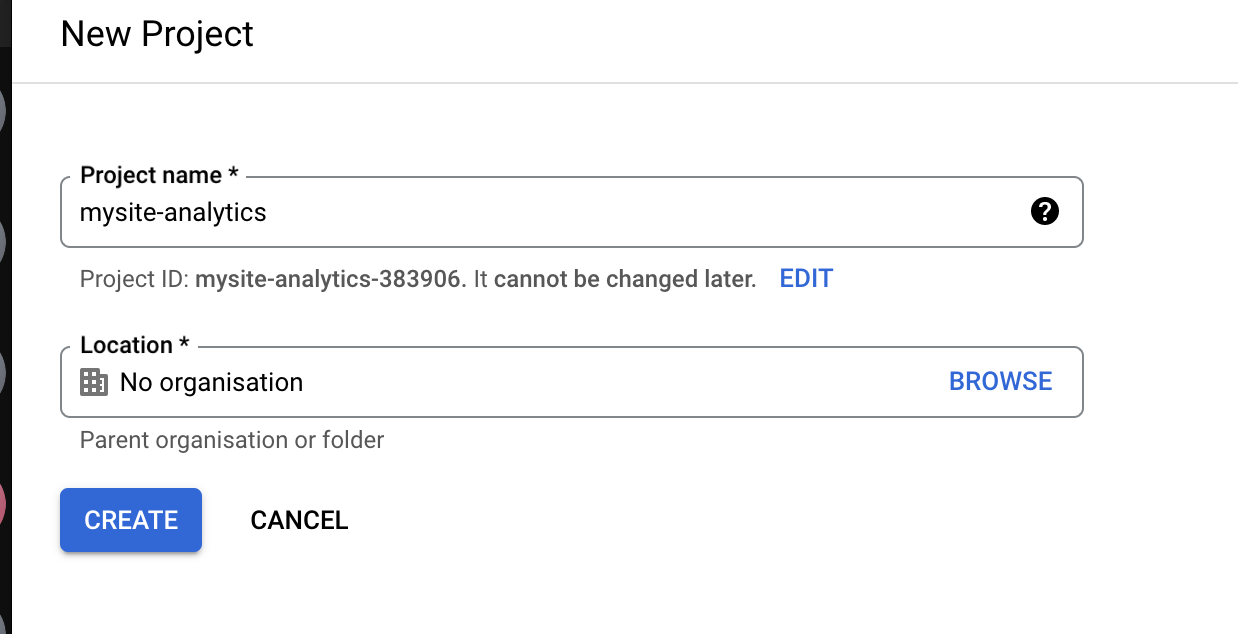
Give your project a meaningful name that you can recognize (this is especially important if you have more than one Project):
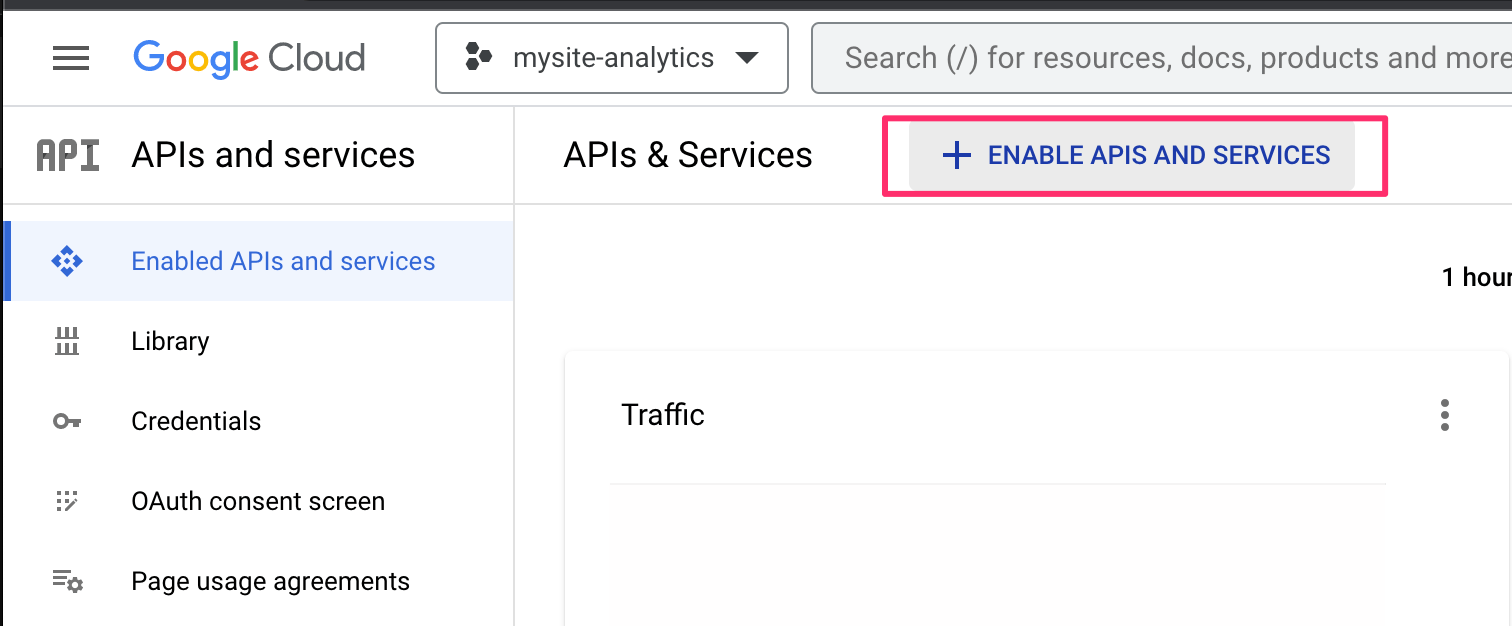
When you've created the Project, select Enable APIs and Services:
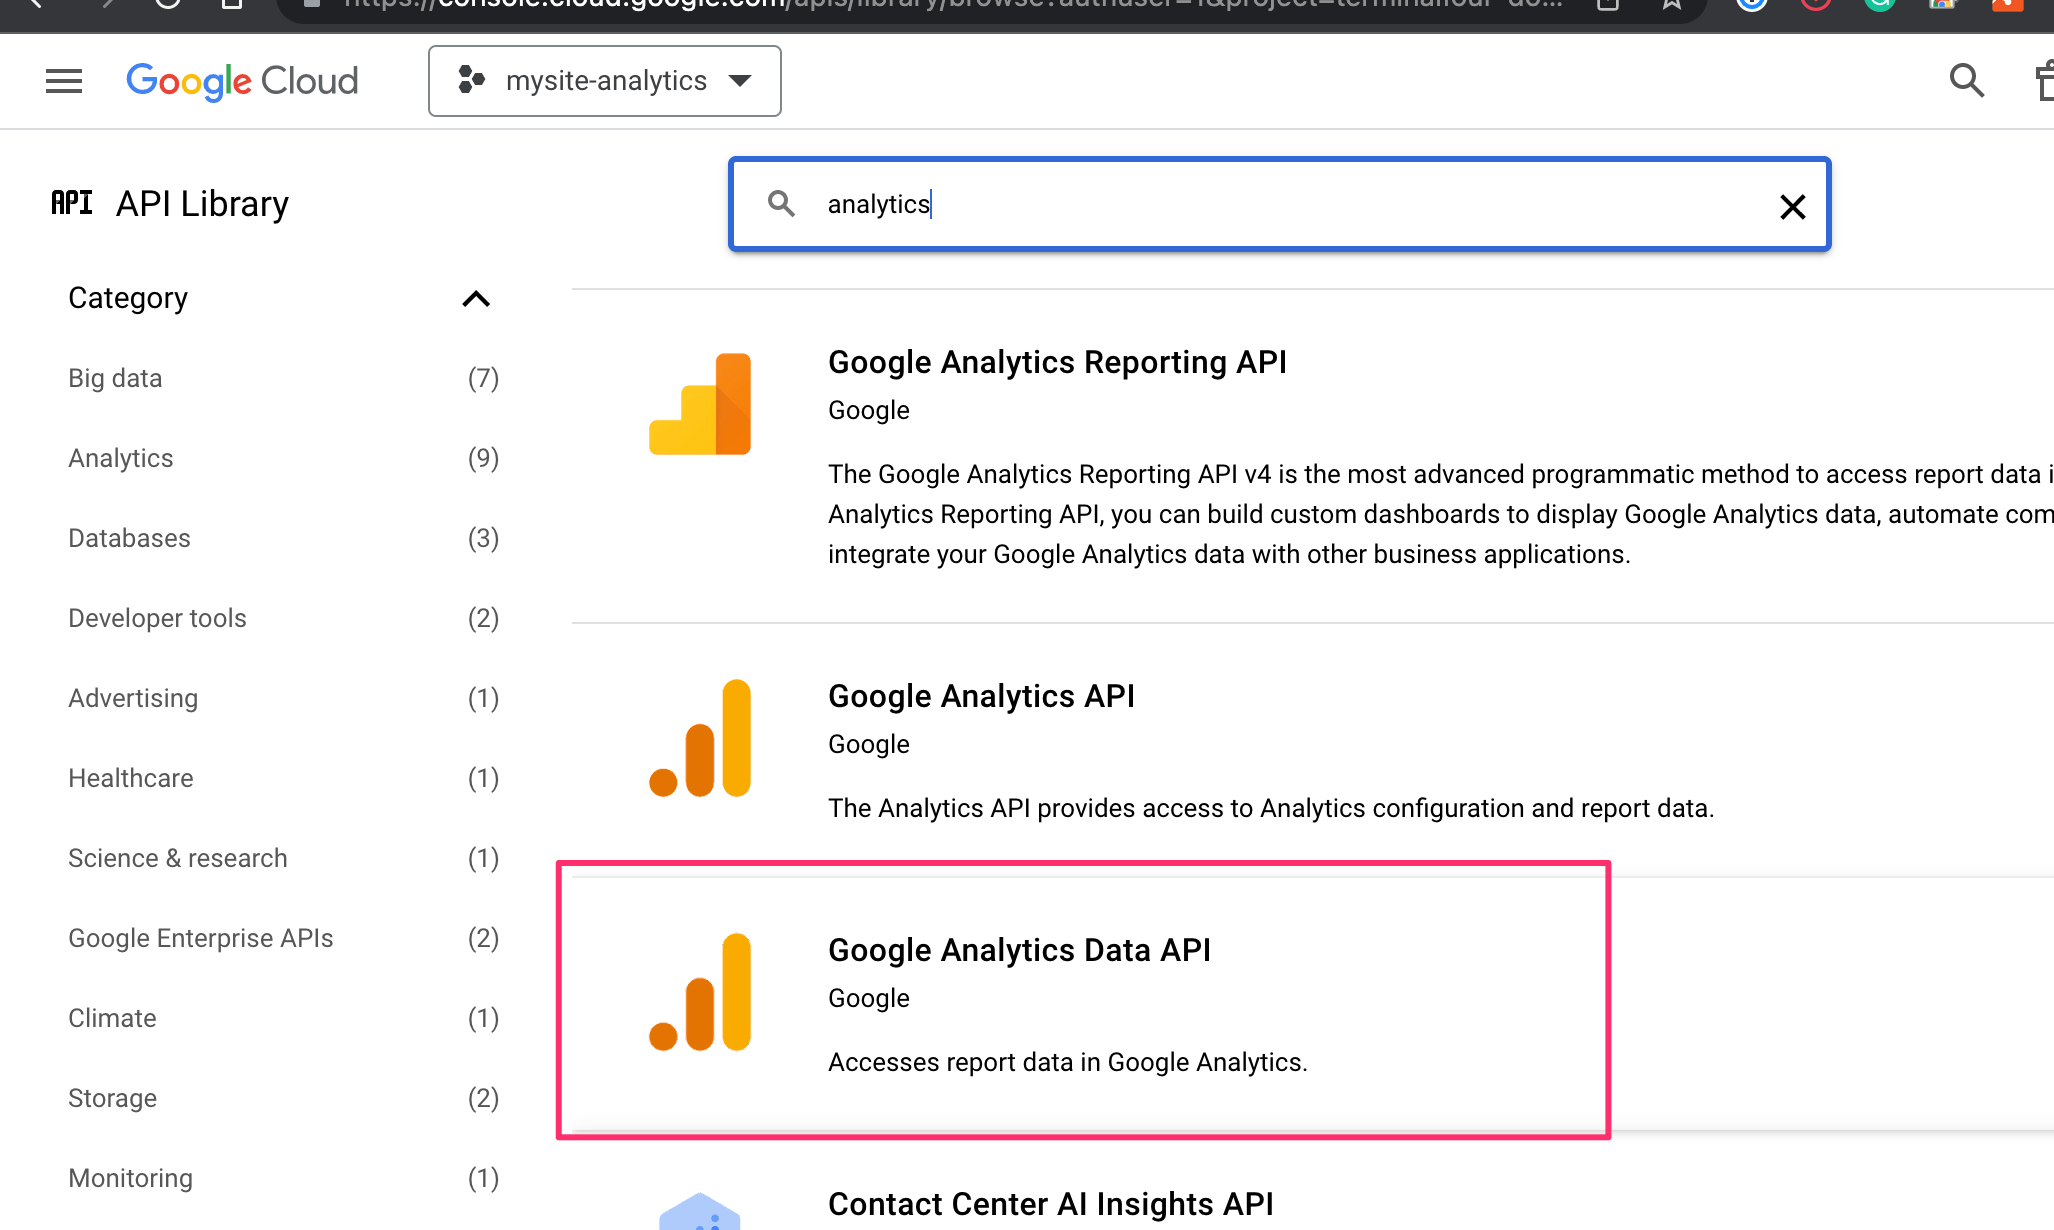
Add Google Analytics Data API
Searching for analytics will return some results. Select Google Analytics Data API (not the Google Analytics Reporting API):
Select Enable:
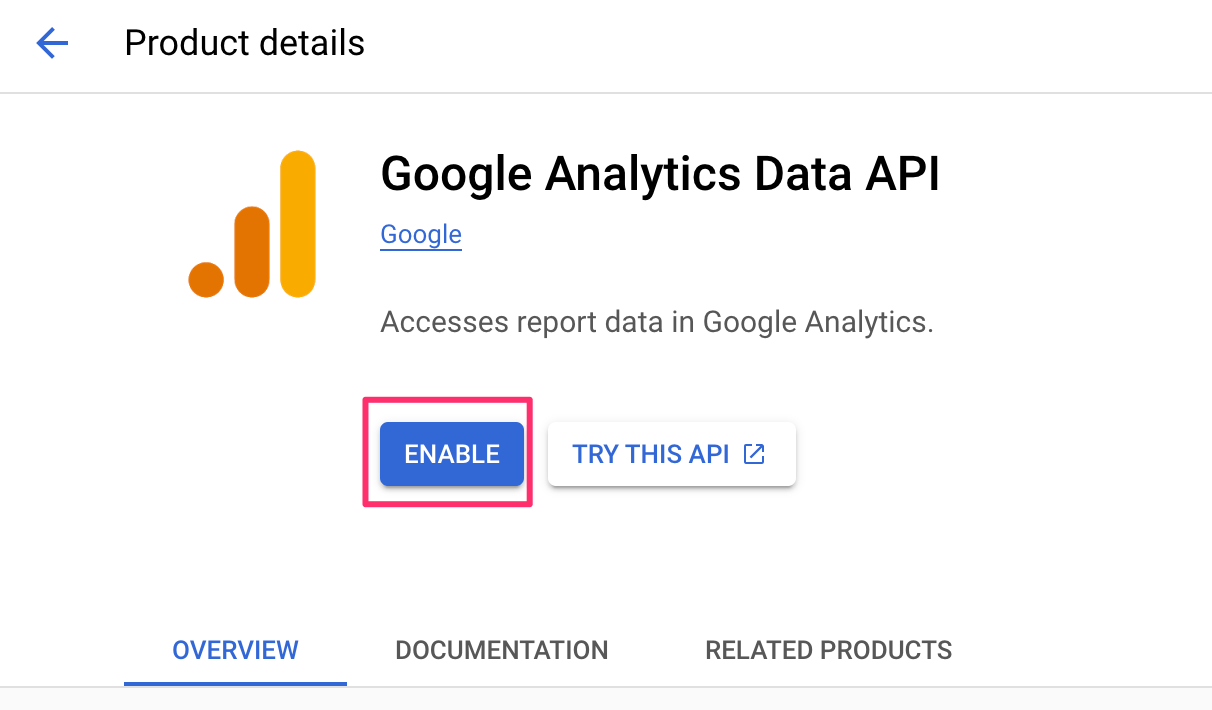
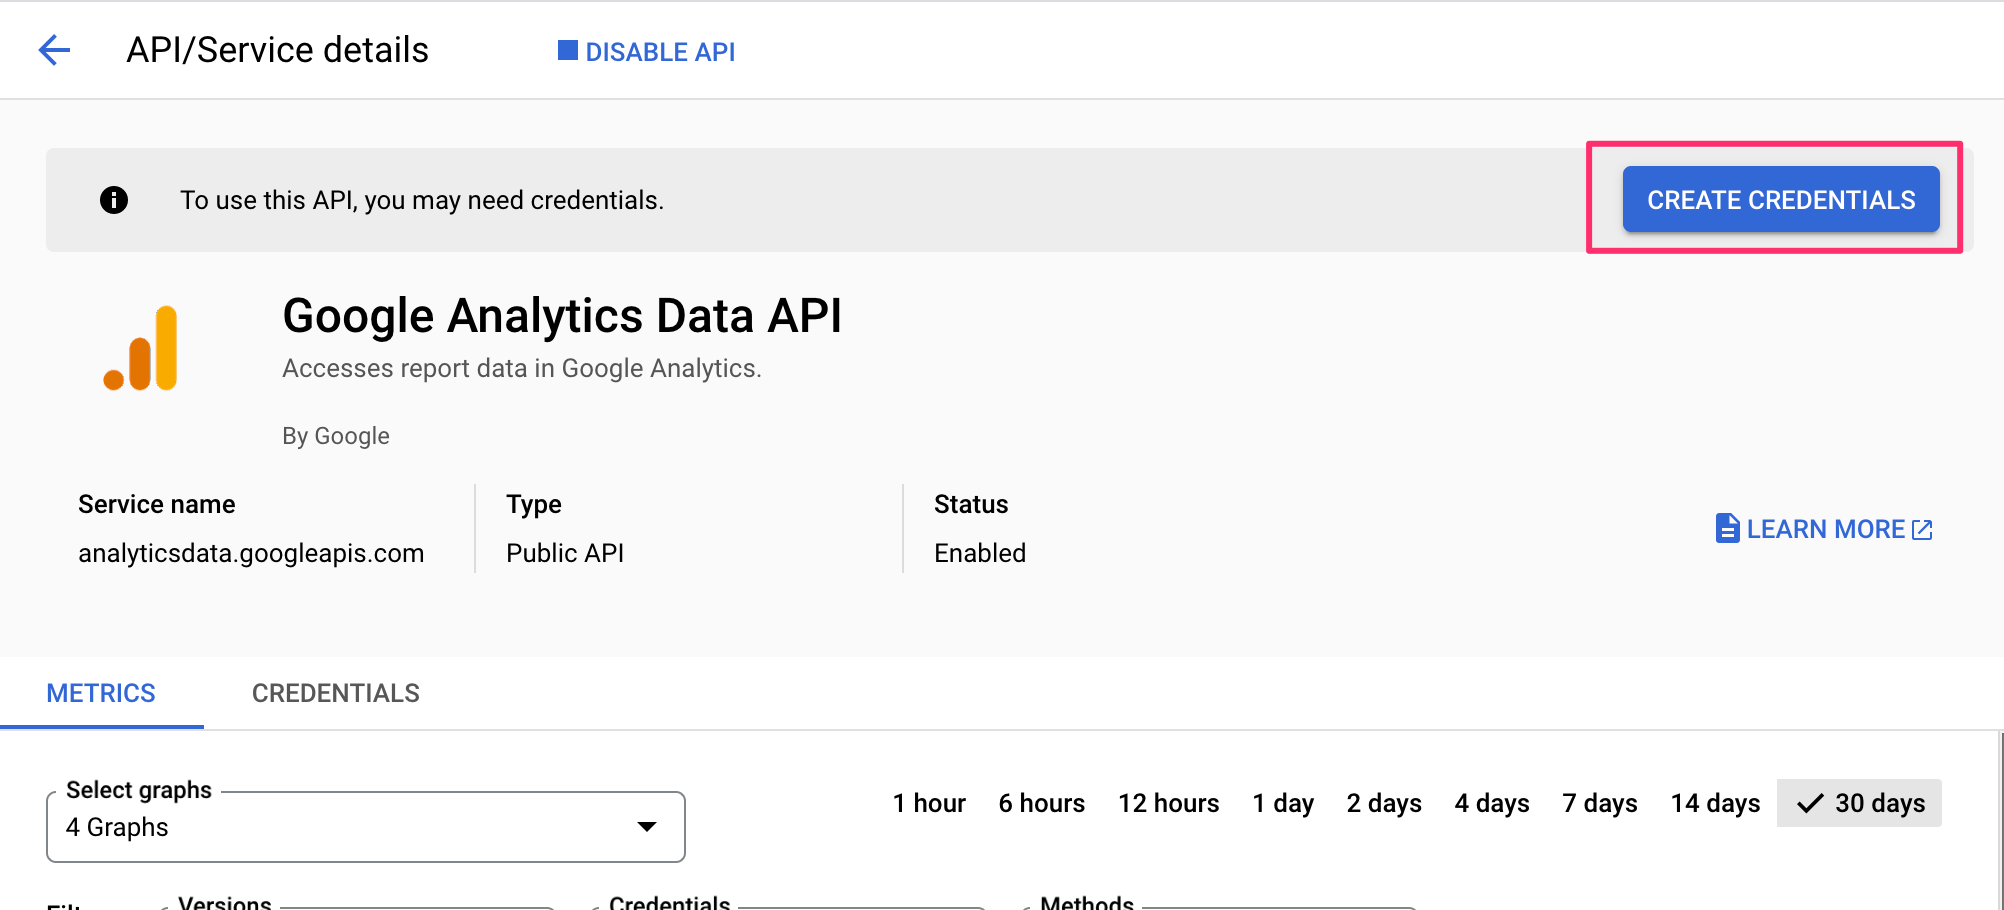
To get started with the API you’ll have to Create Credentials to use with it:
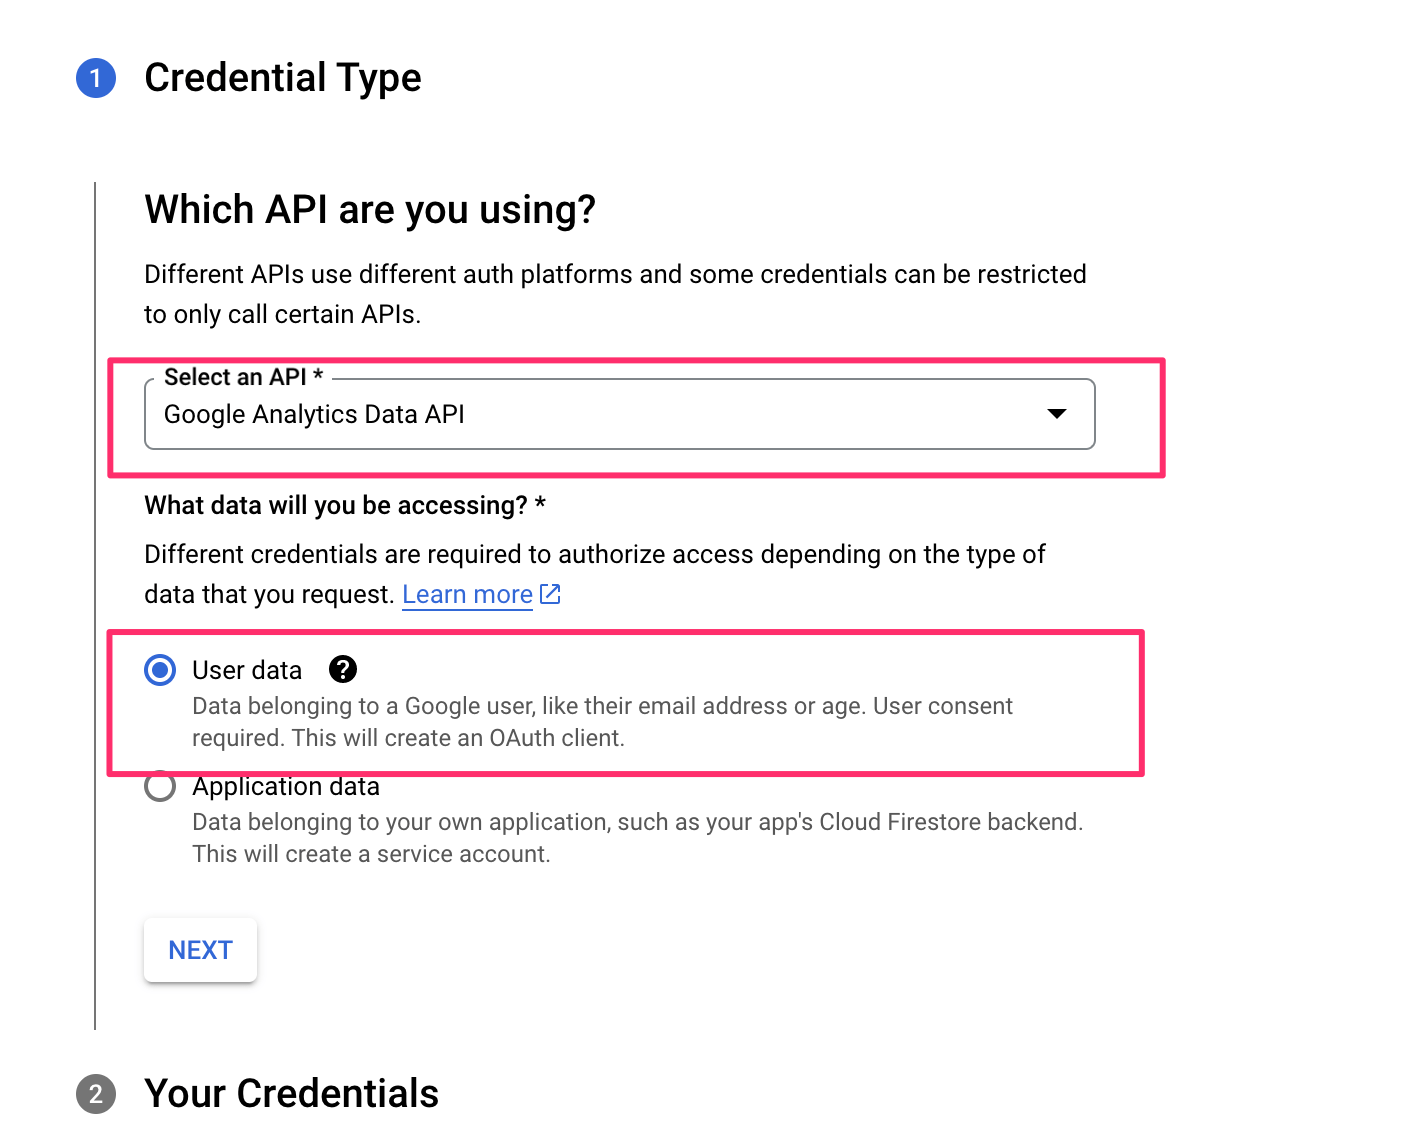
Credential Type
Next up, you’ll need to specify how you will be calling the API and the type of data you intend to access:
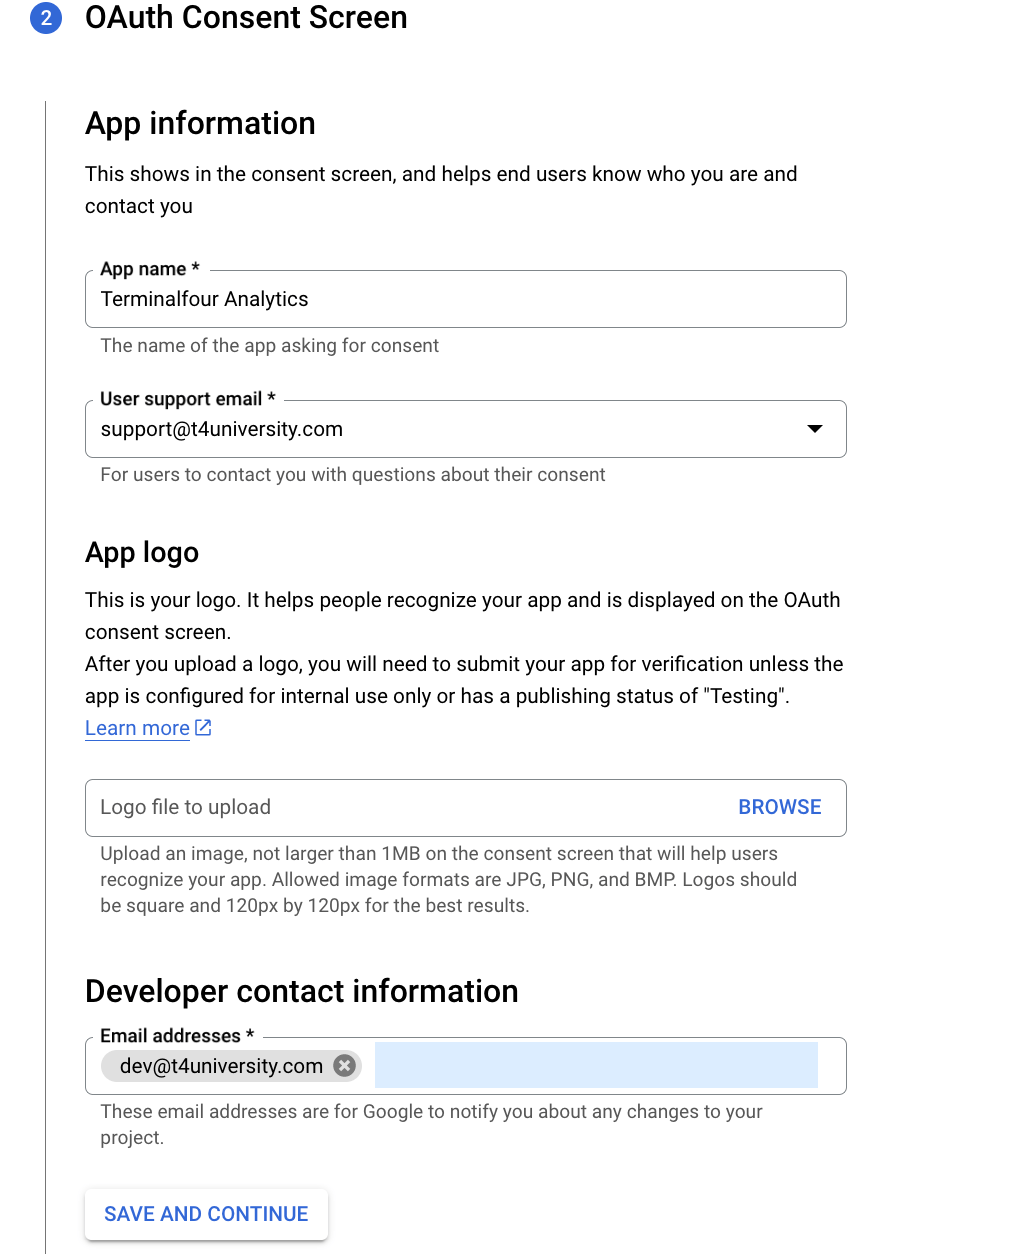
OAuth Consent Screen
Next, you’ll be creating an OAuth2 Client ID to authorize the use of API with URLs from your Terminalfour instance:
Adding a logo will require verification from Google which can take a number of weeks. It's best to leave this blank.
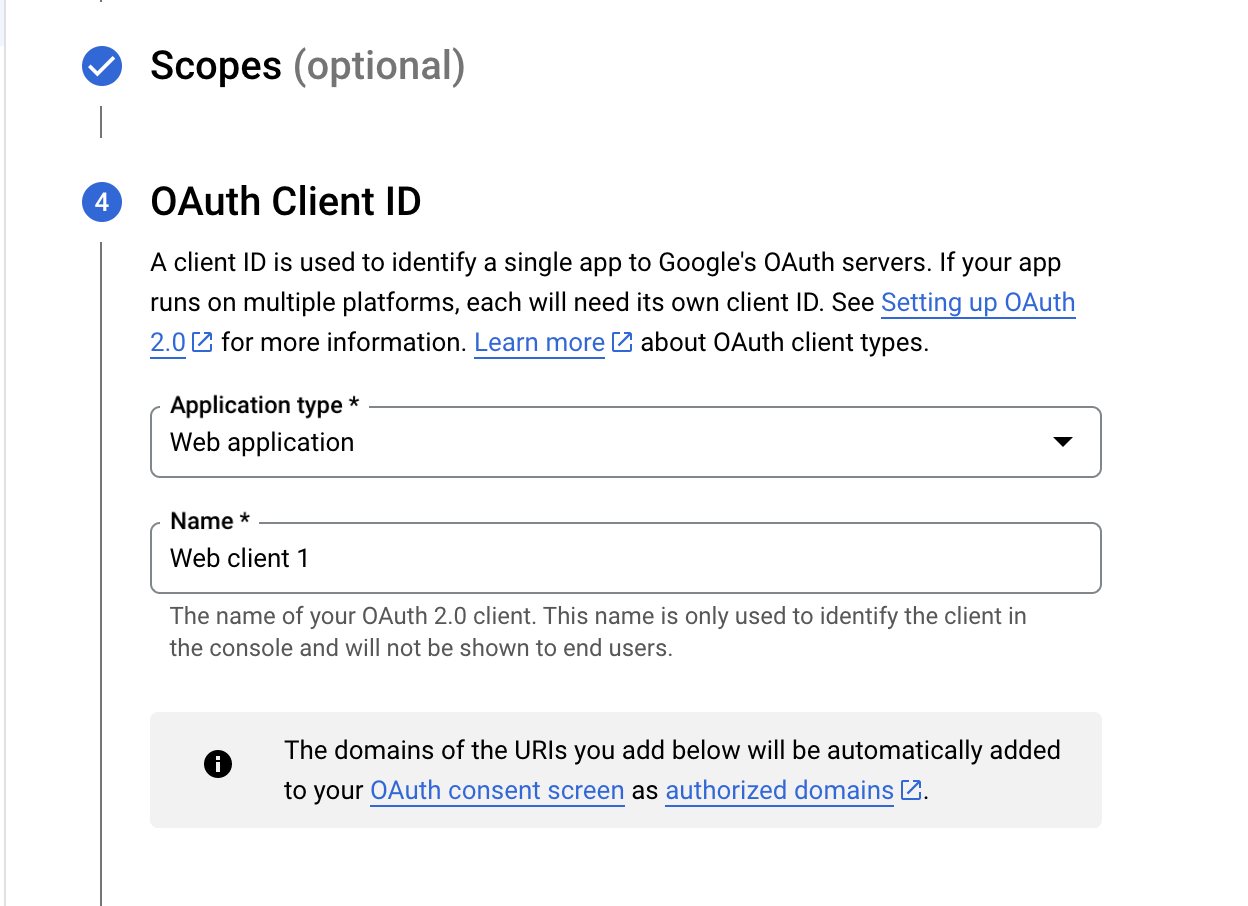
Scopes
You can skip this step
OAuth Client ID
Select "Web application" as the Application type:
Next up, you can add the JavaScript origins:
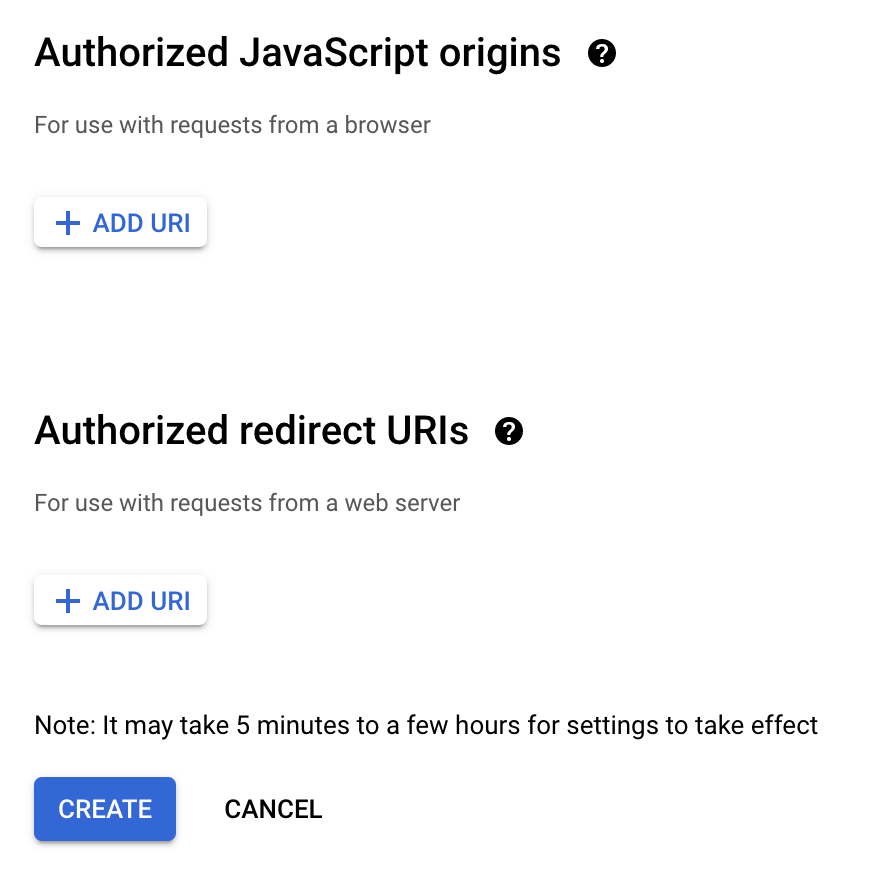
Here are some suggestions of what you could add here:
| Name | Description |
|---|---|
| Authorized Javascript Origins |
The Base URL for your Terminalfour instance. This is the IP address or hostname where API requests originate. Usually, this is the Terminalfour server IP address or hostname. e.g., if you log into Terminalfour at https://www.t4university.com/Terminalfour/login.jspthen enter https://www.t4university.com into this field |
| Authorized redirect URIs |
Just copy the Redirect URL from the Create Site Analytics screen in Terminalfour. This is the location your browser will be redirected to when authorization is successful. The authorization information will be passed to this location and saved on the Terminalfour CMS server; this is usually the Terminalfour context_url found in General Settings with gaOAuthCallback appended to it (case sensitive). Google Analytics requires an absolute URL, so your Redirect URL cannot be relative.
|
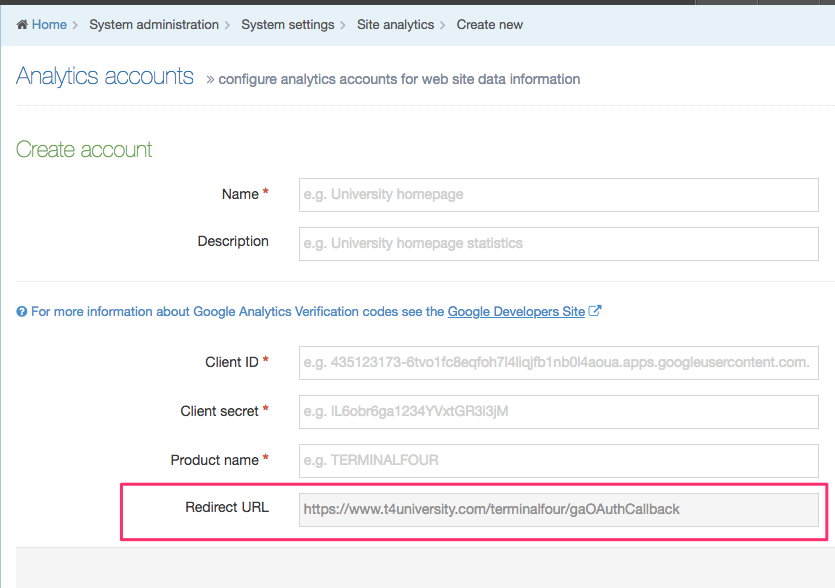
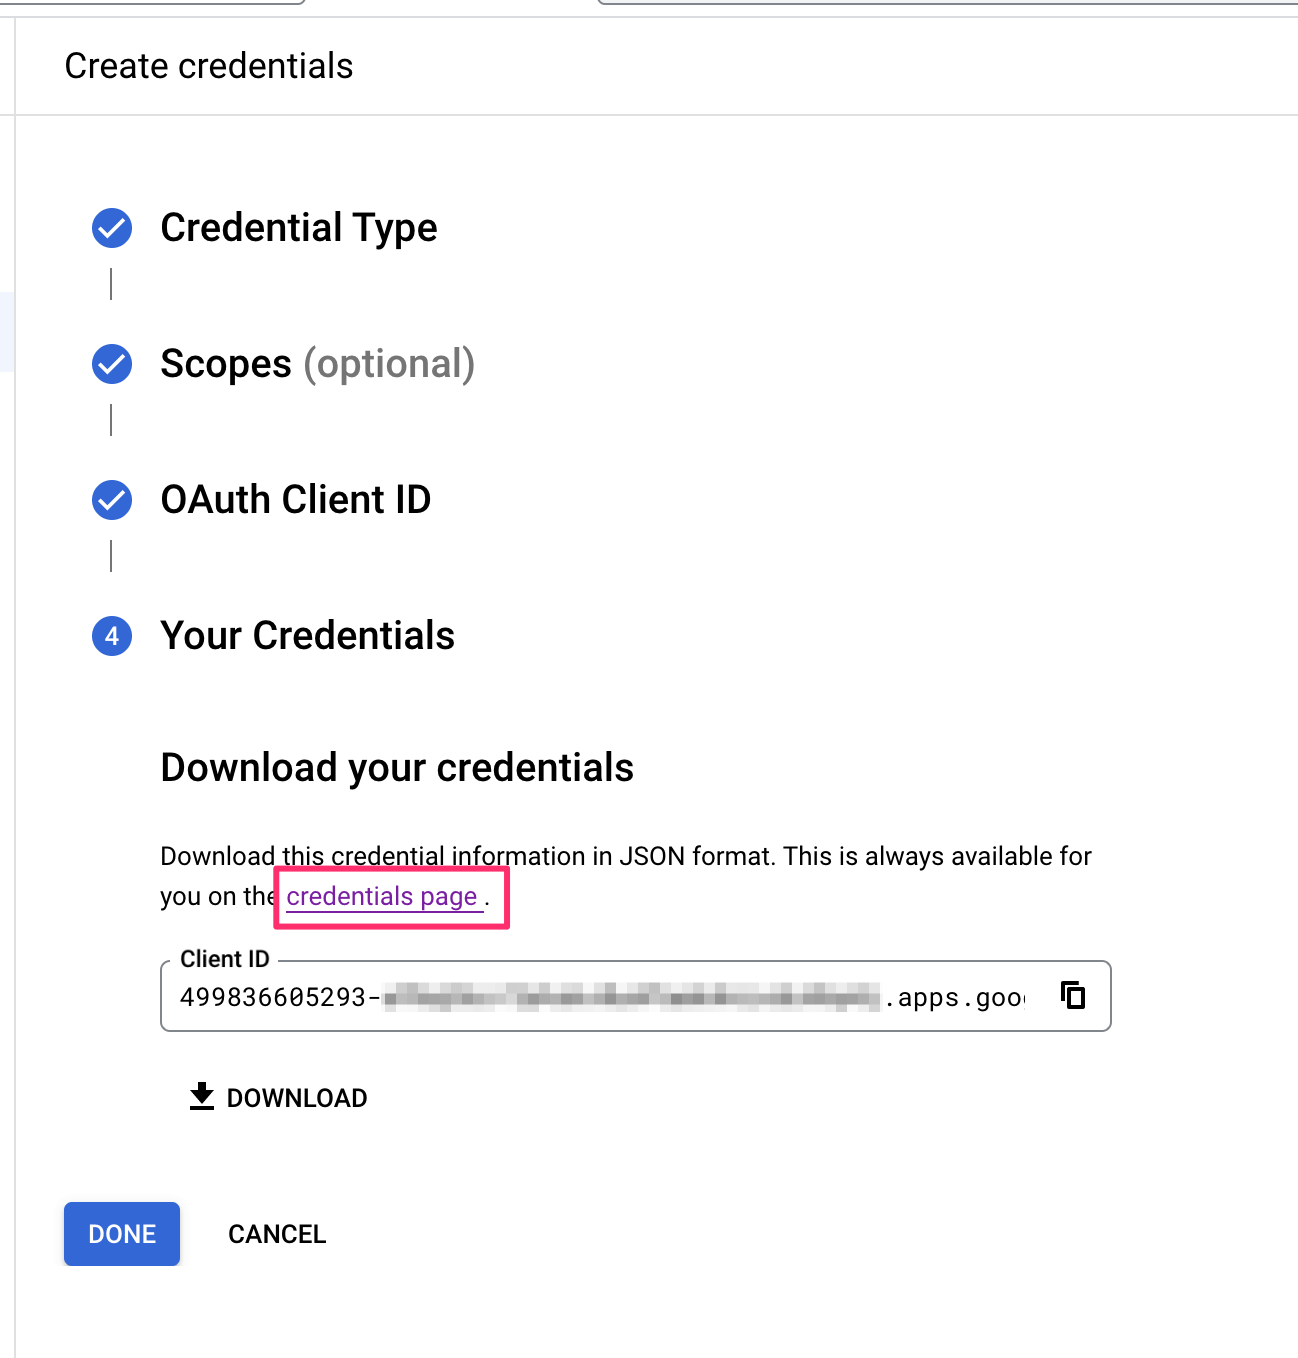
Credentials
In the next step, you can copy the Client ID but we also need the Client Secret so click on the link to the credentials page:
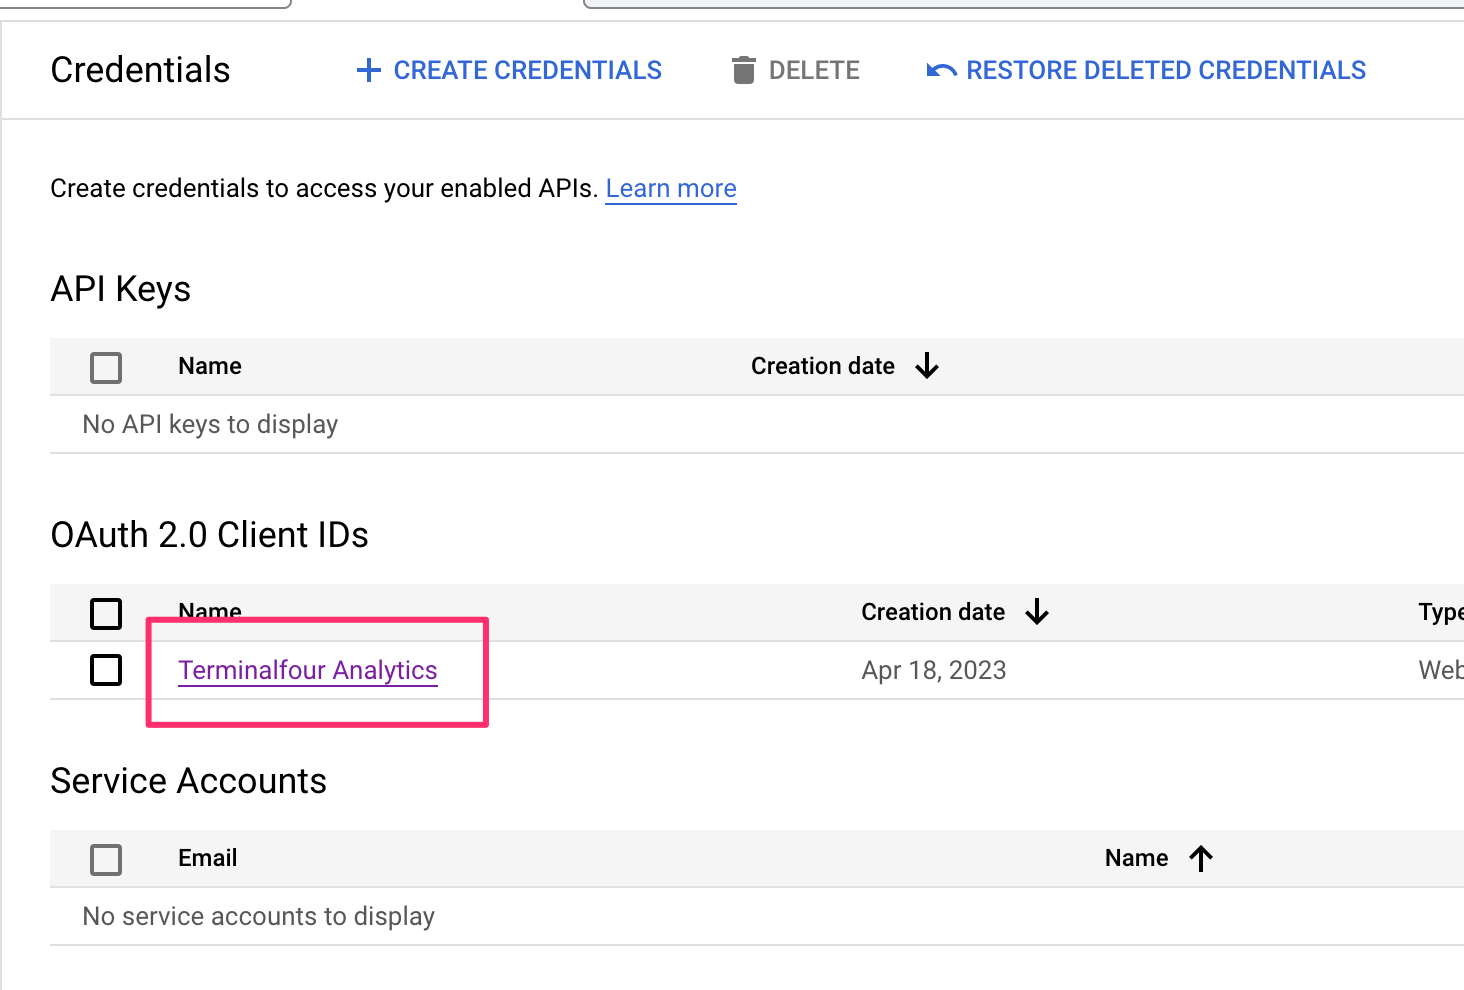
Once the credentials are created, you can select its name from the list that appears:
The next screen shows the Client ID and Client Secret required to complete the analytics account set-up.
Just copy and paste both into the input boxes in Terminalfour:
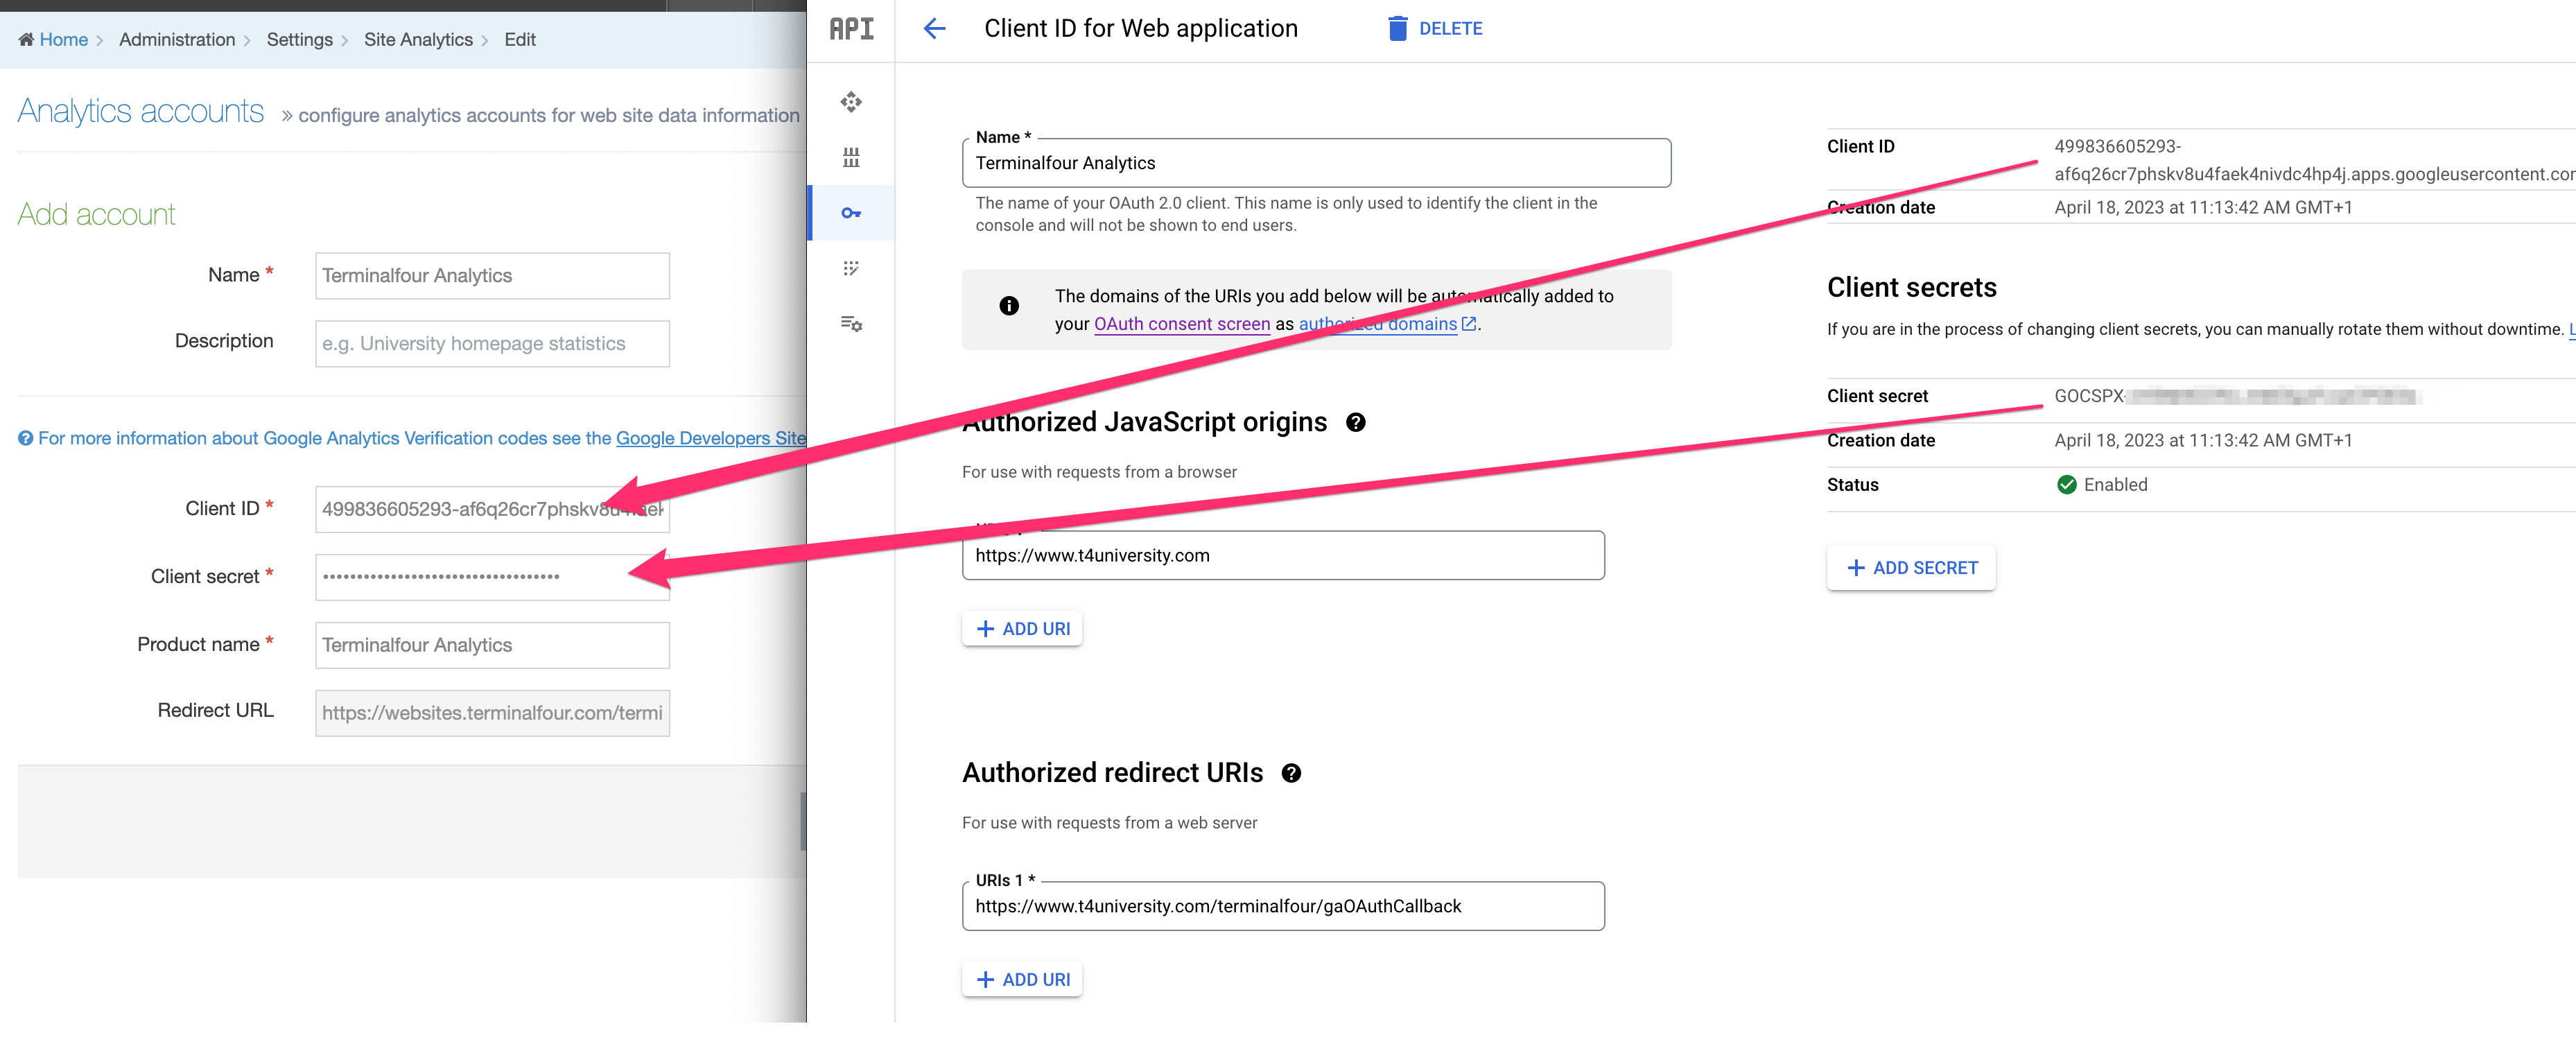
Make the account and product names recognizable to you and others in your organization.
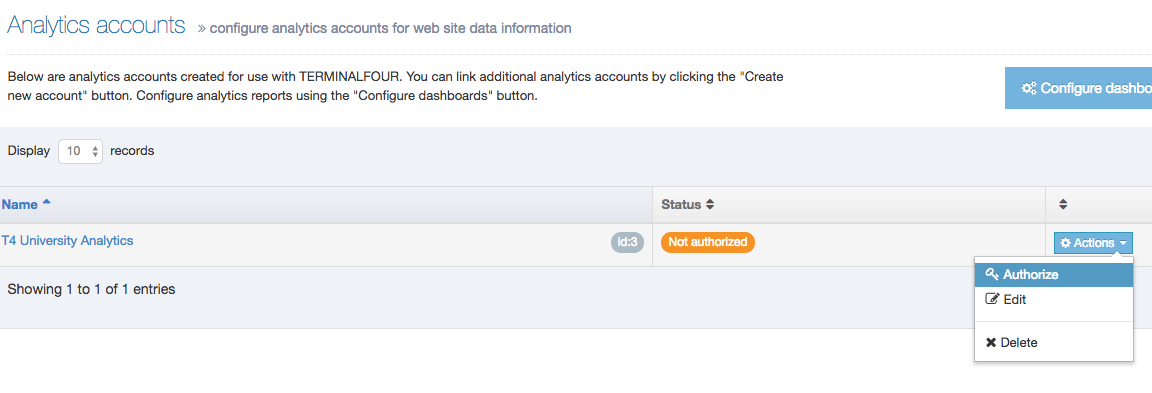
After you’ve saved your changes, you will have to authorize the account. Just select the Actions menu and choose Authorize:
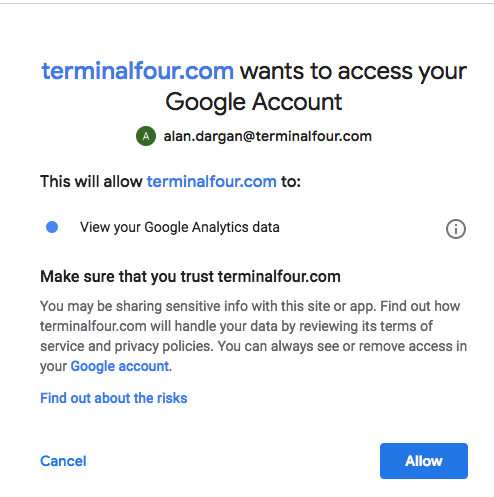
Then, select Allow from the pop-up that will appear. The requesting domain will differ from the one here:
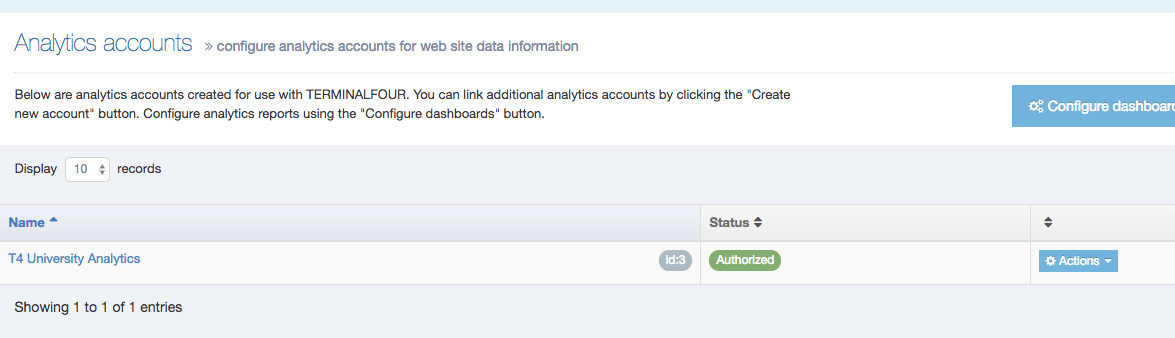
When authorized, the status will be updated:
Set up your charts
In versions before 8.3.16, this page referred to setting up Dashboards. Since Dashboards were removed from the product in that version, the following refers to setting up Charts visible in Direct Edit.
Now that your account is set up, it’s time to set up your Charts.
Each Terminalfour instance comes with a sample Chart. In this example, we will use that as our starting point.
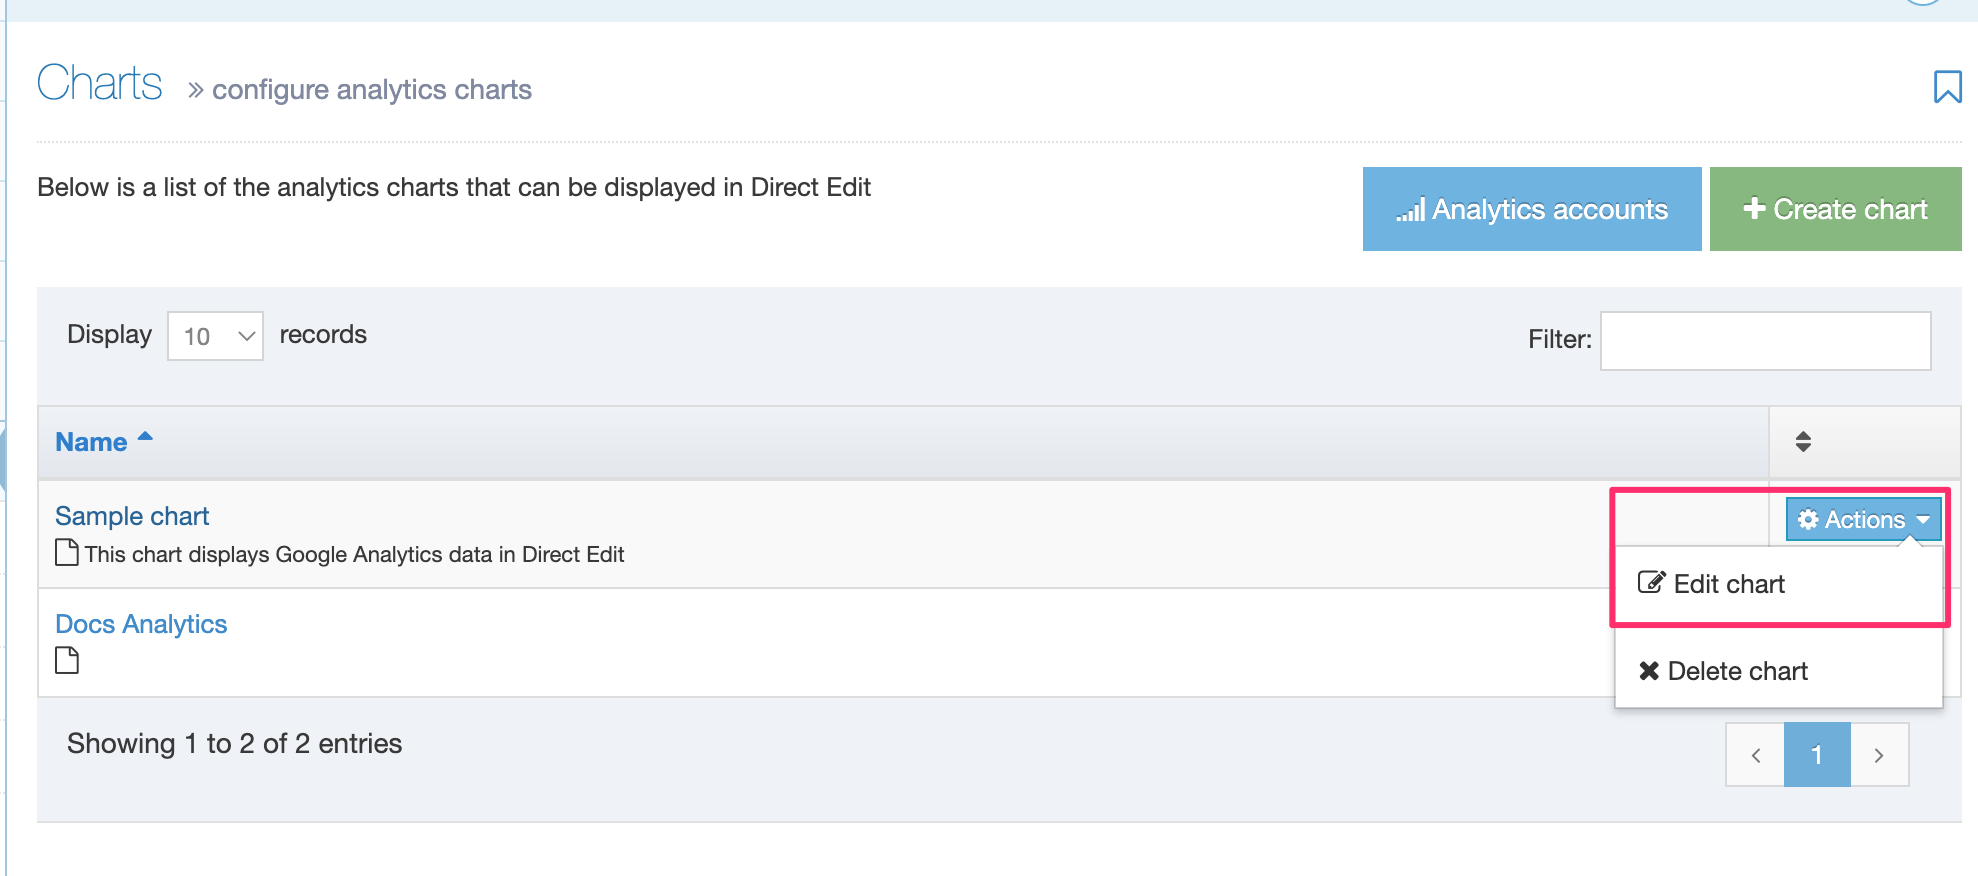
In System Administration > System Settings > Analytics you will see a list of existing Charts.
If you haven’t created any others, the only one you’ll notice is ‘Sample chart’. From the Actions menu, select Edit chart:
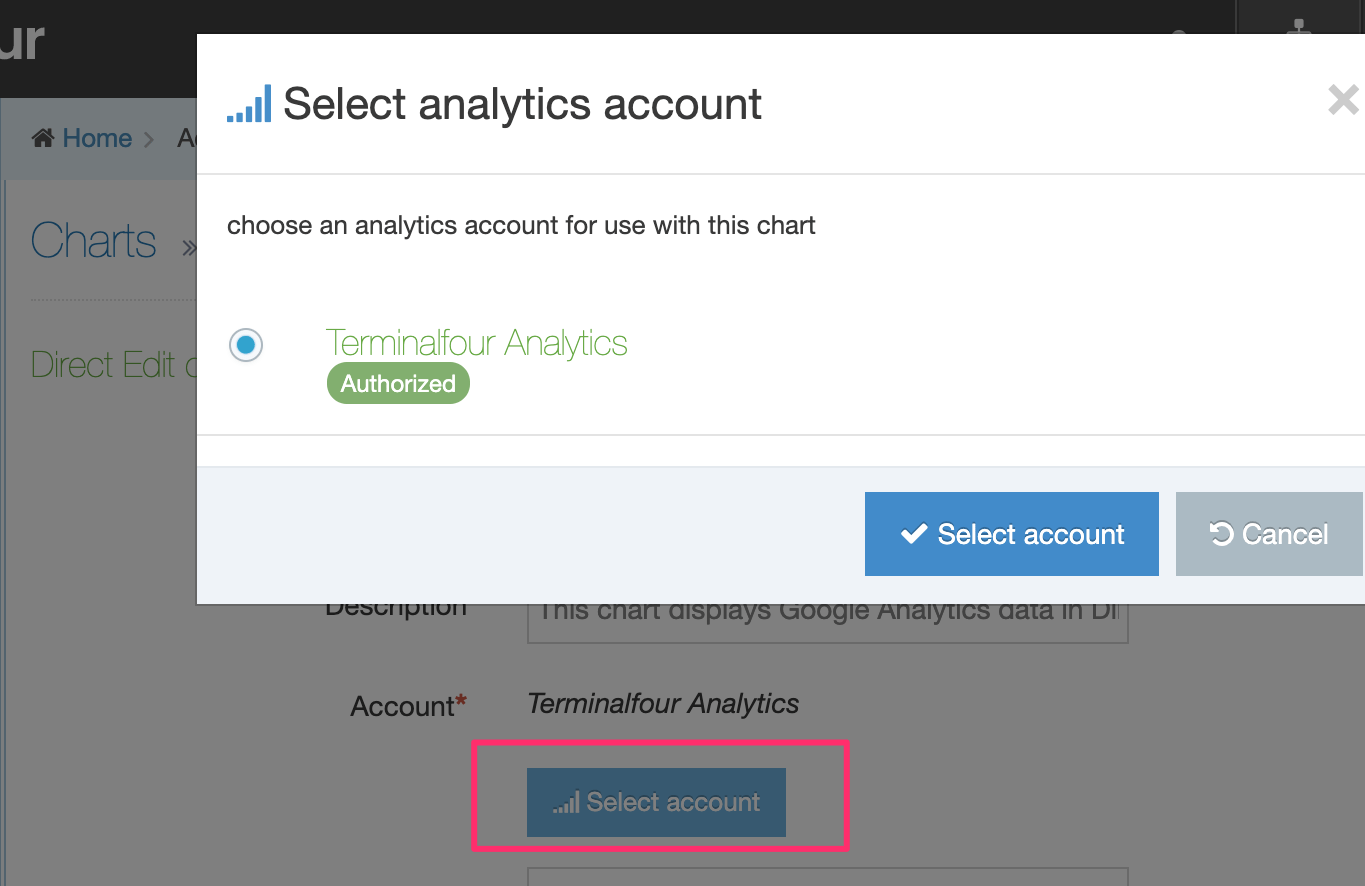
You’ll need to do a couple of things here. First up, link the Google Analytics account you’ve linked with your Terminalfour installation to the dashboard.
Click on Select Account and choose the analytics you’ve just set up:
Next, you can add the Property ID from the Google Analytics 4 account you want to use in Direct Edit.
If you were previously using Google Analytics with Terminalfour in versions prior to 8.3.16, the Property ID value will be blank and you will have to add it.
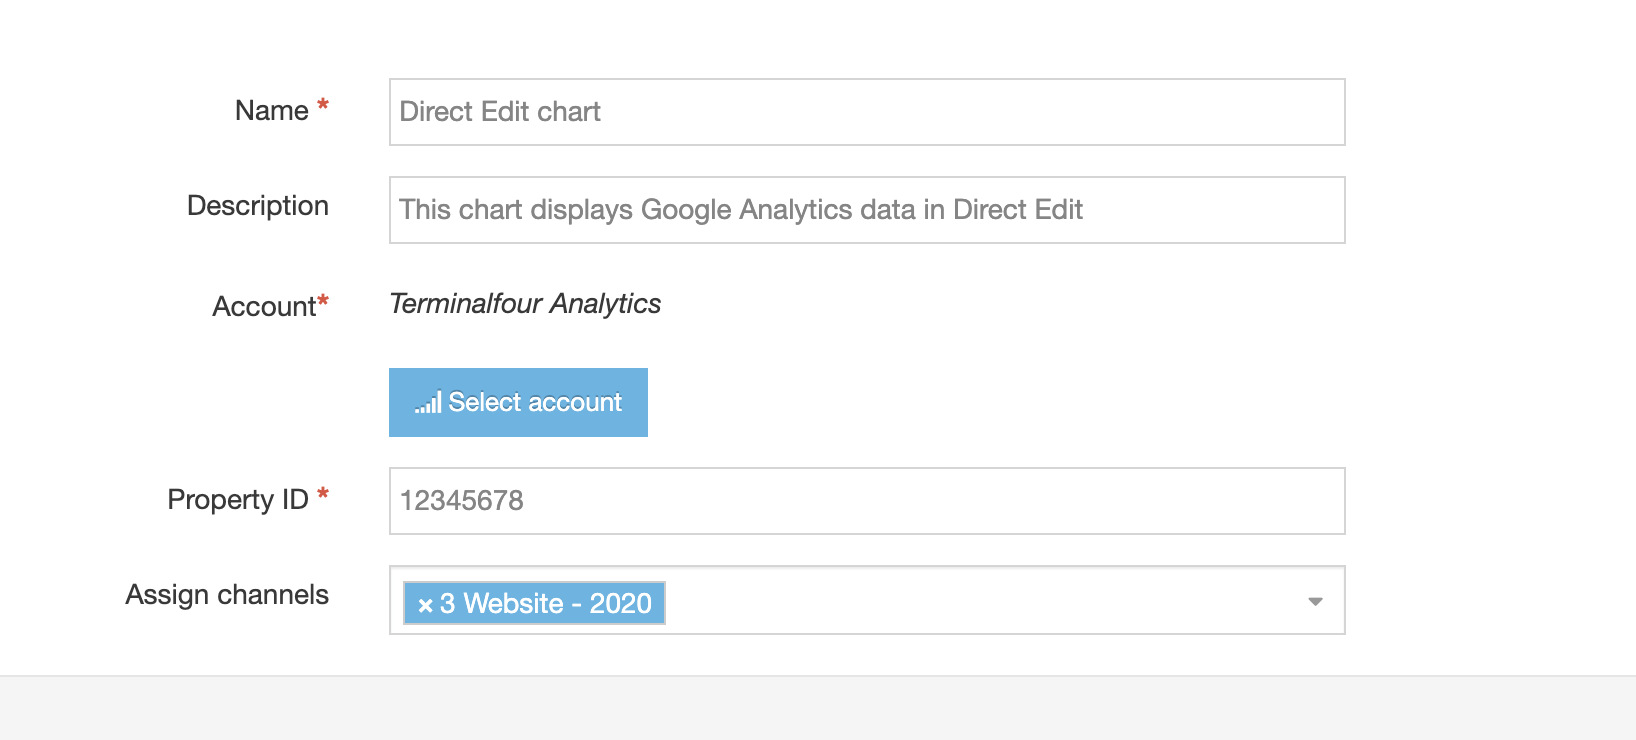
Assign the Channel you would like the Analytics to be displayed for.
Add Google tag to your pages
Before Terminalfour can display any analytics data within Direct Edit, the pages you wish to track must include the code snippet that tracks user interaction.
The global tag can be received from your Google Analytics console and will look something like:
<!-- Global tag (gtag.js) -->
<script async src="https://www.googletagmanager.com/gtag/js?id=G-<TAGIDHERE>"></script>
<script>
  window.dataLayer = window.dataLayer || [];
  function gtag(){dataLayer.push(arguments);}
  gtag('js', new Date());
  gtag('config', 'G-<TAGIDHERE>');
</script>
This can be added directly to your Page Layouts or within content to specific pages you wish to track.