Dashboard Module Installation Guide
A guide to installing the Dashboard Module in Terminalfour
Download the install Package
You can download the install Package from the Terminalfour Community site (you'll need to log-in with the Terminalfour platform to access it).
Pre-installation requirements
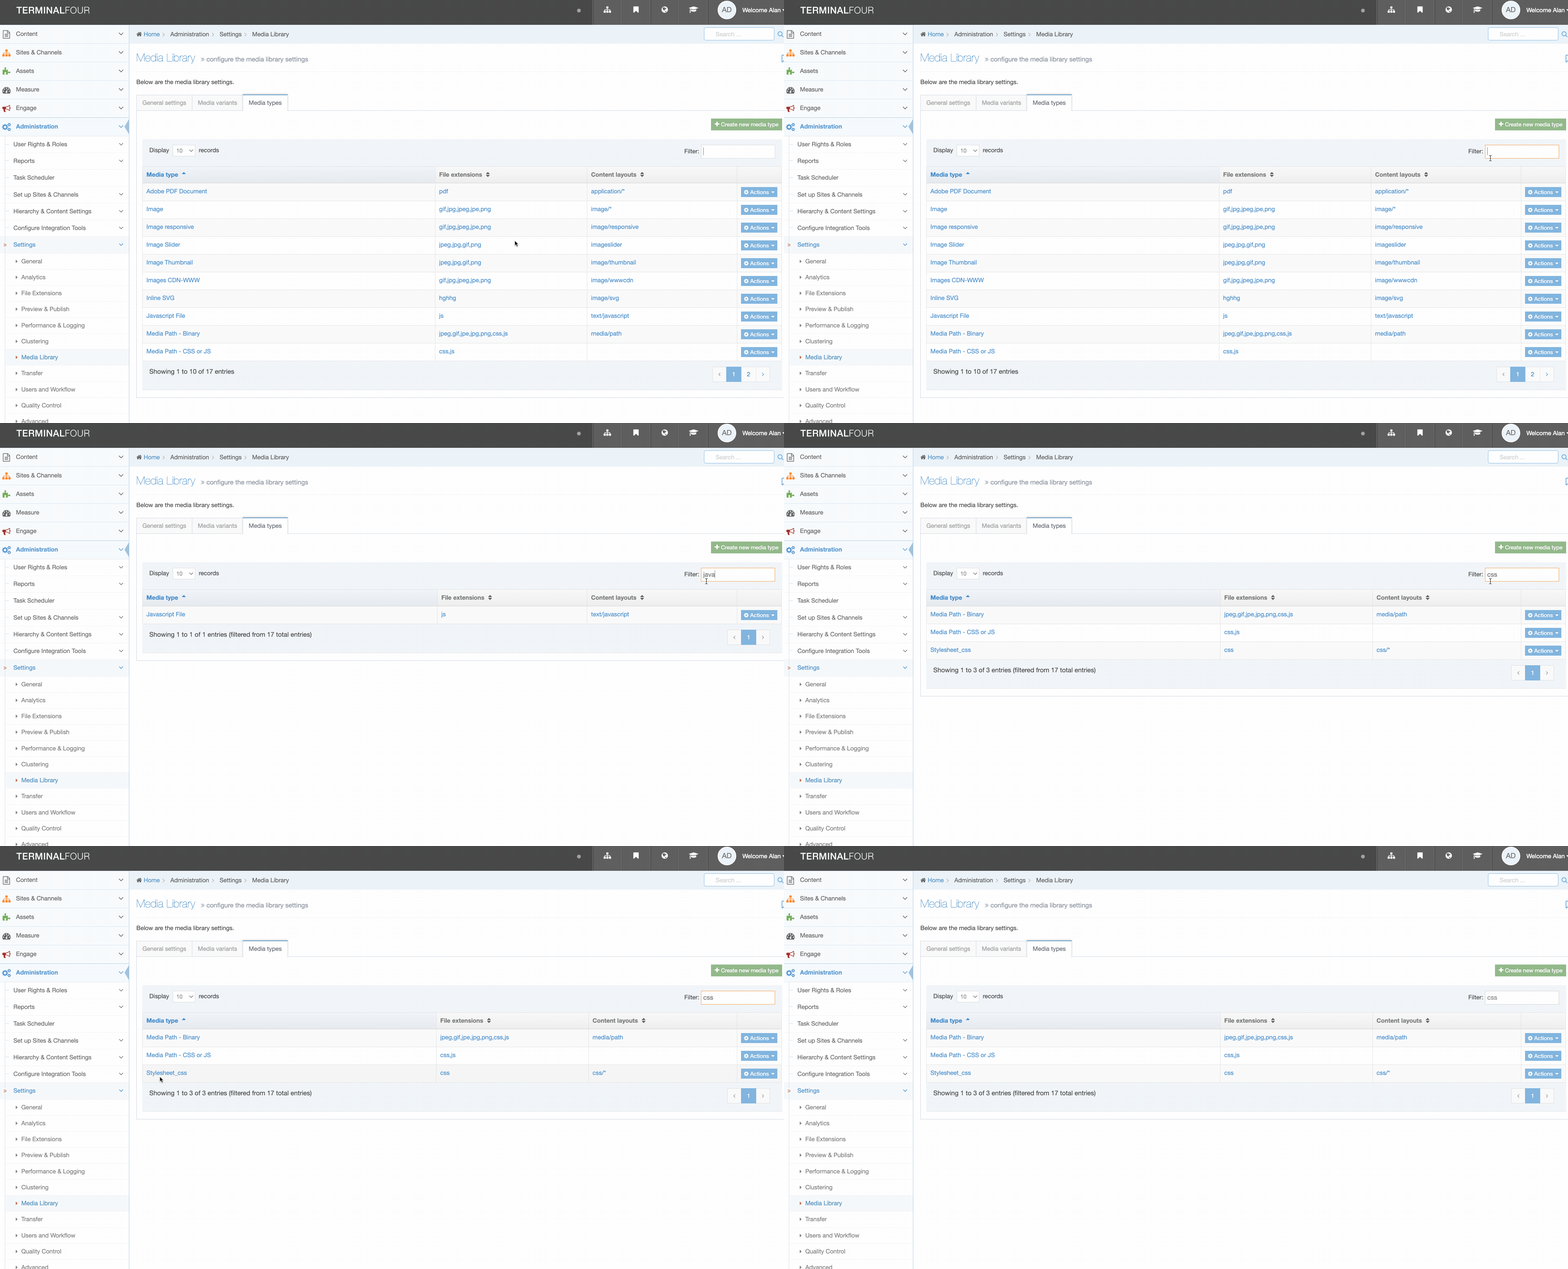
To install the dashboard you should check that the following Media Types are present. To check which Media Types are present go to Administration > Settings > Media Library, go to the Media Types tab and check for the following Media Types:
| Media Type | File Extensions | Content Layouts |
|---|---|---|
| Stylesheet_css | css | css/* |
| Javascript File | js | text/javascript |
Installation Steps
1. Load the Package
The Dashboard is installed as a Package file. First, download the Dashboard zip file and go to the Packages screen at Content > Content Migration > Packages.
Select a location of Upload from my local computer. You can drag the zipped file to the select drop area or click in the drop area to navigate and select the file.
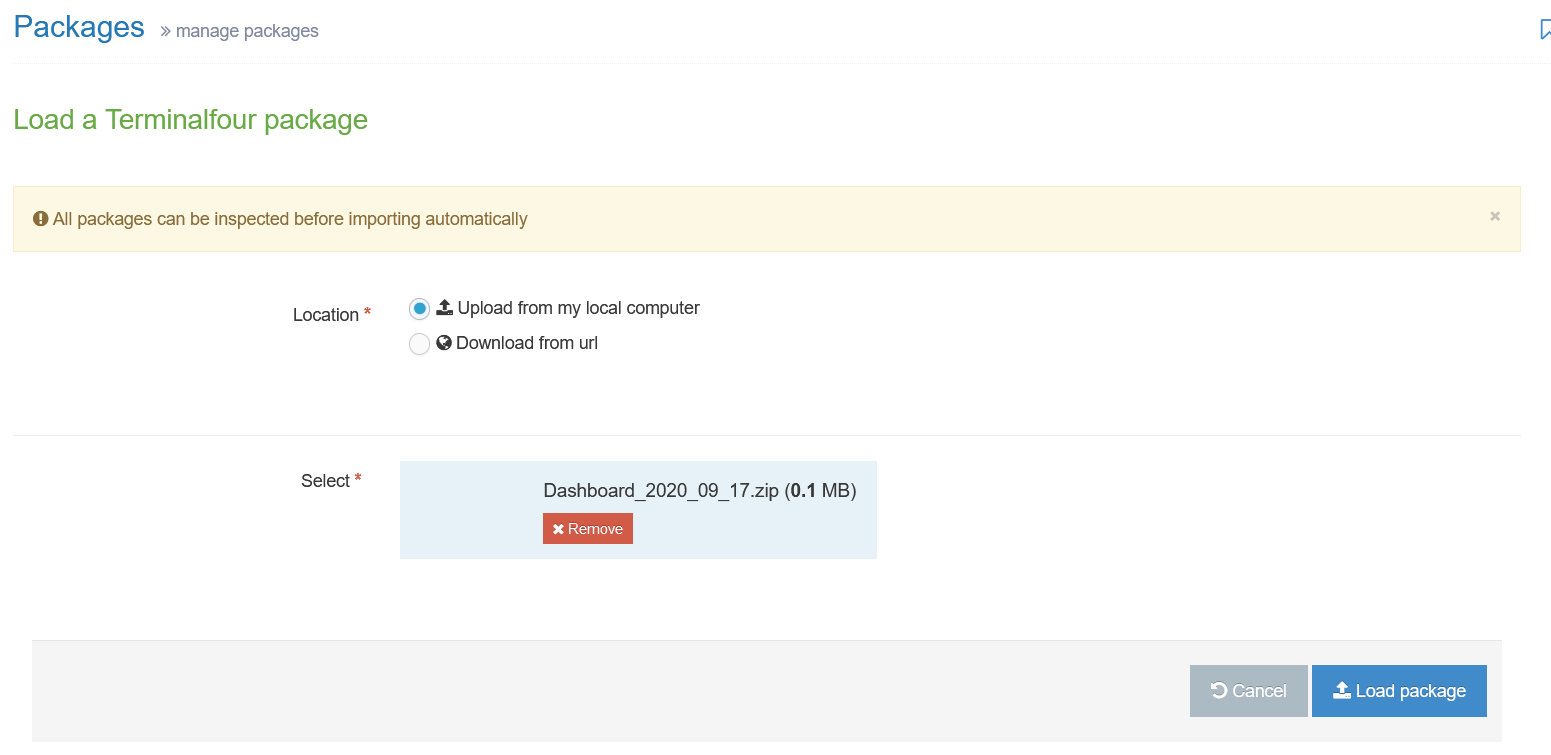
Select Load Package
When the Package has loaded you'll see a success message:
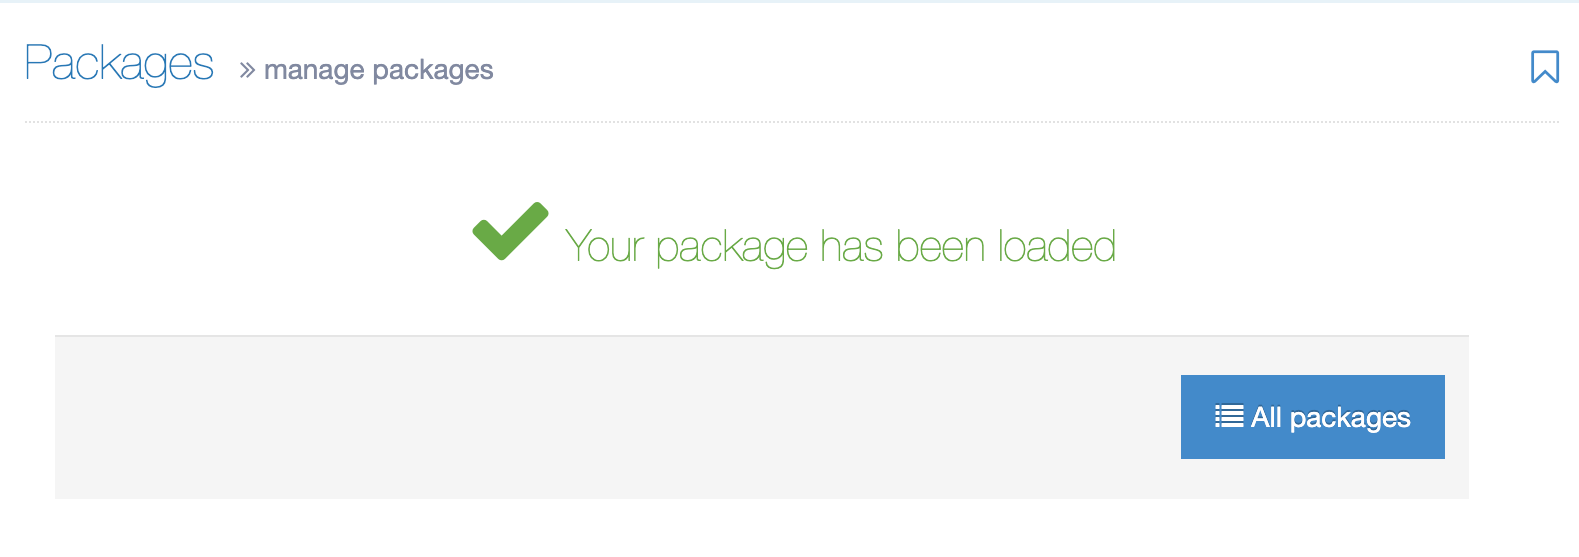
Select All Packages to view the loaded Packages.
2. Check Package settings
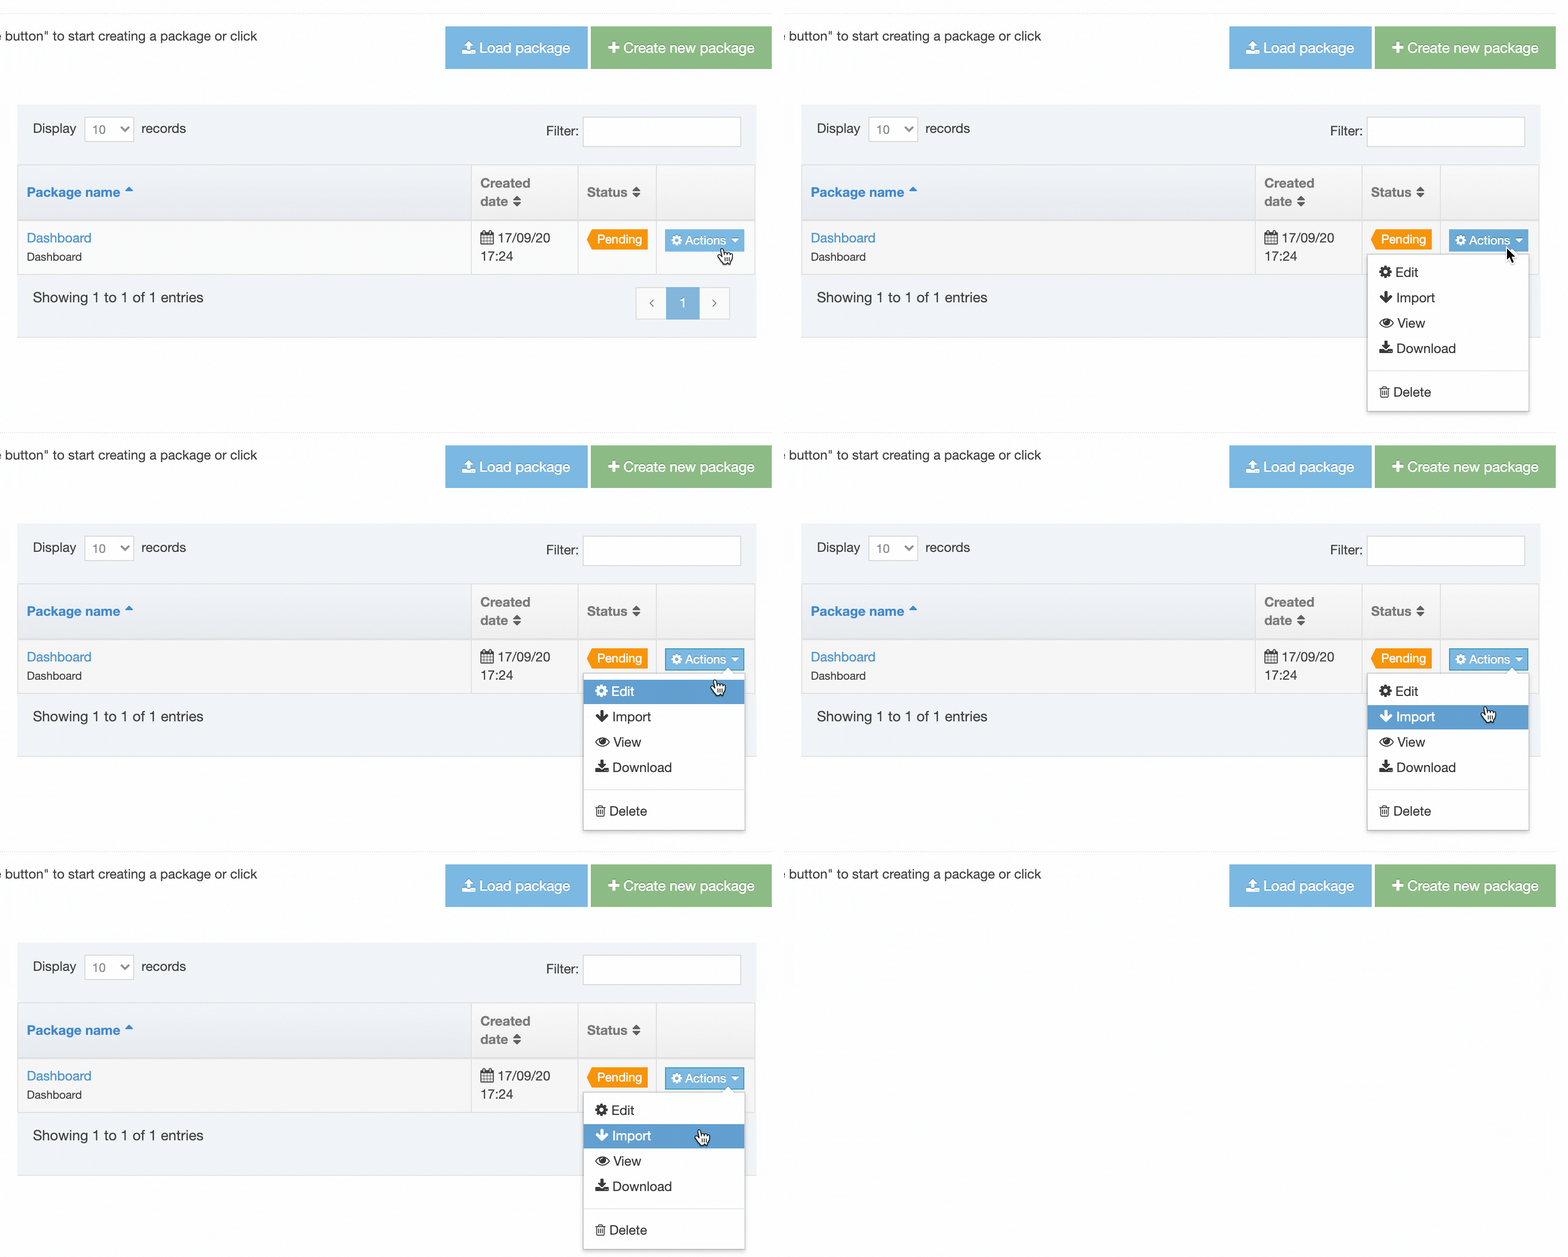
In the Packages listing page select Import from the Action menu:
The next screen gives you import options:
| Option | Description |
|---|---|
| Destination section |
The Section that the Dashboard will be added to. Avoid choosing a Section that's already part of an existing Channel. It's advisable to choose the Site Structure Root as the destination. |
| Media category | The Media Library Category that the Dashboard assets will be added to. You can leave this at "Categorised" or change it to another Category. |
| Asset group |
Instead of using an existing Asset Group create a new one named "Dashboard". |
| Content type options | This option lets you use an existing Content Type, however, the Package will create new Content Types as part of the installation so disable this. |
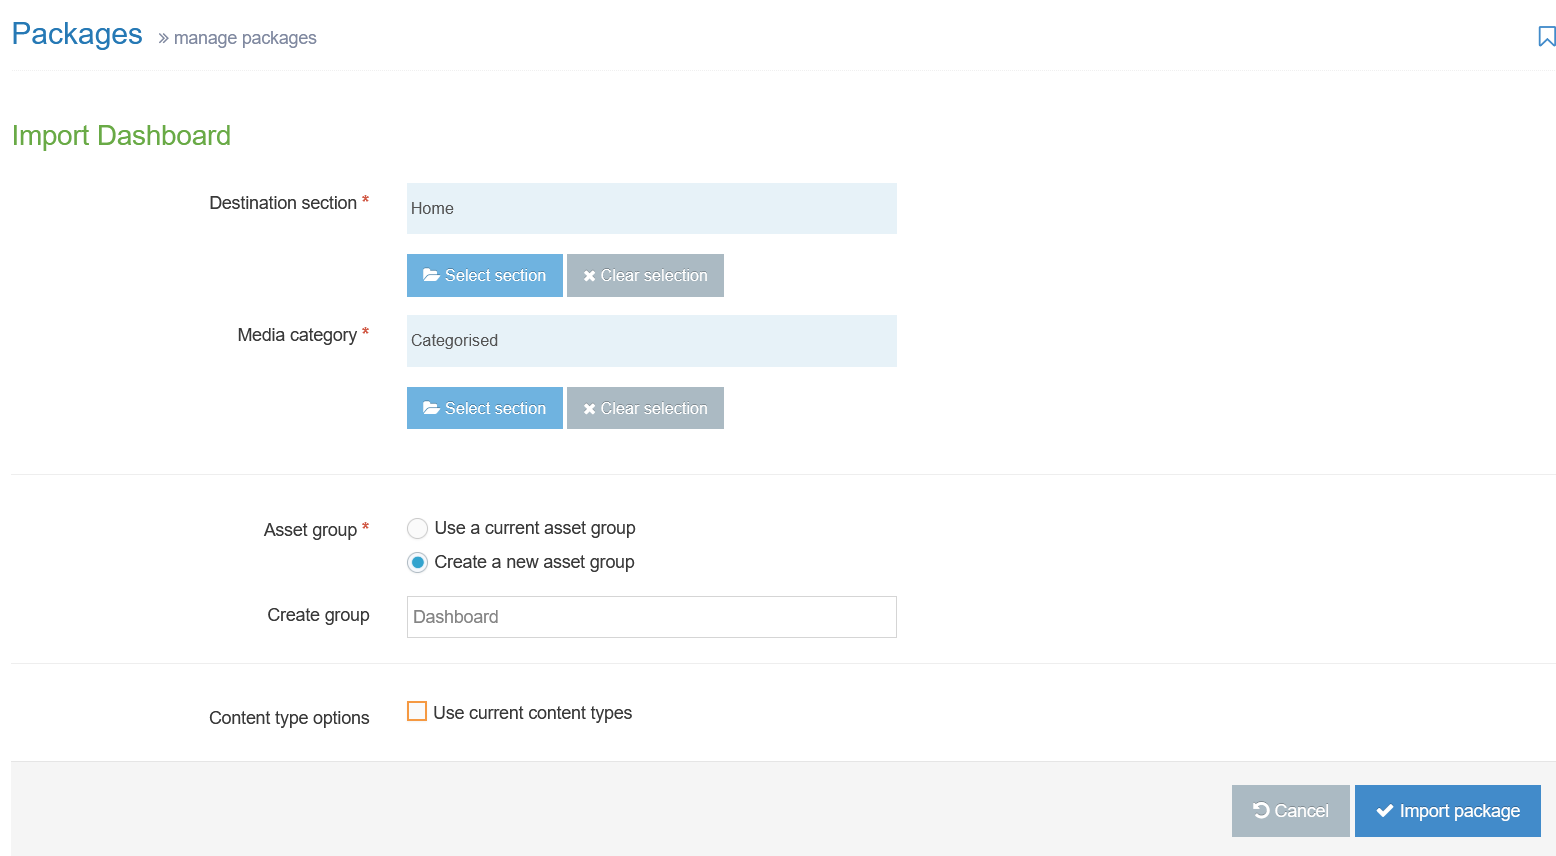
Select Import Package.
When the Package has been successfully imported a success message will be displayed.
Check the Site Structure
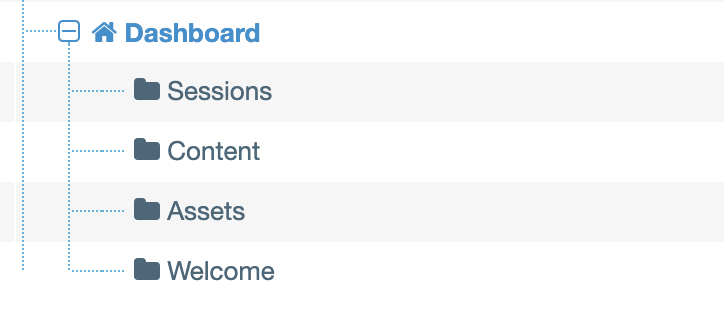
In Site Structure, you'll see a Section with four Child Sections. These Sections contain the Content Items that you can configure the Dashboard with.
Check the Channel
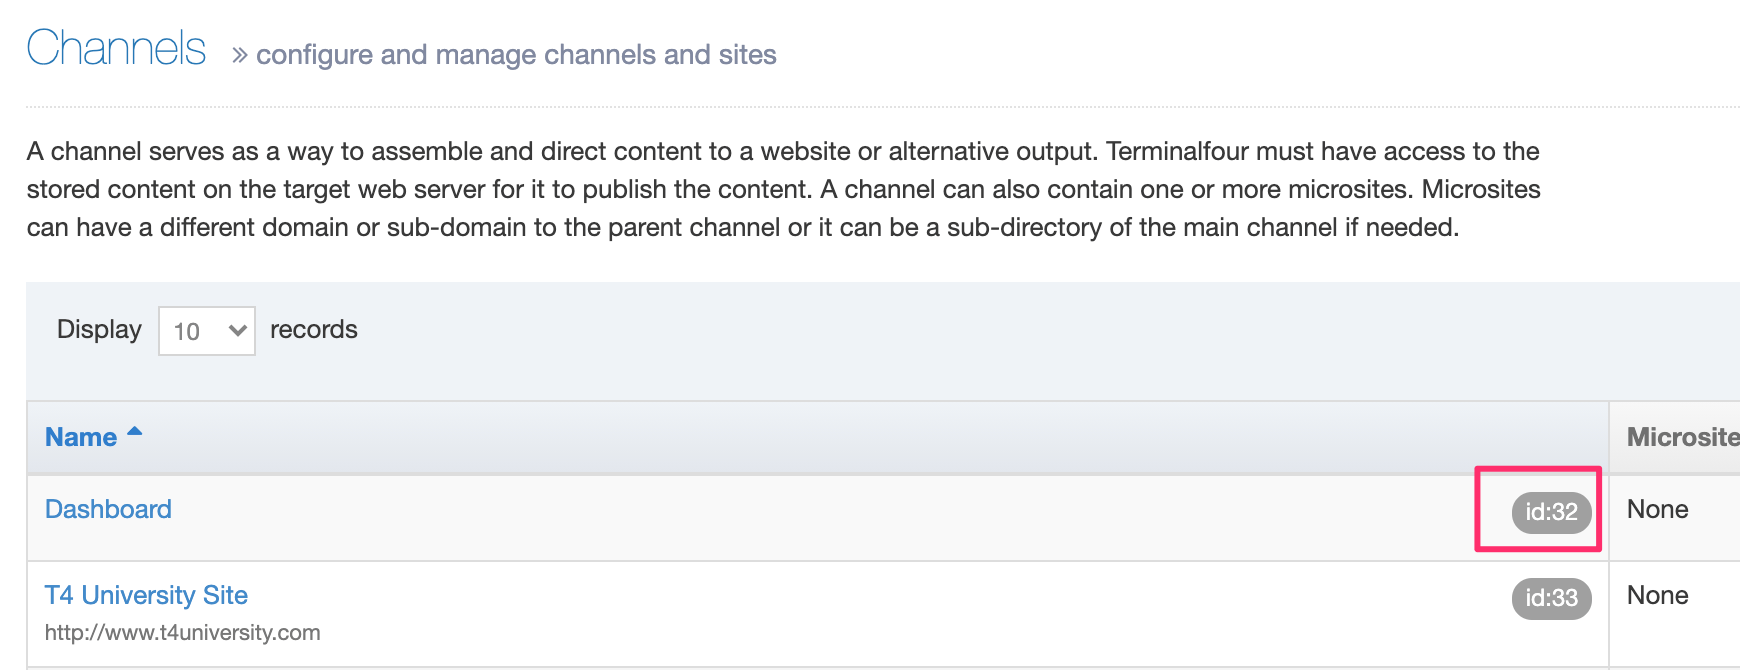
When the Package is imported a new Channel named "Dashboard" is created. You'll need the Channel ID so go to Administration>Set up Sites & Channels > Channels and make a note of the ID.
Add your Dashboard to the welcome screen
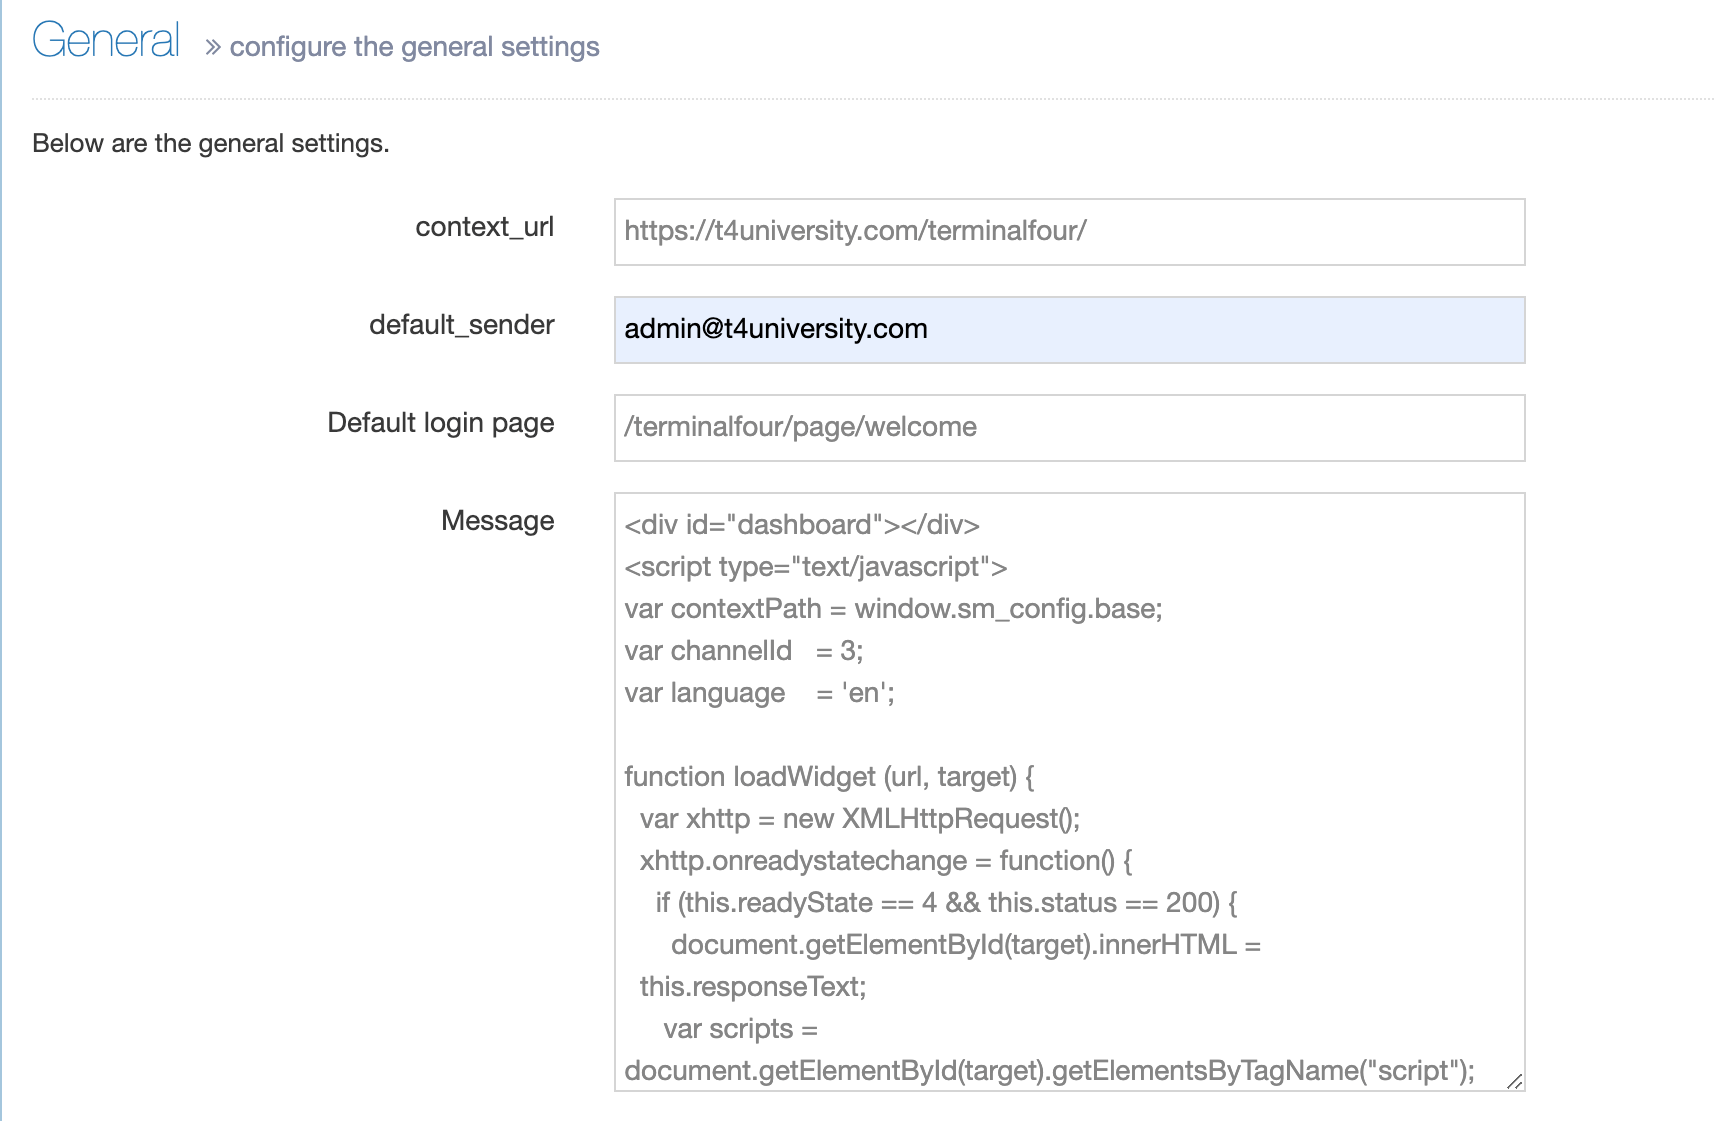
Next up, we'll add the Dashboard to the welcome screen. Go to Administration > Settings > General and copy the following into the Message text area replacing the channelId value with the number of your Dashboard Channel:
<div id="dashboard"></div>
<script type="text/javascript">
var contextPath = window.sm_config.base;
var channelId = 3; /* Change to your Dashboard Channel ID */
var language = 'en';
function loadWidget (url, target) {
 var xhttp = new XMLHttpRequest();
 xhttp.onreadystatechange = function() {
 if (this.readyState == 4 && this.status == 200) {
 document.getElementById(target).innerHTML =
 this.responseText;
 var scripts = document.getElementById(target).getElementsByTagName("script");
 for (var i = 0; i < scripts.length; i++) {
 eval(scripts[i].innerText);
 }
 }
 };
xhttp.open("GET", url, true);
 xhttp.send();
}
loadWidget ( contextPath + 'preview/' + channelId + '/' + language, 'dashboard');
</script>
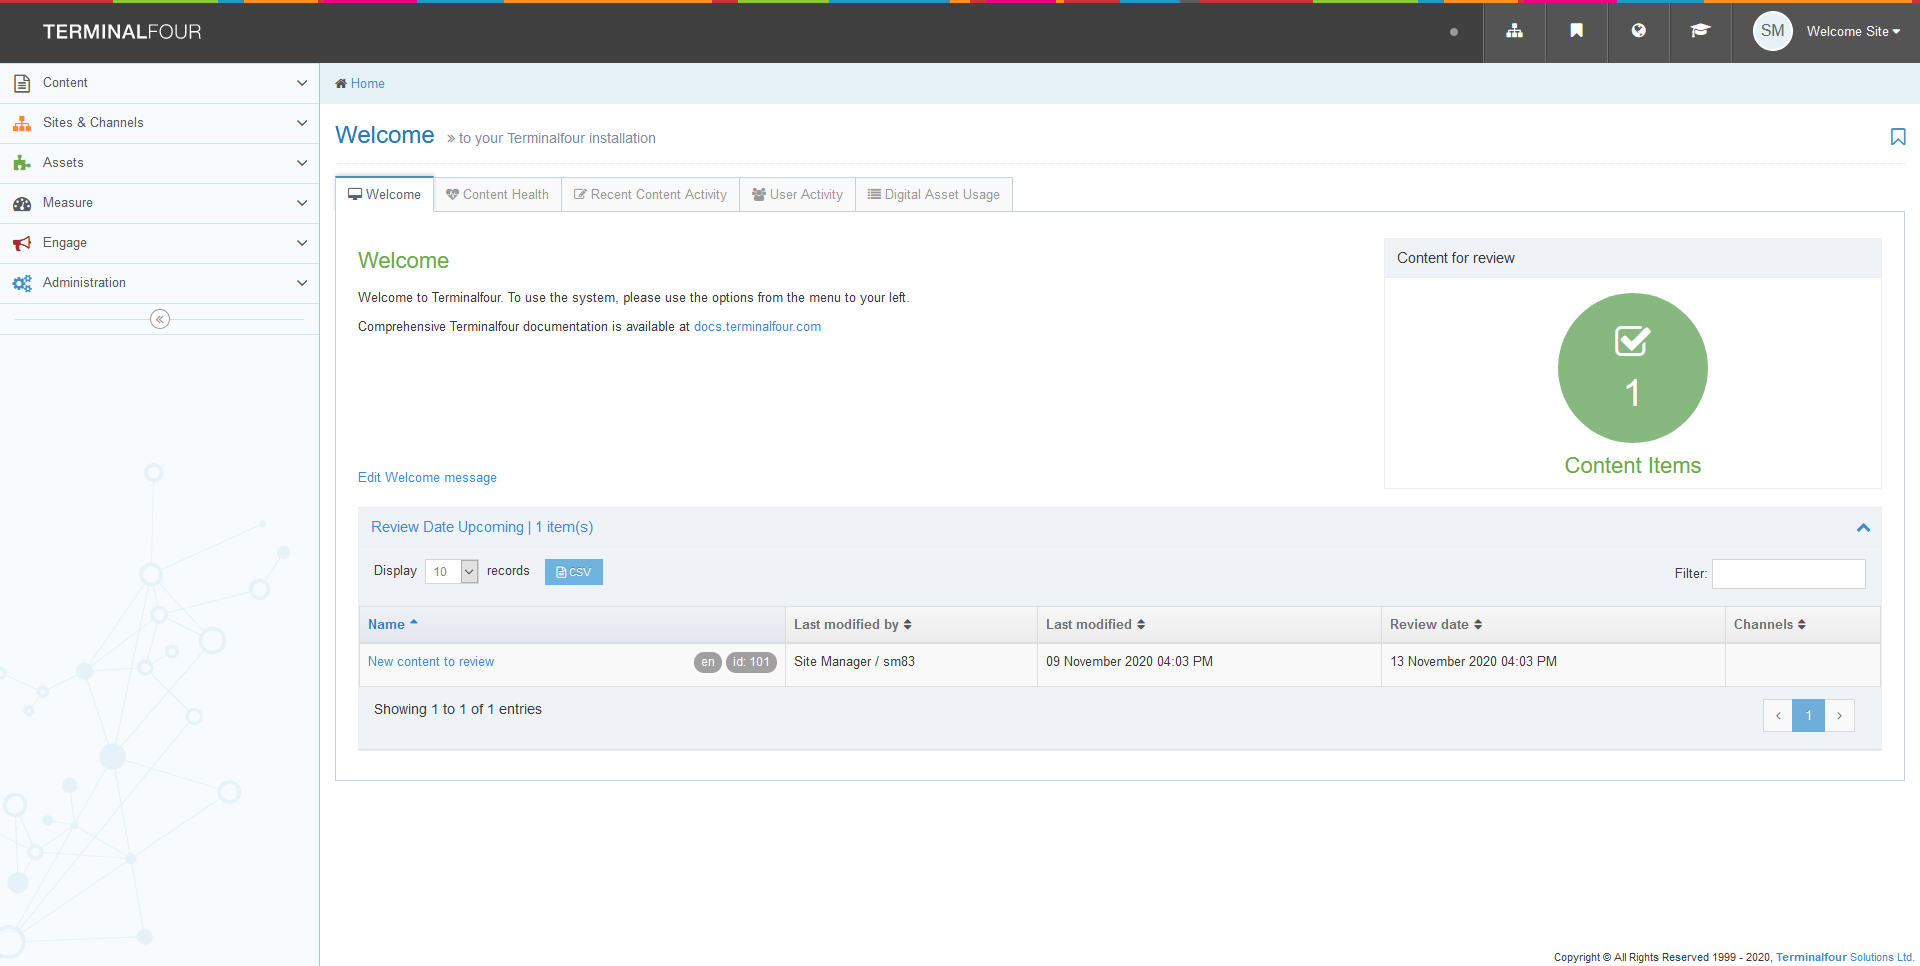
If you change the "Default login page" to page/welcome you will see the Dashboard when you log-in or when you click on the "Terminalfour" title in the top left of the header.
View Dashboard
Go to the welcome screen ( page/welcome ) to see the Dashboard:
Installing on a cluster
If you are installing the Dashboard in a clustered environment, you should update the cache of cluster nodes.


